Cloudflare WARP to Magic WAN
Cloudflare WARP to Magic WAN
At the end of the first part of the lab, students should be able to connect two remote sites via IPsec tunnels through Magic WAN, allowing users in a branch location to access a resource that’s hosted at an HQ location. But users who are remote will also need to access these resources.
For this part of the lab, we will use the Windows client machine to test connectivity with WARP to Magic WAn.
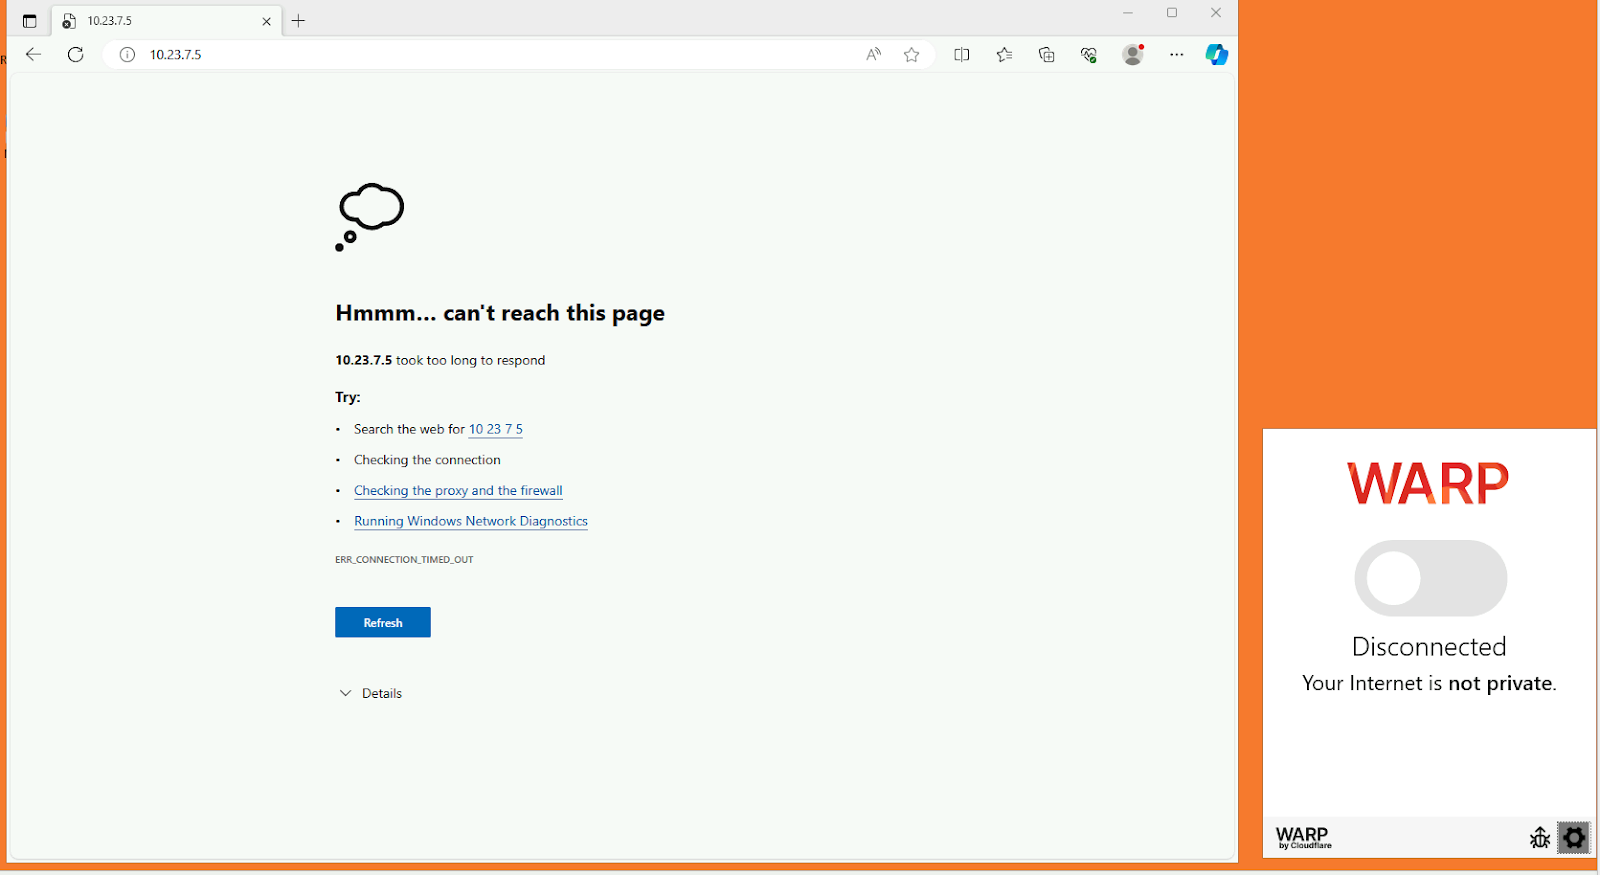
When you log into the Cloudflare Labs and go to the Windows Client, you will notice that you can no longer access the internal site:

This is to simulate the experience of a remote user who now has access to the intranet site, as though they were in the branch office location.
To accomplish this, we need to complete the following steps
- Set Up Zero Trust Configuration on Cloudflare Dashboard
- Connect WARP client to Cloudflare Zero Trust Account
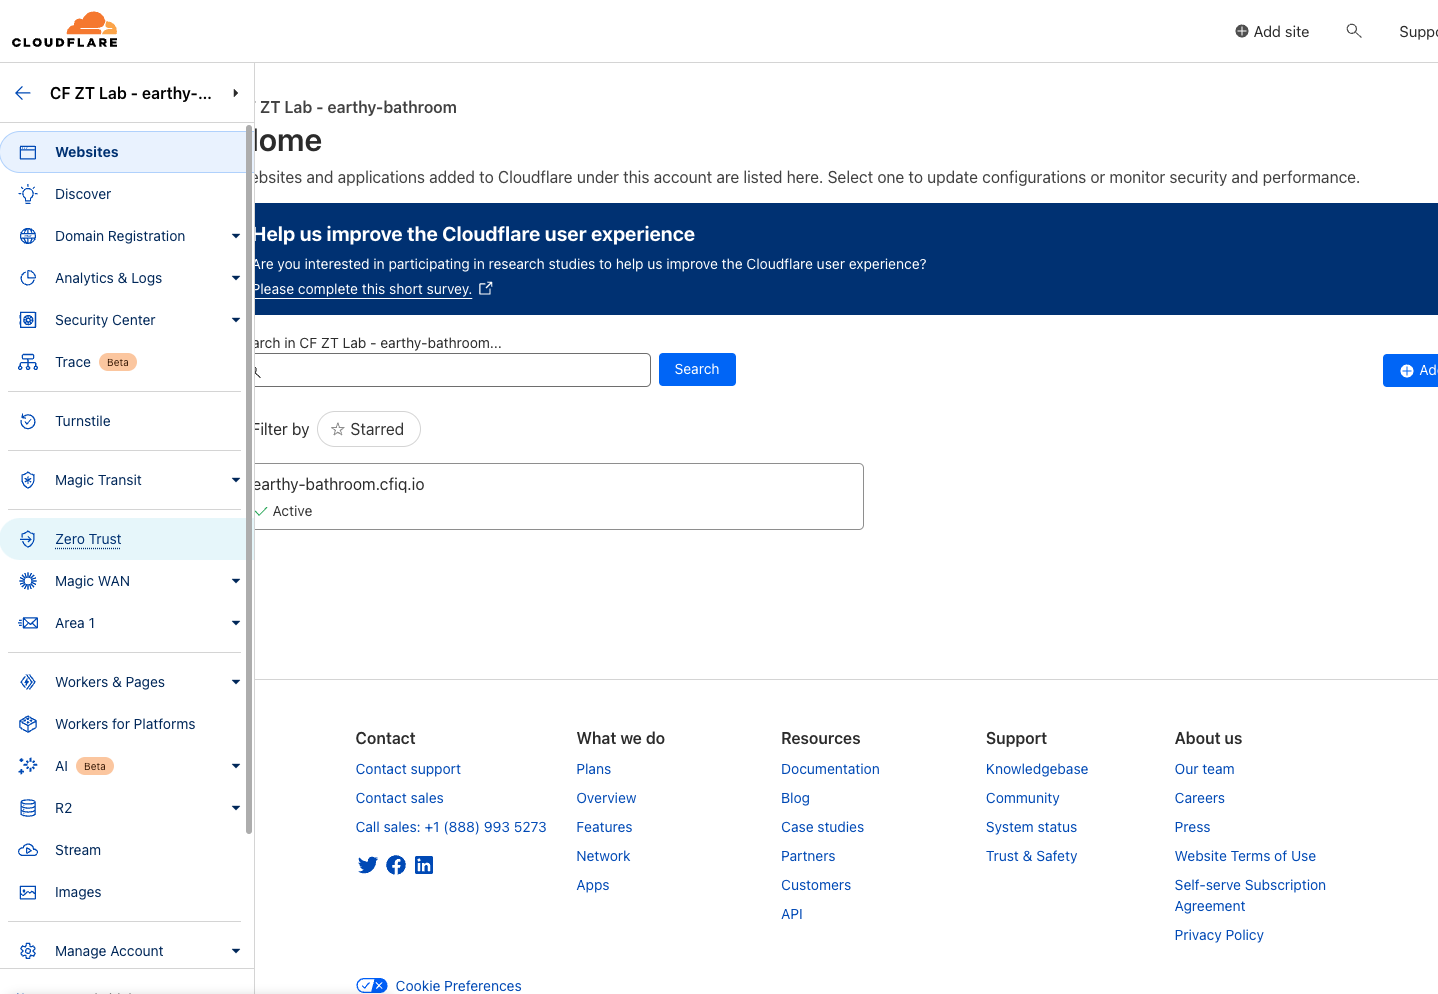
When you log into the Cloudflare dashboard, select Zero Trust from the left hand navigation pane.
Before doing any configuration, go to Settings → Custom Pages. You should see a team name already in place.
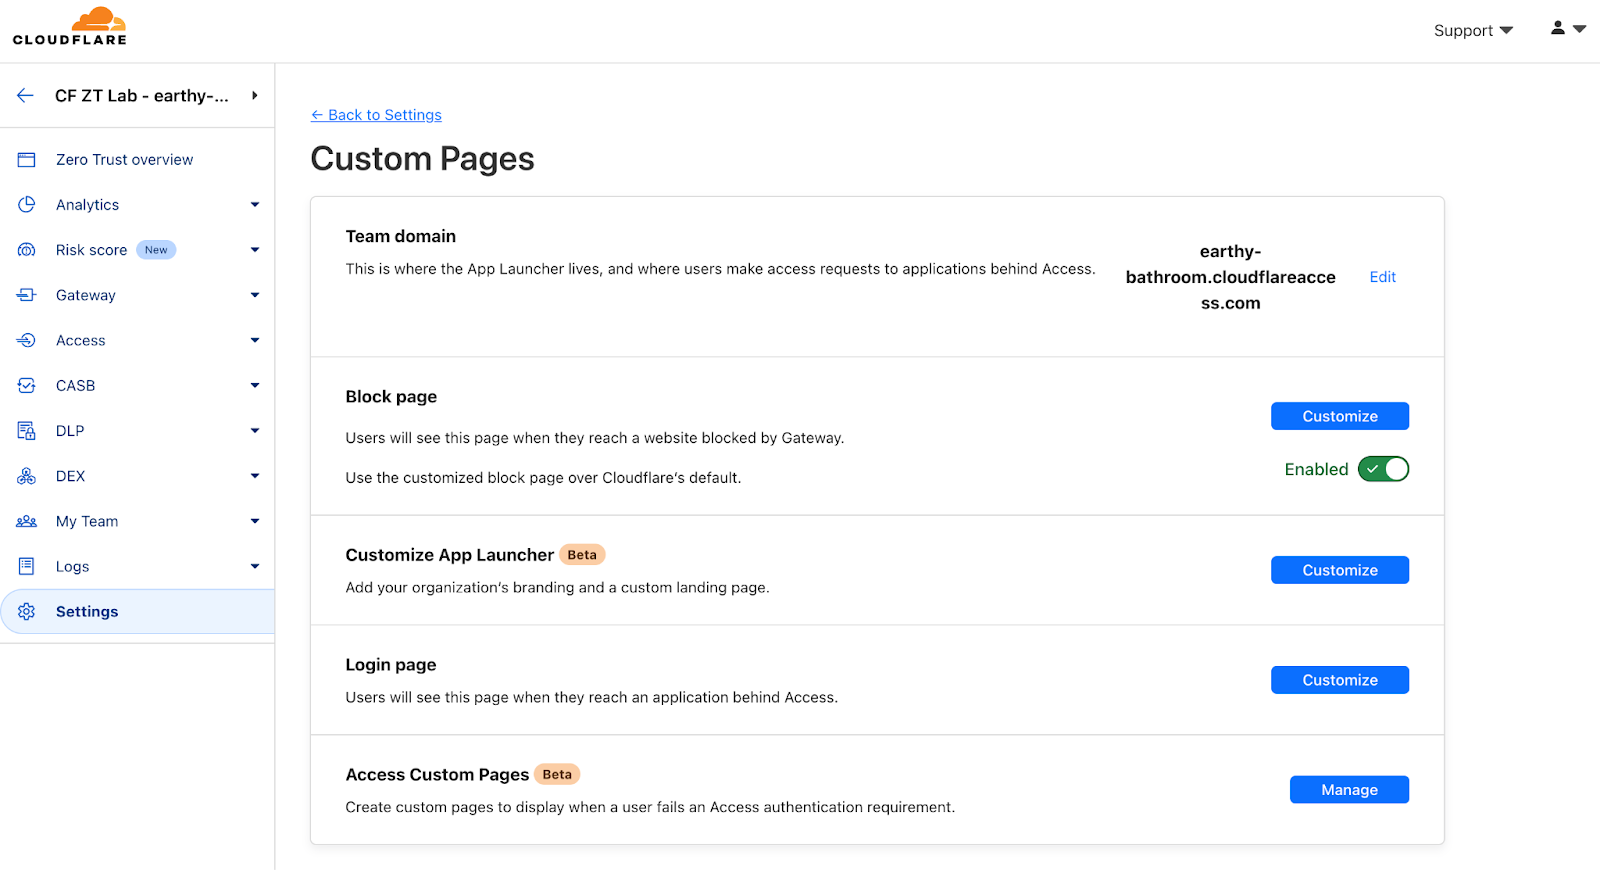
That is the team name that we will use to connect the WARP client back to the Cloudflare Zero Trust account.
Next, go to Settings → WARP Client.
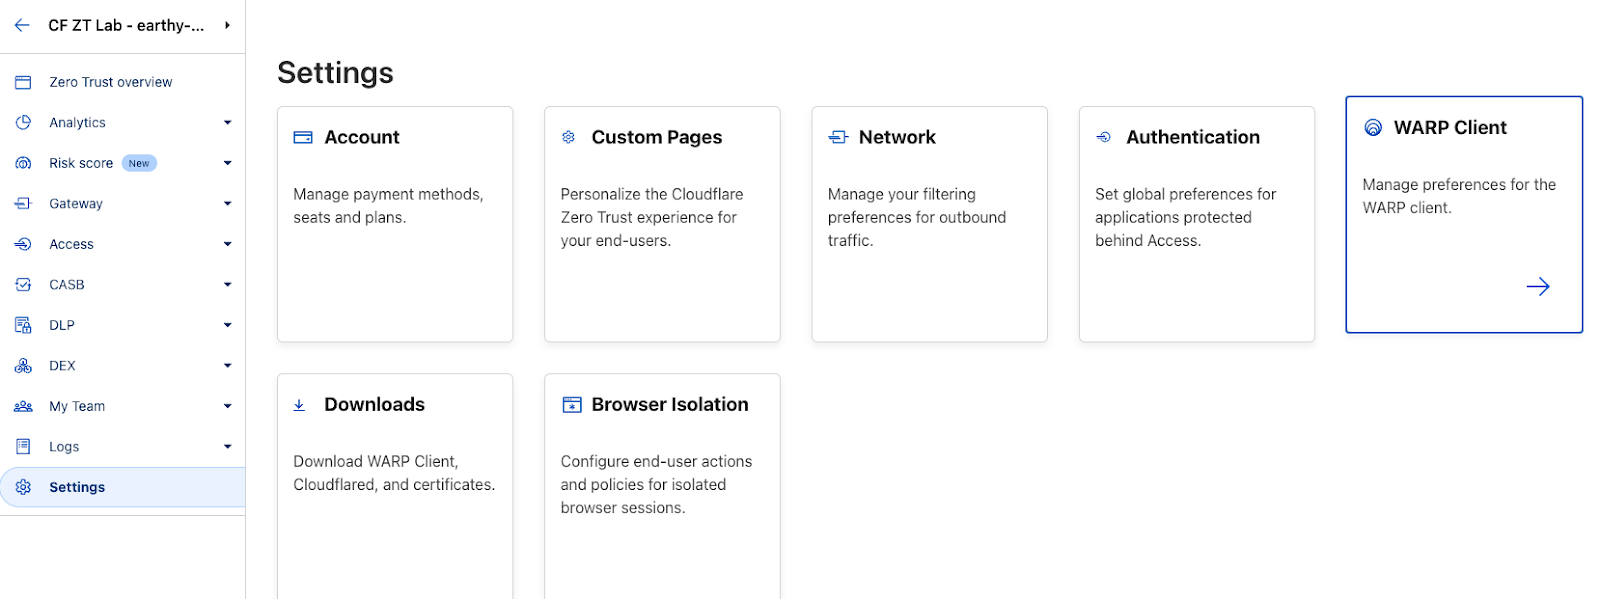
In the WARP client settings, under Device Enrollment, select Manage.
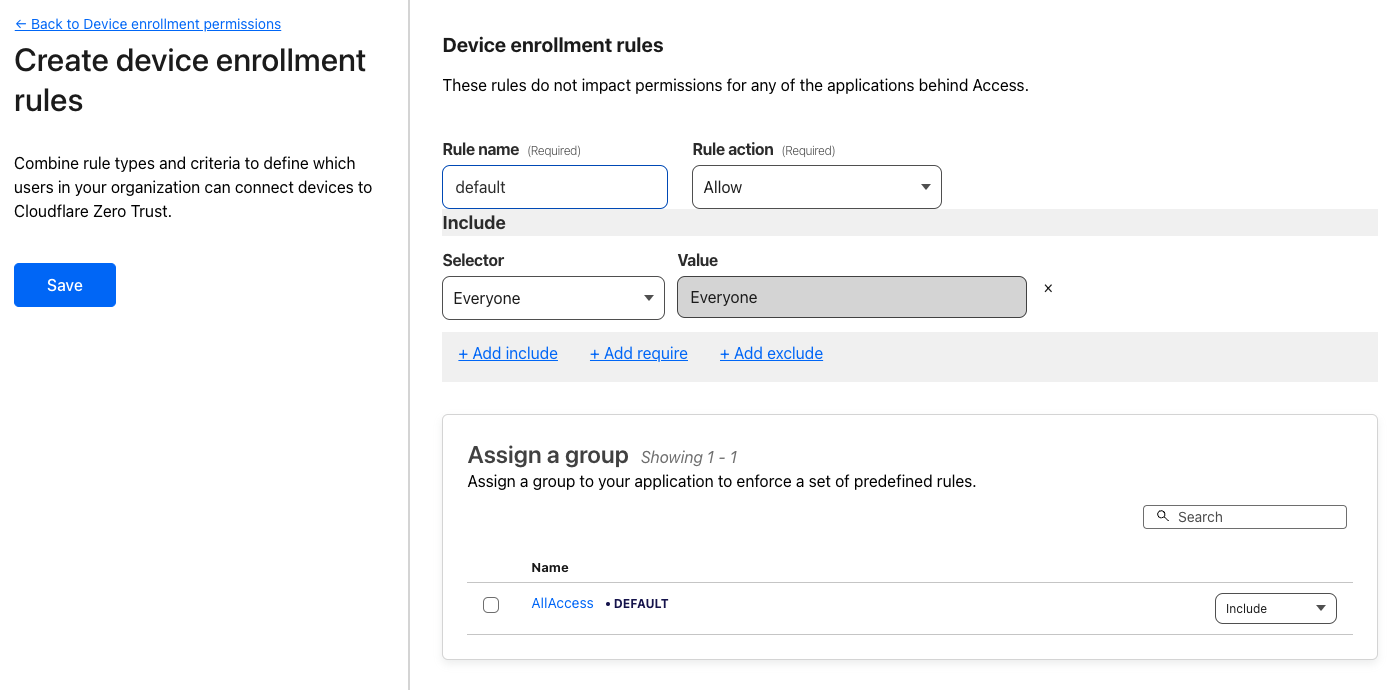
In this page, you can define what the device enrollment rules are that will allow users to connect via Warp. For this lab, under Policies, click the + sign where it says Add A Rule.
Select a rule name such as default. For Rule Action, select Allow. For Selector choose Everyone, and Everyone should be selected for Value.
When you finish, the screen should look something like this. If it does, hit Save.
Once that is complete go back to Settings and then select Authentication. Under Login methods, select Add New.
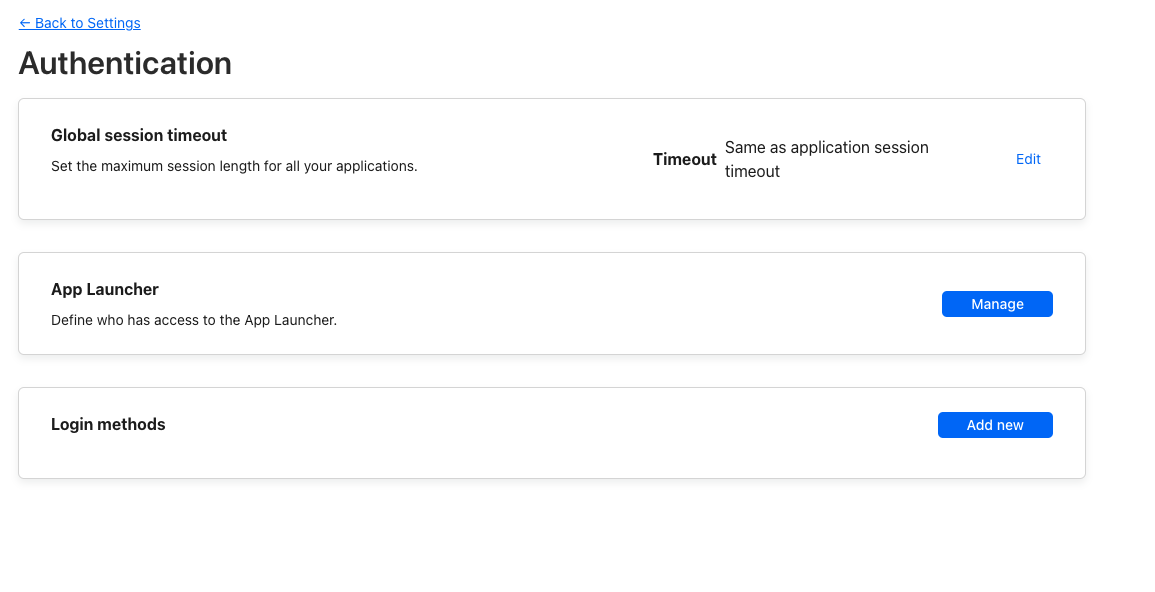
You will be given a list of identity providers to choose from. For this lab, select One-time PIN.
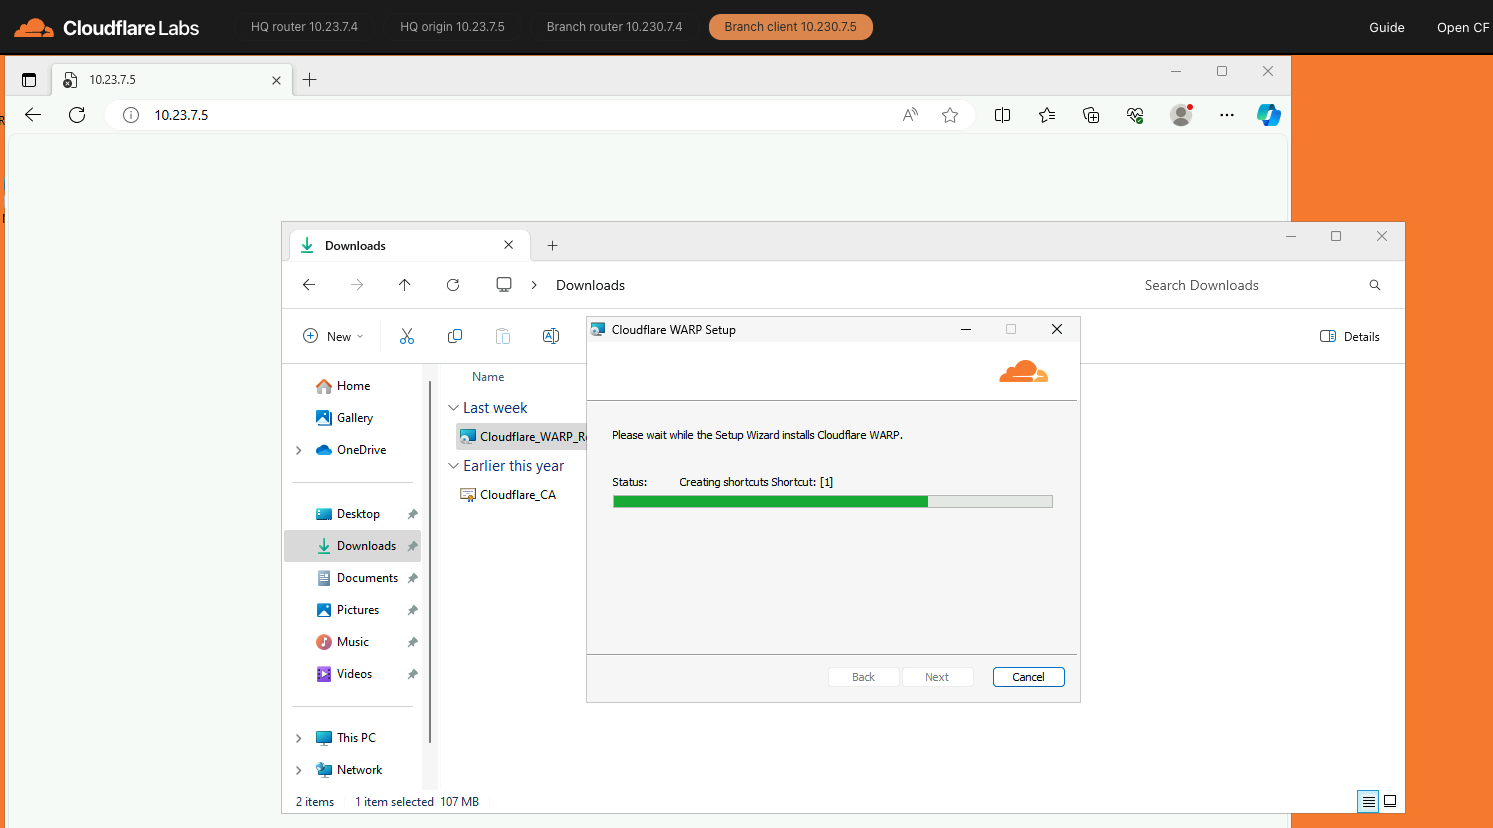
At this point, we have to go back to the Windows Client and configure Cloudflare WARP. Go to the windows client, open File Explorer, and go to the Downloads folder. You should see the application to install Cloudflare WARP. Click on it and install WARP.
Once you log into the Windows machine, you should see a gray clouded icon on the lower right-hand corner of the screen. Click the gear icon to start WARP configuration.
After clicking on the gear icon, click on Preferences and then click on Account. At the bottom right of the window you will see a button that says login with Cloudflare Zero Trust. Select that button.

A window will open that asks you to enter a team name. For the purpose of this lab, use the CF slug name that has been assigned to you (ie. willing-power).
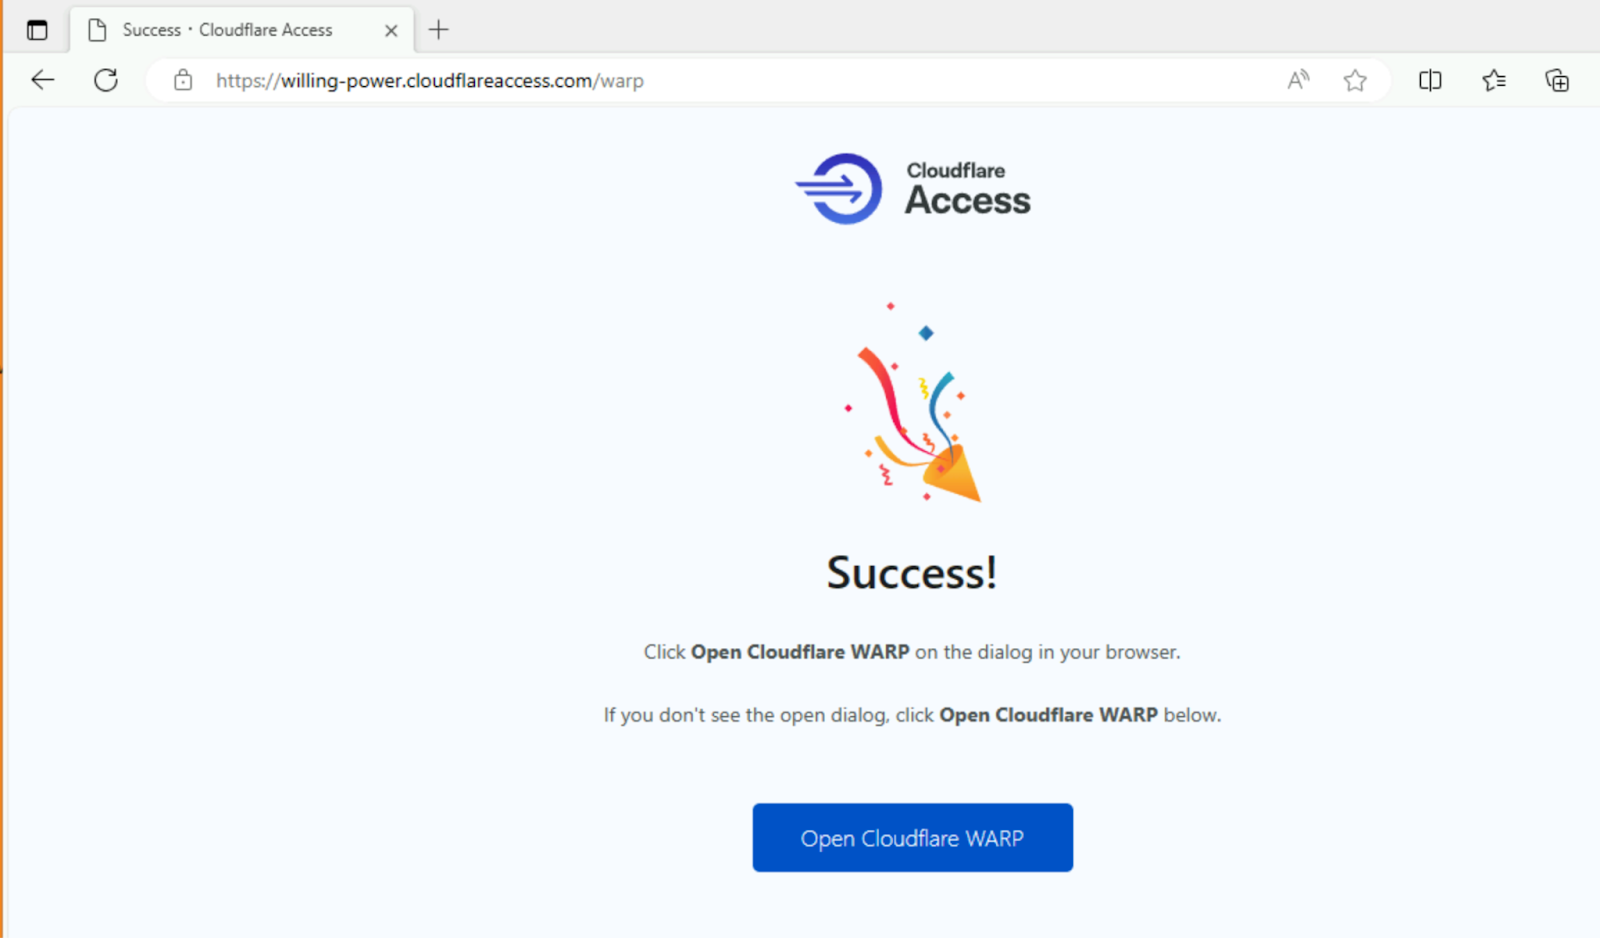
Once you do, you will be asked to enter an email address to send a One Time Code to. Enter an email address that you can access and hit send. A one time code will be sent to you. Enter that code and click sign in.
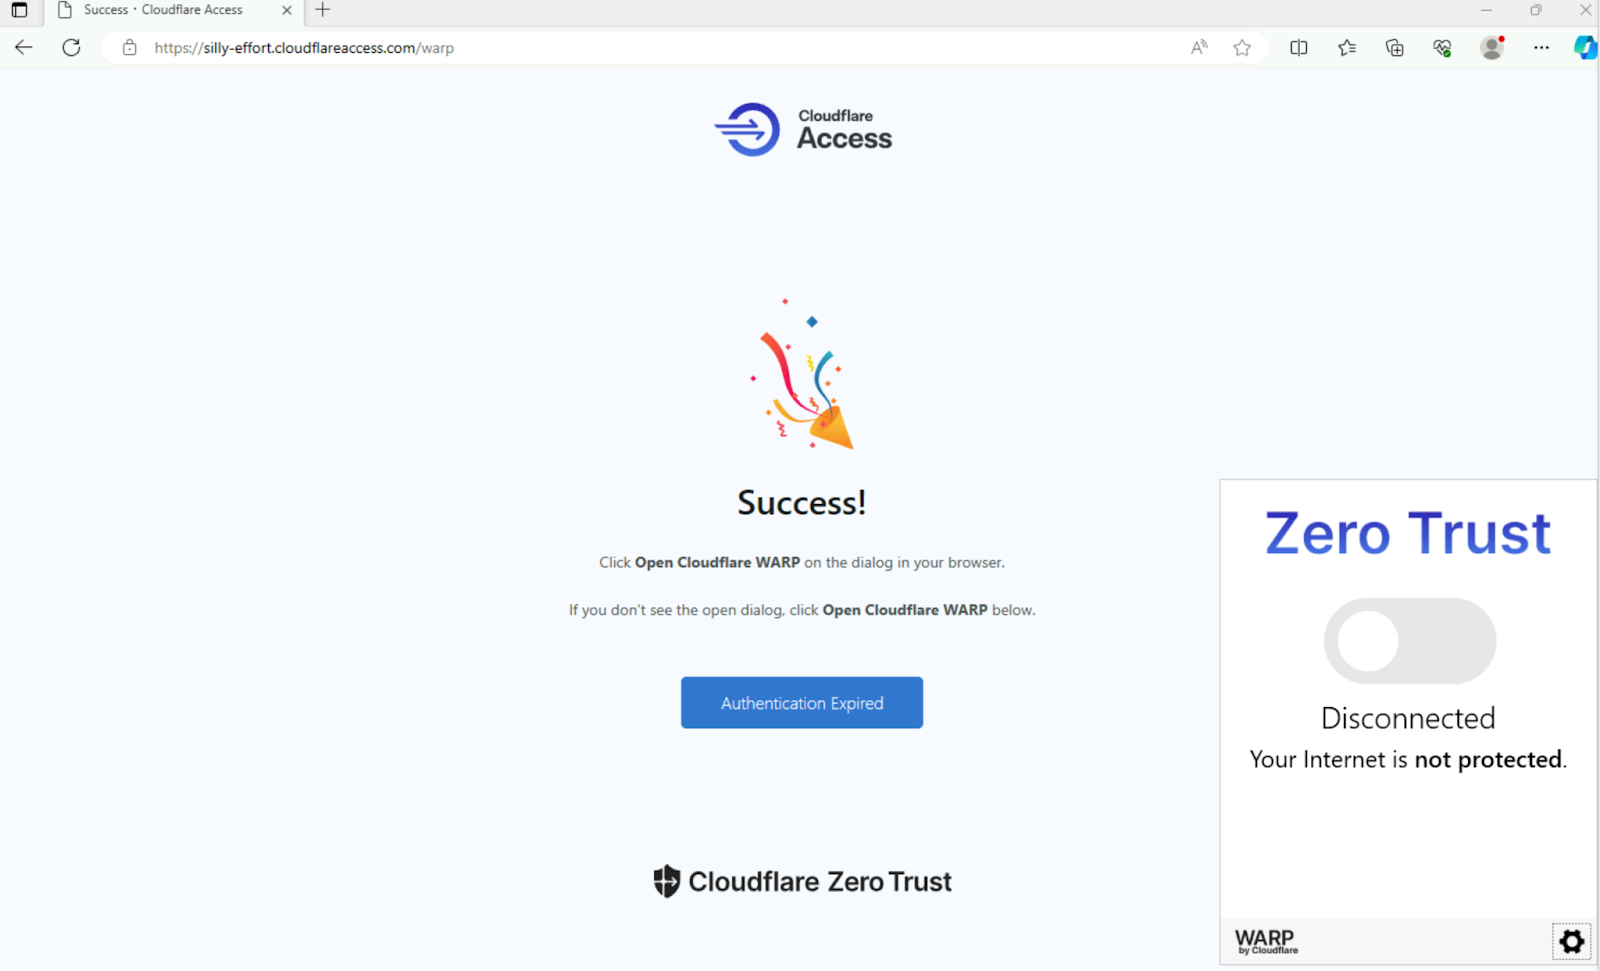
If everything was entered properly, you will see a success message.
Now, if you click on the WARP cloud icon in the task bar, you will notice that the words Zero Trust have changed color from orange to purple. This means that the Windows client has successfully been configured to a Zero Trust account.
From here, click the button. In the lab, you may see a momentary disconnection as the computer’s IP address changes from it’s original IP address to a Cloudflare IP address. After a minute or so, the connection should return. The Cloudflare WARP icon will now glow orange to show connectivity.
Now, if you try to connect to the HQ web server, you should be able to do so. The user can now access internal sites and applications, while being remotely connected.

In this lab, we were able to successfully connect two sites via IPsec tunnels through Magic WAN. We were also able to connect a remote user to a corporate resource by utilizing Warp to Magic WAN.
There is much more that you can do with Cloudflare’s Magic WAN and other Network Services and Zero Trust Services capabilities. We encourage you to continue your learning and see how the one Cloudflare platform can help organizations manage their technology stack.
Thank you!