Locally-managed tunnel
If you already went through our Zero Trust Architecture & Implementation lab, you created a remotely-managed Cloudflare Tunnel set up from the Cloudflare dashboard.
However, Cloudflare Tunnel can also be managed locally using the cloudflared command line tool.
Task
Set up cloudflared tunnel using the command line.
Make website running on Origin A accessible via a public hostname.
Make fileserver running on Origin A accessible through WARP using private IP.
Why
Locally-managed tunnels:
- Enable complex configurations not available in the web console
- Support advanced features that haven't been implemented in the dashboard yet
- Control the tunnel from the host via scripting or CI/CD pipelines
1. Verify cloudflared is installed
Open the console of your Origin A virtual machine.
To paste content of your clipboard to the console, right-click.
For your convenience we installed cloudflared already. cloudflared is compatible with all major operating systems, and can be installed via most well-known package managers (.apt, .rpm , as a .exe etc.). Test your installation by printing cloudflared version number.
cloudflared --version⚙️ nocopy ⚙️
cloudflared version YYYY.M.V (built YYYY-MM-DD-VVVV UTC)Ubuntu Origin A
2. Authenticate cloudflared
Next you’ll need to authenticate to your cloudflared instance with your Cloudflare account:
cloudflared tunnel loginPlease open the following URL and log in with your Cloudflare account:
🟨https://dash.cloudflare.com/argotunnel?aud=&callback=https%3A%2F%2Flogin.cloudflareaccess.org%2Fxxxxxxxxxxxxxxxxxxxxxxxxxxxxxxxxxxxxxxxxxxx%3D
Leave cloudflared running to download the cert automatically.Note the URL in the command output.
Copy the URL to clipboard, open it in a browser window and log into your Cloudflare account.
After logging in to your account, select your lab hostname (ends with .cfdemolab.xyz. This will generate a certificate for this cloudflared instance associated with your account and store it in ~/.cloudflared/cert.pem.
3. Create a tunnel
Create a tunnel and give it a name with the following command:
cloudflared tunnel create test-tunnelTunnel credentials written to /home/cloudflare/.cloudflared/xxxxxxxx-xxxx-xxxx-xxxx-xxxxxxxxxxxx.json. cloudflared chose this file based on where your origin certificate was found. Keep this file secret. To revoke these credentials, delete the tunnel.
🟨Created tunnel test-tunnel with id xxxxxxxx-xxxx-xxxx-xxxx-xxxxxxxxxxxxTake note of the tunnel UUID in the output, we will need this shortly.
Running this command will result in the following:
- Cloudflare will generate a UUID for your tunnel
- A tunnel credentials file,
<tunnel_uuid>.jsonwill be created in~/.cloudflared - A subdomain of
.cfargotunnel.comwill be generated, this subdomain can be used to dereference a public-facing hostname in the account you selected in step 2
From the output of the command, take note of the tunnel’s UUID and the path to your tunnel’s credentials file.
Confirm that the tunnel has been successfully created by running the following command:
cloudflared tunnel listID NAME ...
xxxxxxxx-xxxx-xxxx-xxxx-xxxxxxxxxxxx test-tunnel ...As an extra check, navigate to your Cloudflare Zero Trust dashboard, Networks ‣ Tunnels and check the tunnel is listed there:
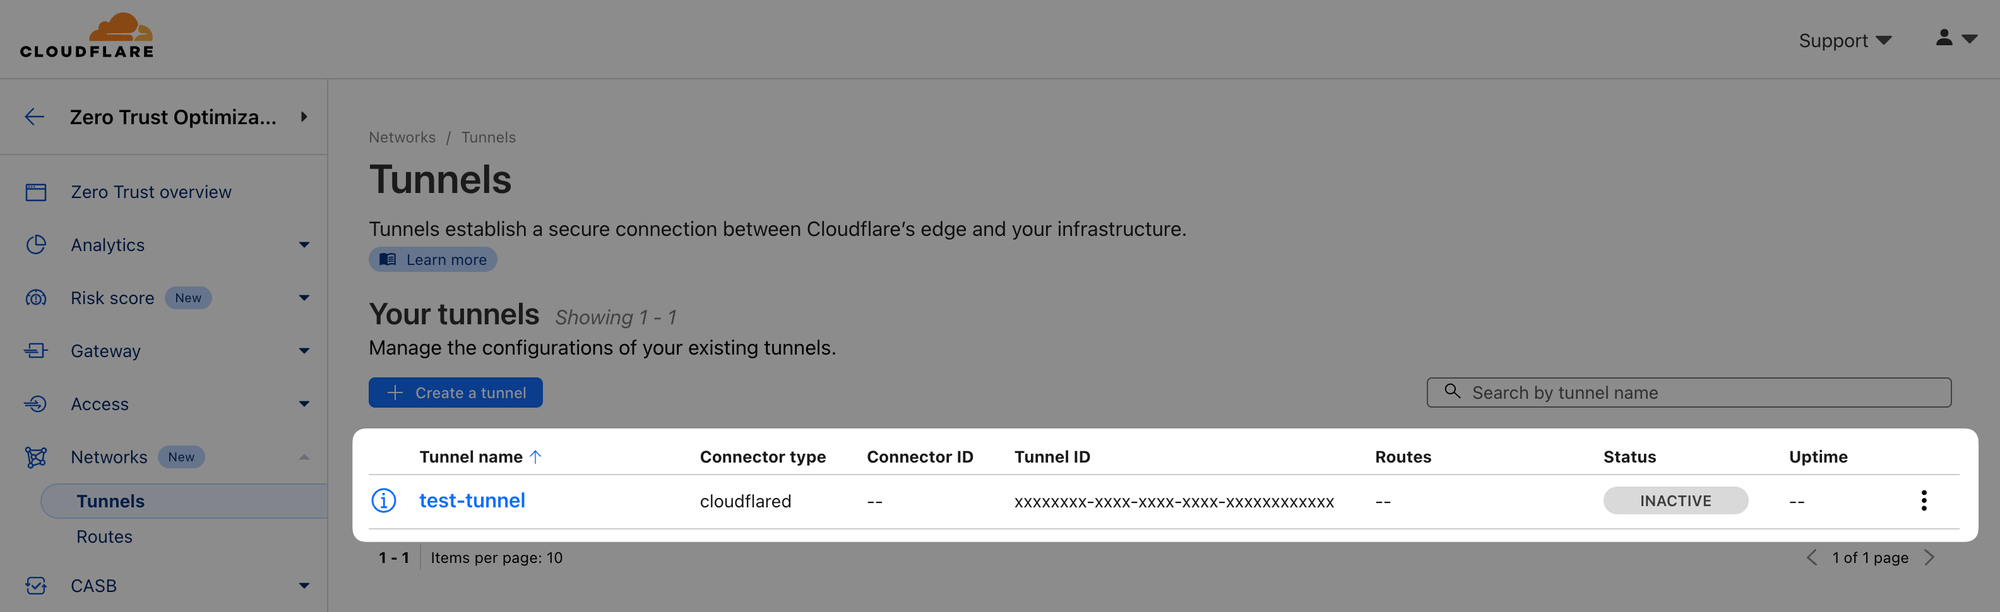
Note that at this point, we don't have any connector for the tunnel running so the tunnel is marked as INACTIVE.
4. Assign a CNAME record to your tunnel subdomain
Let's now create a new public hostname for the website running on Origin A that we want to make publicly accessible.
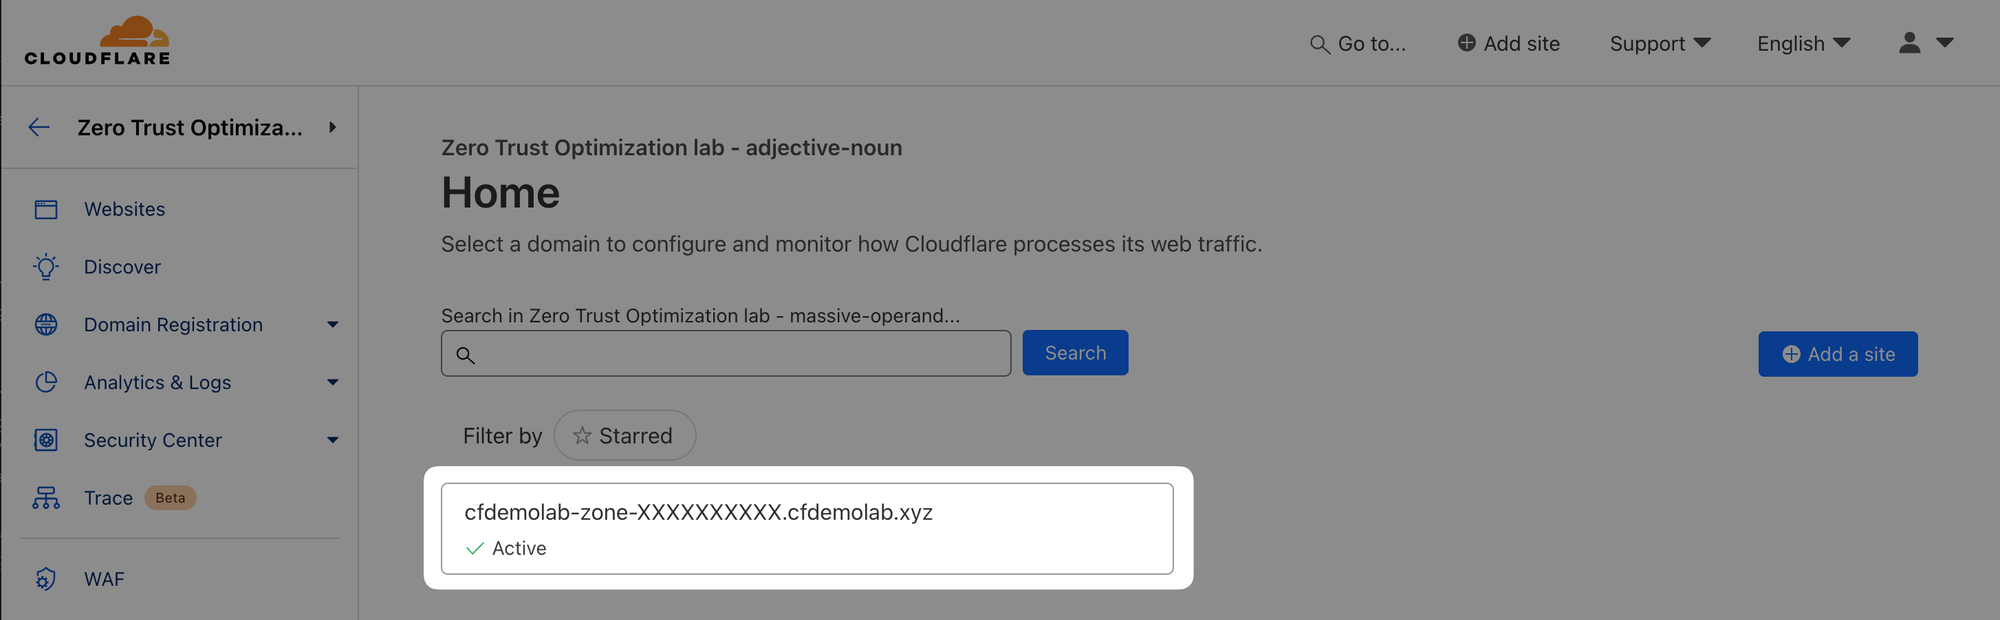
First, find out what your lab zone is by navigating to Cloudflare's main dashboard (not the Zero Trust one):
Now run the following command (replace <your_lab_zone> with your zone from the dashboard):
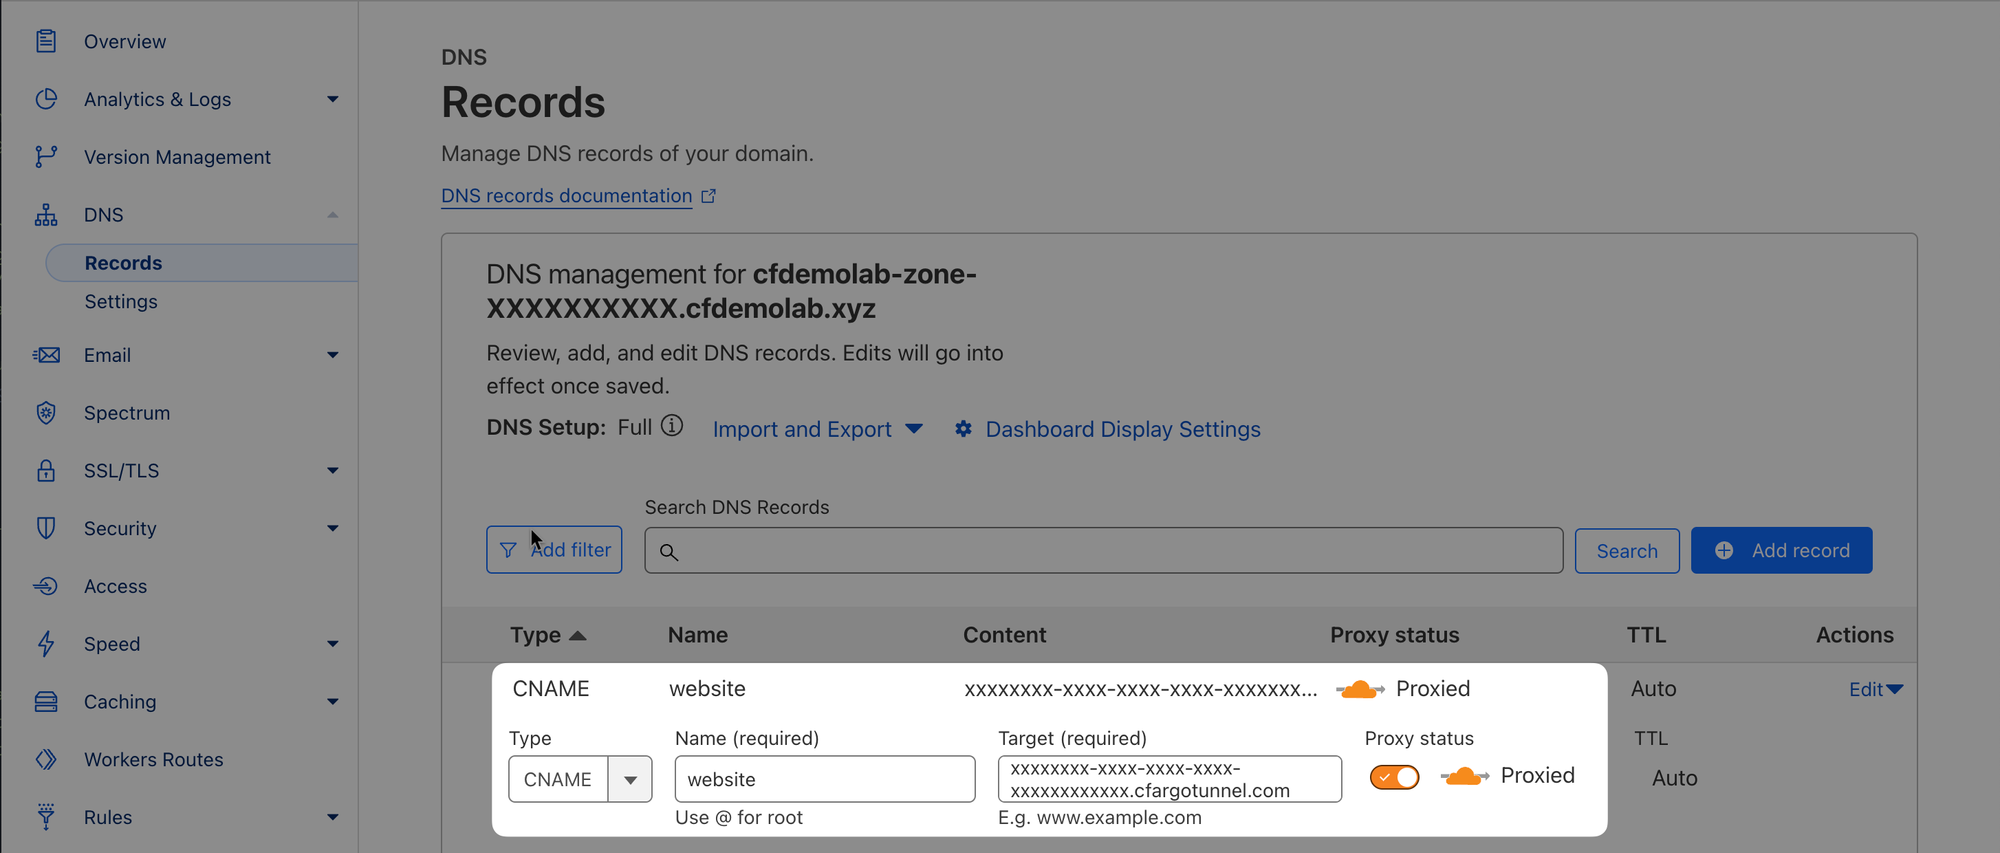
cloudflared tunnel route dns test-tunnel "website.<your_lab_zone>.cfdemolab.xyz"2024-07-03T11:08:16Z INF Added CNAME website.cfdemolab-zone-XXXXXXXXXX.cfdemolab.xyz which will route to this tunnel tunnelID=xxxxxxxx-xxxx-xxxx-xxxx-xxxxxxxxxxxxNow navigate back to the dashboard and open your lab zone by clicking on it:
Under DNS ‣ Records, note the CNAME DNS record the above command automatically created for you. If you click on Edit, you will see the tunnel is pointing to your tunnel's <tunnel_uuid>.cfargotunnel.com subdomain:
5. Configure tunnel
Let's save ourselves some work and set the tunnel UUID as a shell variable on Origin A (replace <tunnel_uuid> with your actual tunnel UUID):
TUNNELID=<tunnel_uuid>Next, do the same for your lab DNS zone (again, replace <your_lab_zone> with your actual lab zone you saw in your dashboard earlier):
DNSZONE=<your_lab_zone>.cfdemolab.xyzNow let's create config.yaml configuration file in your ~/.cloudflared by pasting in the below command.
cat << EOF > ~/.cloudflared/config.yaml
tunnel: $TUNNELID
credentials-file: /home/cloudflare/.cloudflared/$TUNNELID.json
warp-routing:
  enabled: true

ingress:
  - hostname: website.$DNSZONE
    service: http://localhost:80
  - service: http_status:404
EOF
If you print the config file, the content should look something like this (your exact IDs and zone will differ):
cat ~/.cloudflared/config.yamltunnel: f5abead5-ccae-43d4-9c53-2e3130675481
credentials-file: /home/cloudflare/.cloudflared/f5abead5-ccae-43d4-9c53-2e3130675481.json
warp-routing:
enabled: true
ingress:
- hostname: website.cfdemolab-zone-0000009376.cfdemolab.xyz
service: http://localhost:80
- service: http_status:404This configuration will do three things:
- the
warp-routingkey allows your end-users to access private IP ranges reachable through your tunnel (via WARP Client; we will need this for the next exercise) - the first
hostnameentry in theingresssection points all requests to yourwebsitesubdomain to the mock AcmeCorp web server running onlocalhost:80 - the last
serviceentry acts as a fallback, in our case it responds to all other requests received over the tunnel with error 404
6. Start tunnel
Finally, start the tunnel:
cloudflared tunnel run test-tunnel2024-07-03T11:13:36Z INF Starting tunnel tunnelID=xxxxxxxx-xxxx-xxxx-xxxx-xxxxxxxxxxxx
...
2024-07-03T11:13:36Z INF Initial protocol quic
2024-07-03T11:13:36Z INF ICMP proxy will use 10.91.0.126 as source for IPv4
2024-07-03T11:13:36Z INF ICMP proxy will use fe80::20d:3aff:fea1:8228 in zone eth0 as source for IPv6
2024-07-03T11:13:36Z INF Starting metrics server on 127.0.0.1:42297/metrics
2024-07-03T11:13:37Z INF Registered tunnel connection connIndex=0 connection=185062ff-a98c-449d-9bde-b44109a08664 event=0 ip=198.41.200.23 location=sin1
4 protocol=quic
2024-07-03T11:13:37Z INF Registered tunnel connection connIndex=1 connection=12a831ac-cefa-4863-971a-b715747cef4b event=0 ip=198.41.192.227 location=sin
08 protocol=quic
2024-07-03T11:13:38Z INF Registered tunnel connection connIndex=2 connection=7280c905-7657-4139-8f8a-2f71e4fd52b1 event=0 ip=198.41.200.63 location=sin1
2 protocol=quic
2024-07-03T11:13:39Z INF Registered tunnel connection connIndex=3 connection=02e68b32-47ff-46f0-a3c4-dbb7dc5f69a9 event=0 ip=198.41.192.167 location=sin
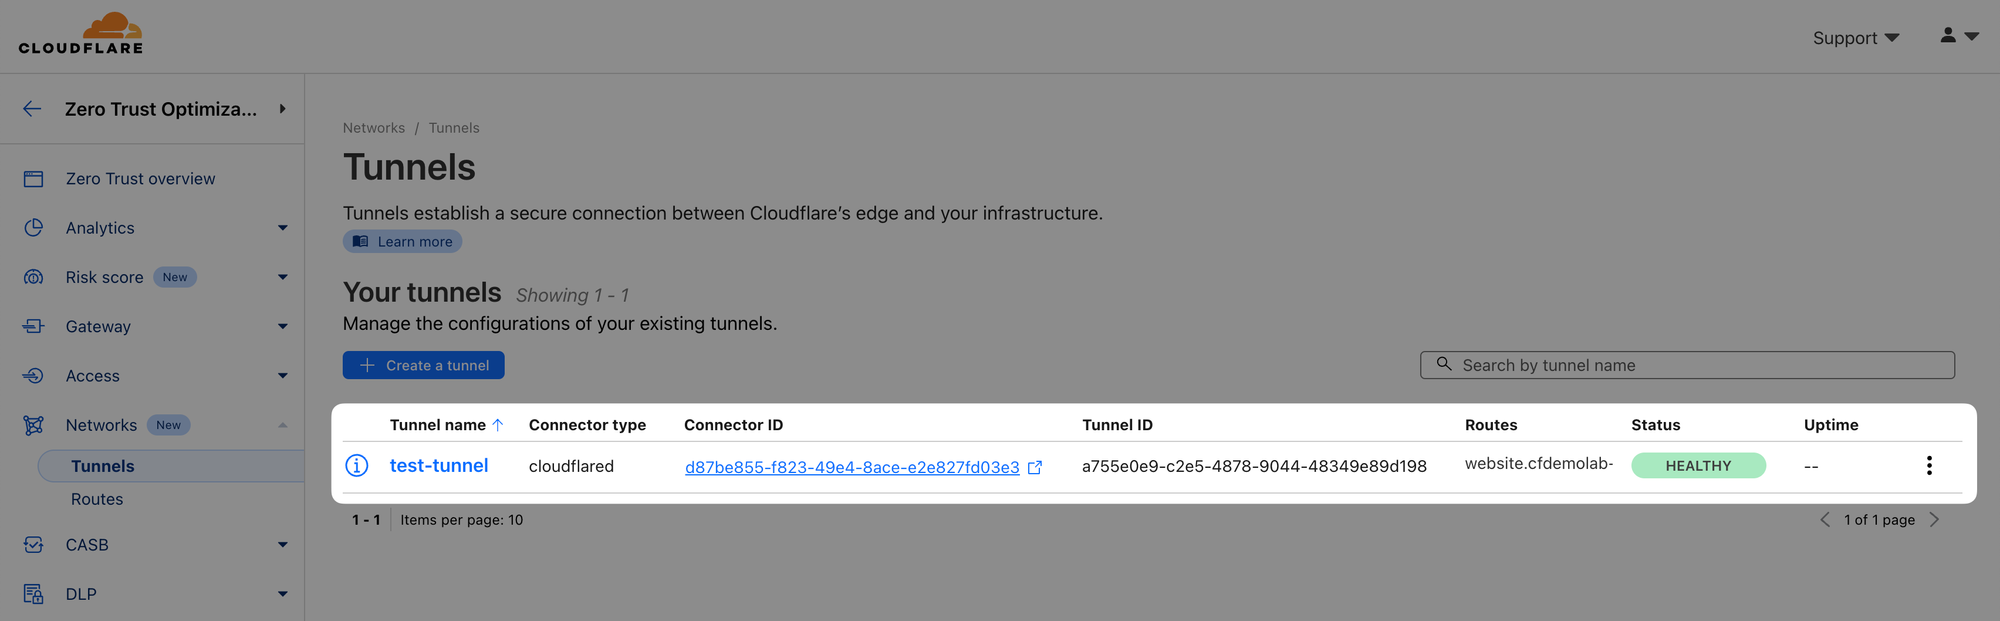
09 protocol=quicYou should now see the tunnel as active (HEALTHY) in the dashboard:
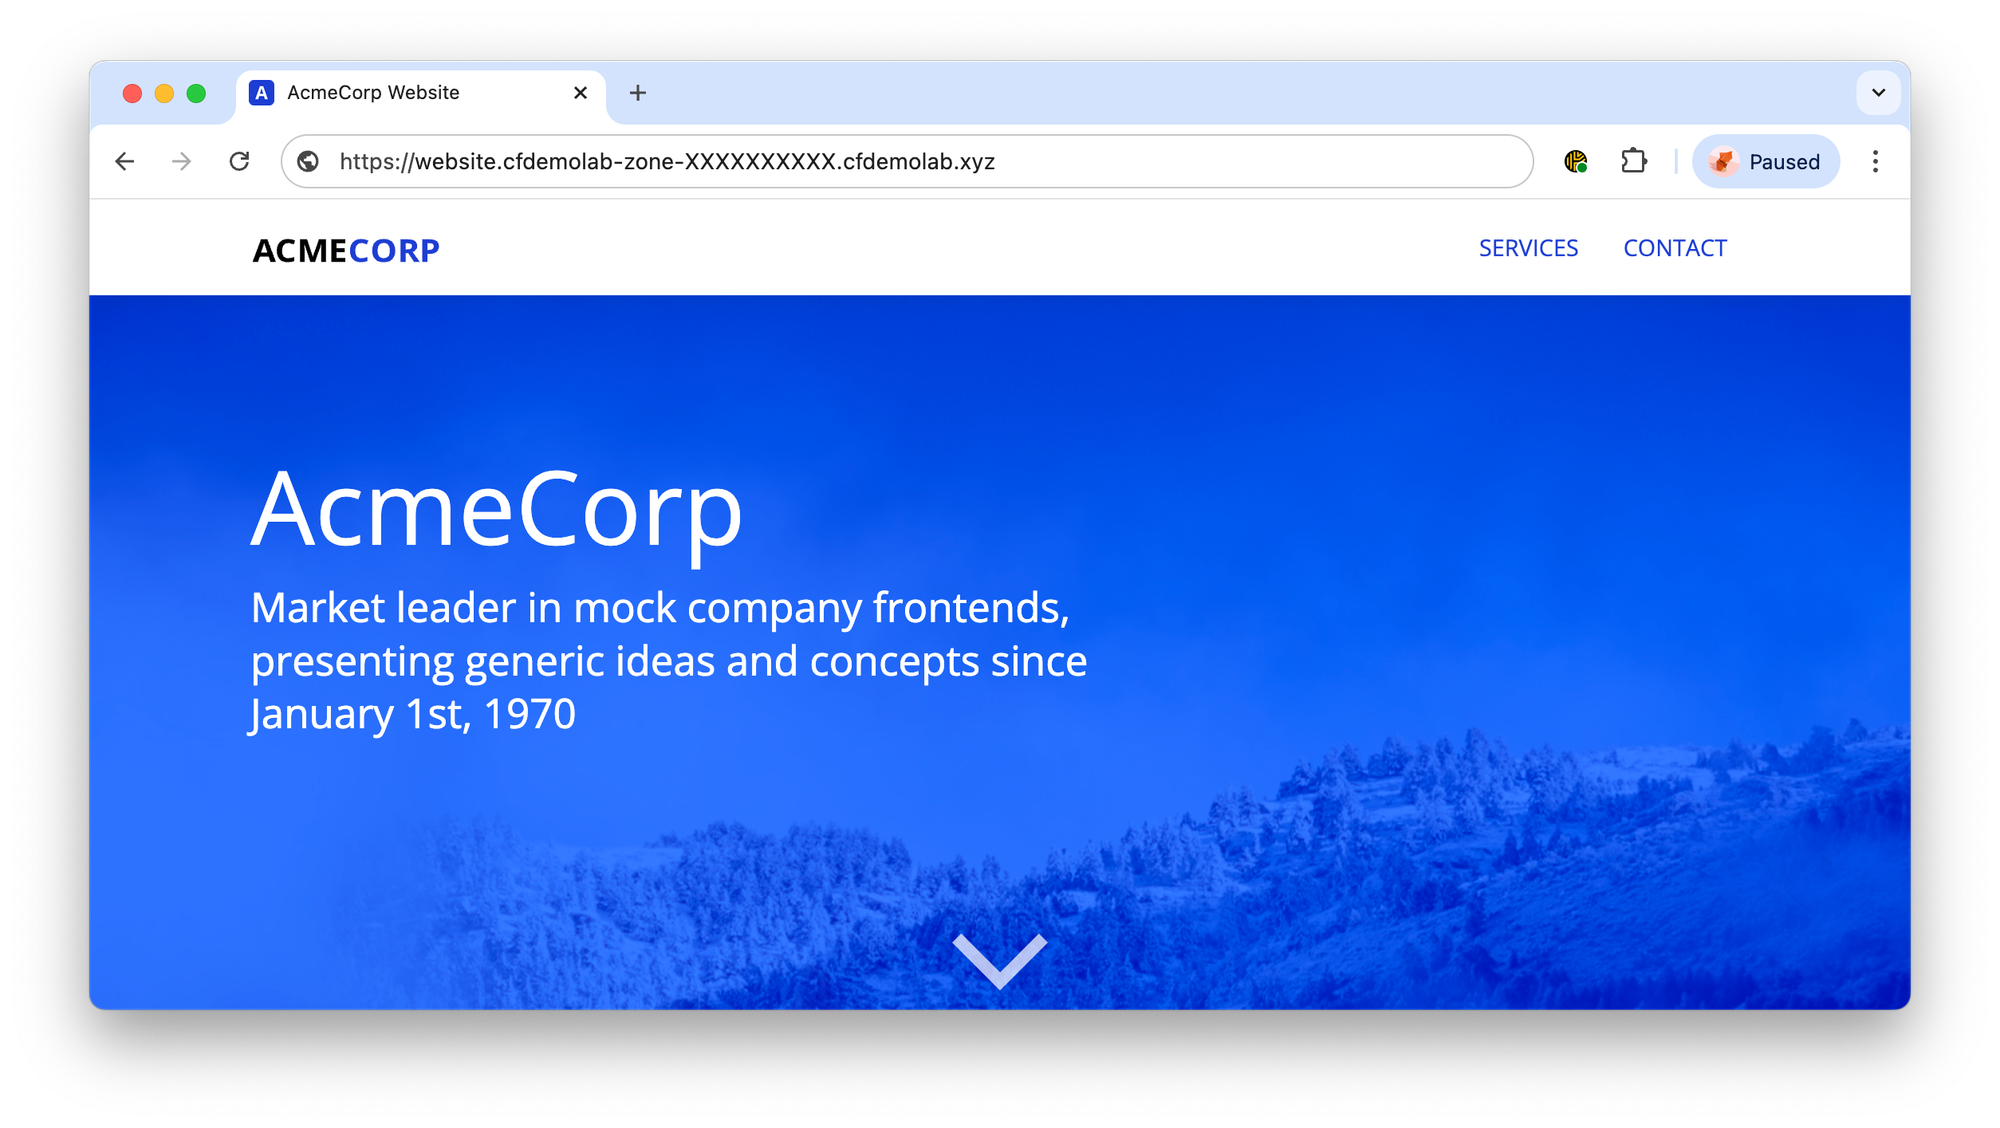
And when you open your website's URL (website.<your_lab_zone>.cfdemolab.xyz) in a browser, you should see the mock AcmeCorp website being retuned from web server running on your Origin A through the tunnel:
Connect a private network
Last task was to make fileserver running on Origin A accessible through WARP using private IP.
To achieve this we are going to assign your tunnel an RFC1918 IP for VPN-like communication, facilitated via the WARP client.
1. Route private subnet to tunnel
Ctrl+C to stop your tunnel if it is still running.Instruct Cloudflare edge to send WARP Client traffic for private subnet 10.0.0.0/24 through this tunnel (the subnet needs to be reachable from this tunnel):
cloudflared tunnel route ip add 10.0.0.0/24 test-tunnelYou can confirm that the route has been successfully established by running:
cloudflared tunnel route ip showID NETWORK ...
aaaaaaaa-aaaa-aaaa-aaaa-aaaaaaaaaaaa 10.0.0.0/24 ...warp-routing is enabled in your ~/.cloudflared/config.yaml configuration file, we added this in the previous lab and it is necessary for your tunnel to route any WARP traffic.2. Run the tunnel
Now start the tunnel again:
cloudflared tunnel run test-tunnel(optional) If you want to get status information about the tunnel you just created, you can run the following command:
screen or in a background so you can still use the terminal while the tunnel runs.cloudflared tunnel info test-tunnelNAME: test-tunnel
ID: xxxxxxxx-xxxx-xxxx-xxxx-xxxxxxxxxxxx
CREATED: 2024-07-08 04:17:58.713613 +0000 UTC
CONNECTOR ID CREATED ARCHITECTURE VERSION ORIGIN IP EDGE
cccccccc-cccc-cccc-cccc-cccccccccccc 2024-07-08T04:59:06Z linux_amd64 2024.6.1 13.76.91.139 1xsin08, 1xsin09, 2xsin12 Now let's try to access the private network we just defined on Origin A from the Win11 client using WARP Client.
Connect WARP client to your team domain
First, let’s define who can connect devices to your organization.
- In your Zero Trust dashboard, navigate to Settings ‣ WARP Client ‣ Device enrollment permissions ‣ Manage ‣ Add a rule
- When the rule wizard appears, create a new ruleset, with Rule action Allow, and choose the Emails or Emails ending in selector
- Set the Value field to your admin's SAML email:
[email protected]

- Save your policy.
Open your lab Win11 client.
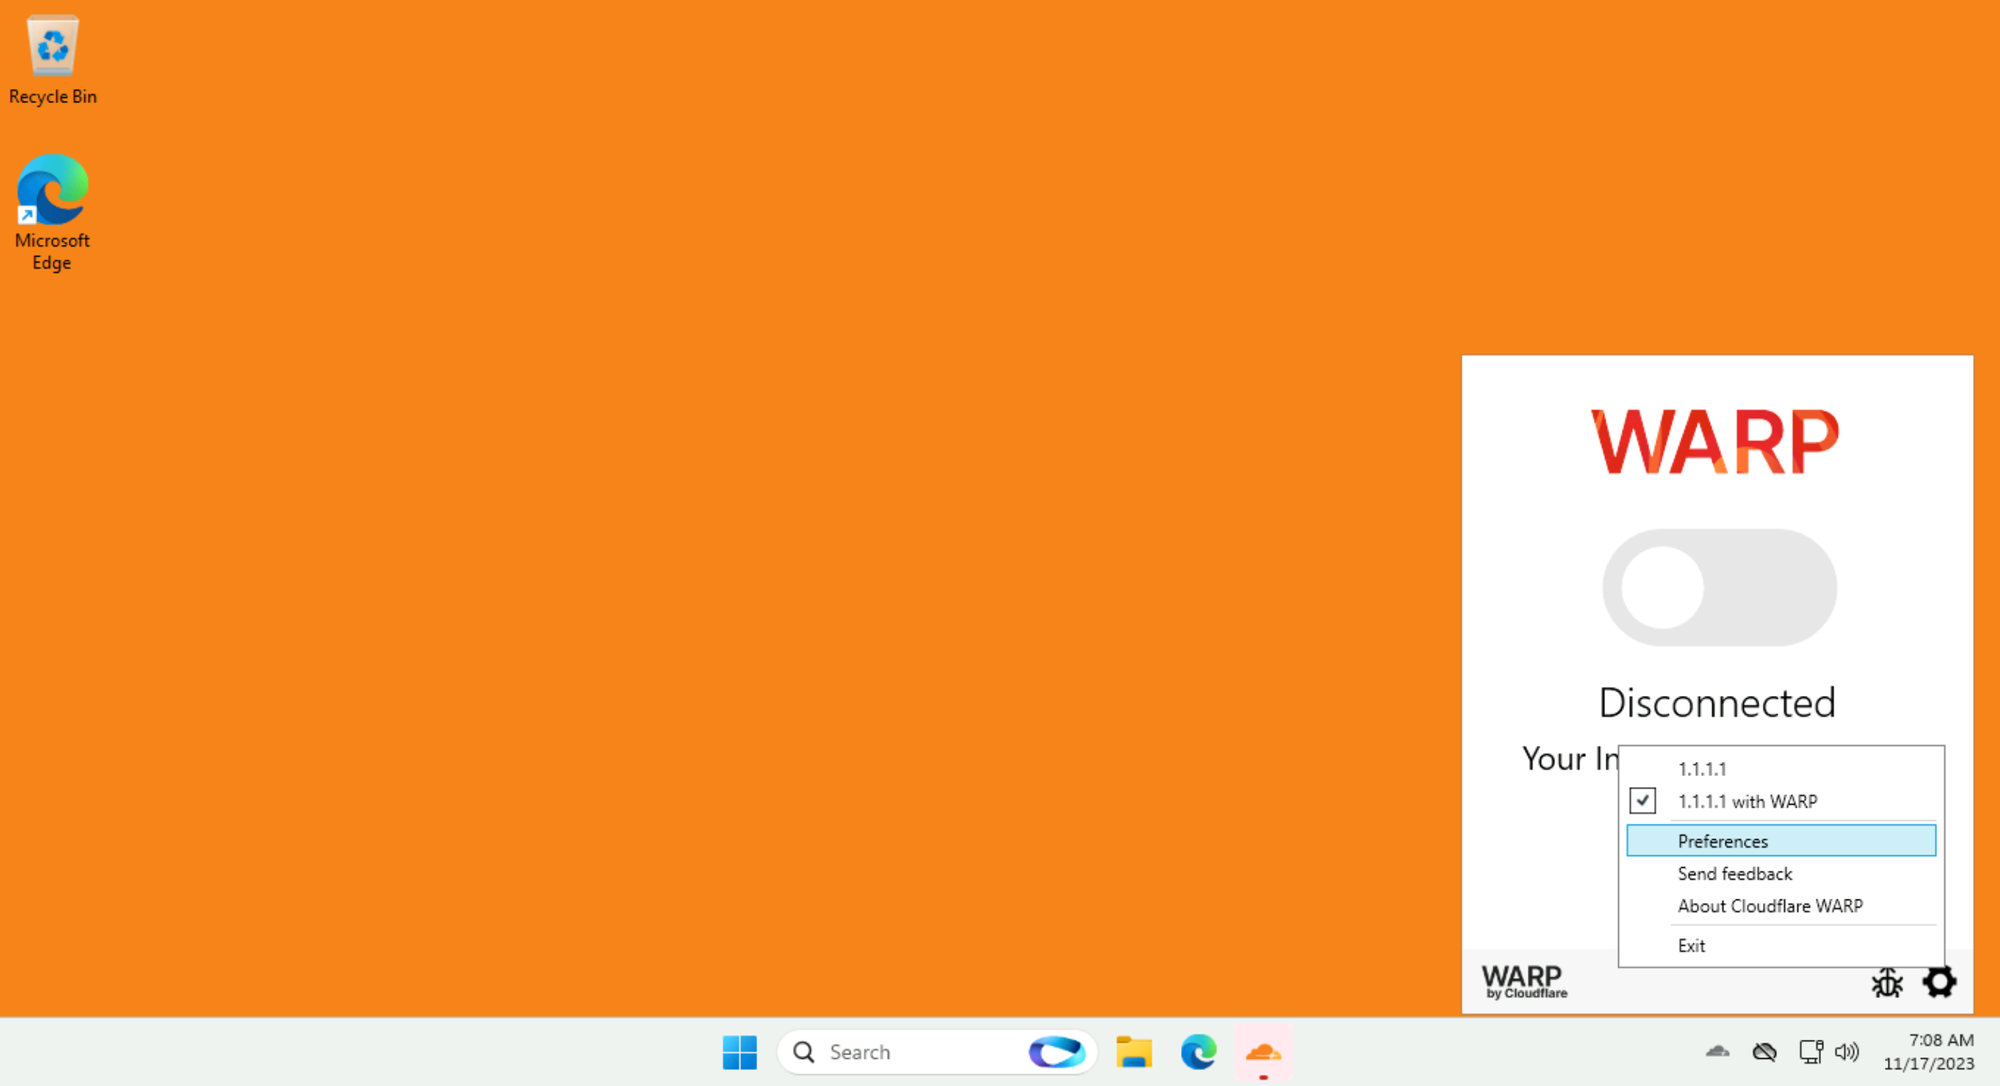
We preinstalled the WARP Client for you. Click on its cloud icon in system tray, then click on the Gear icon and select Preferences:
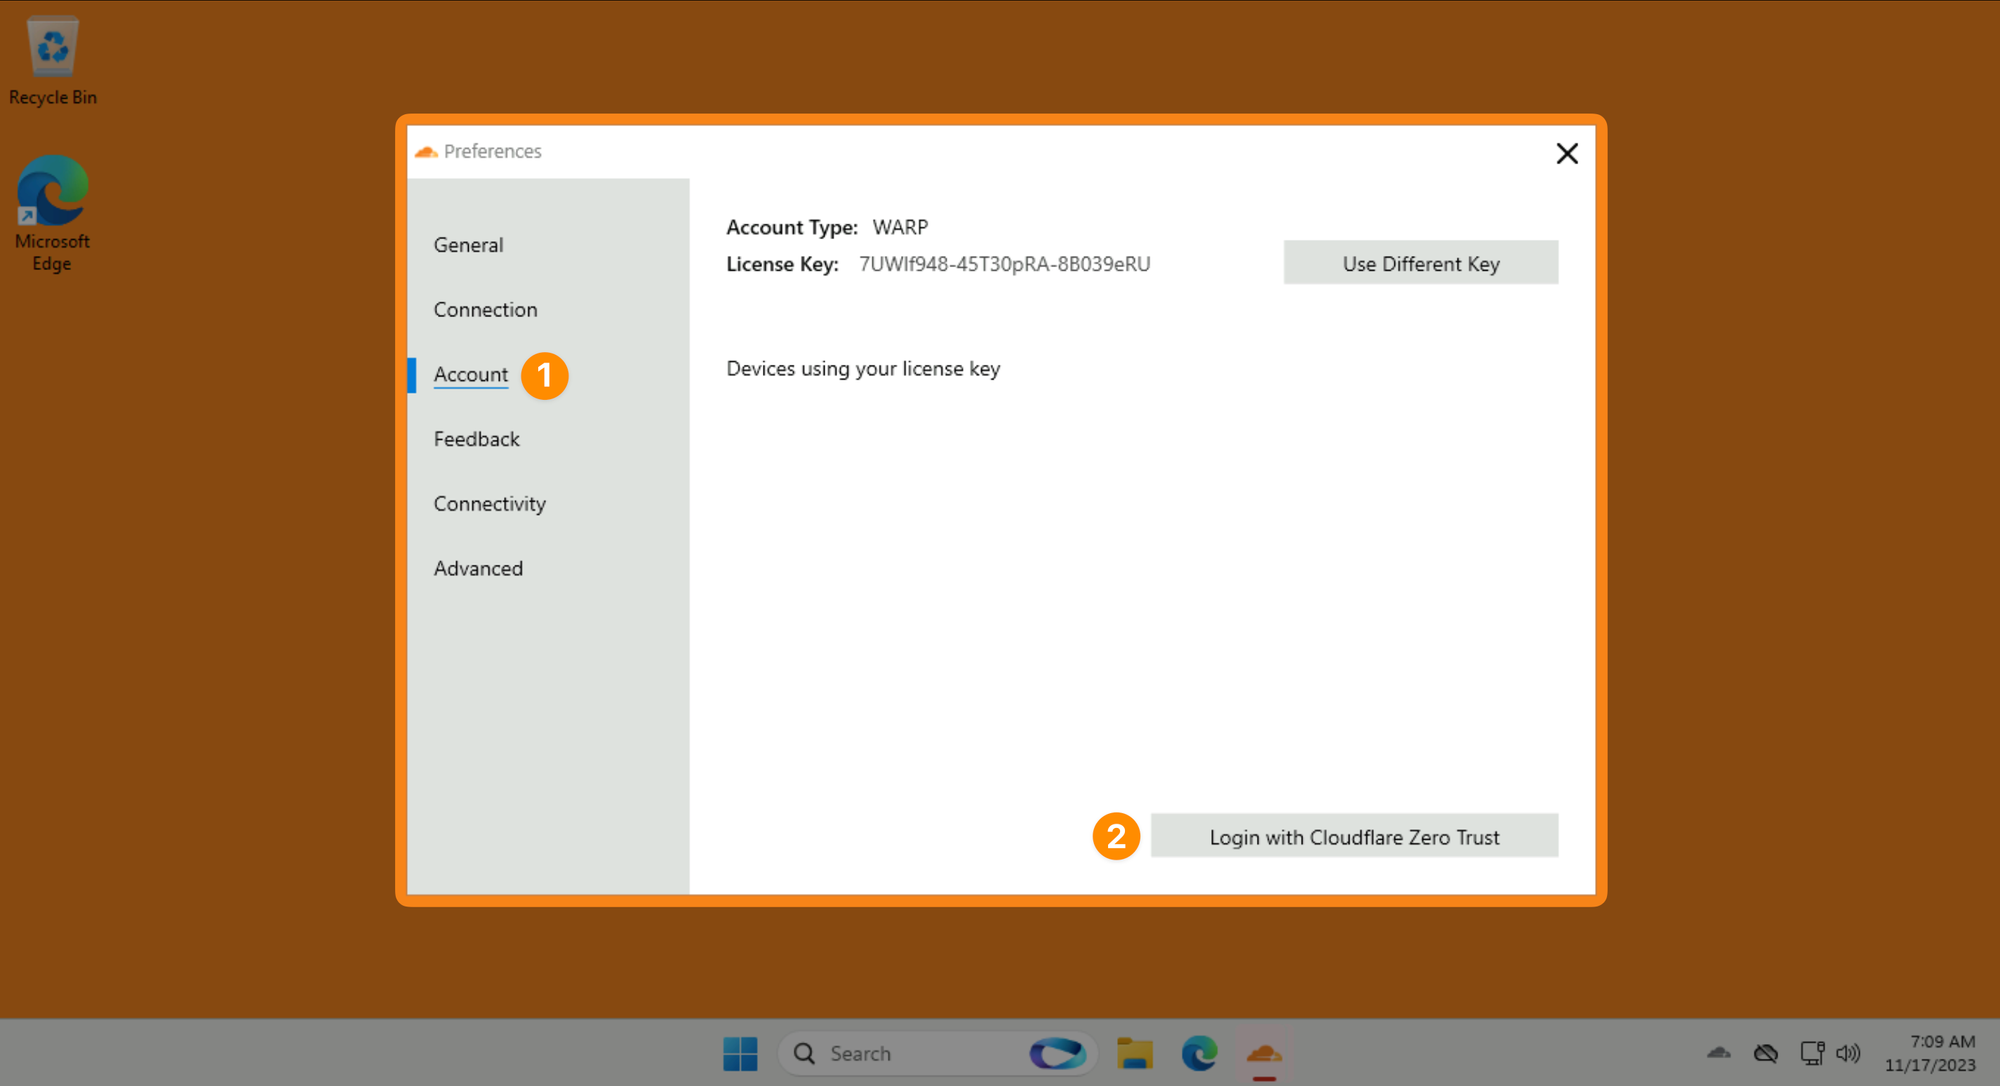
Then navigate to Account ‣ Login to Cloudflare Zero Trust:
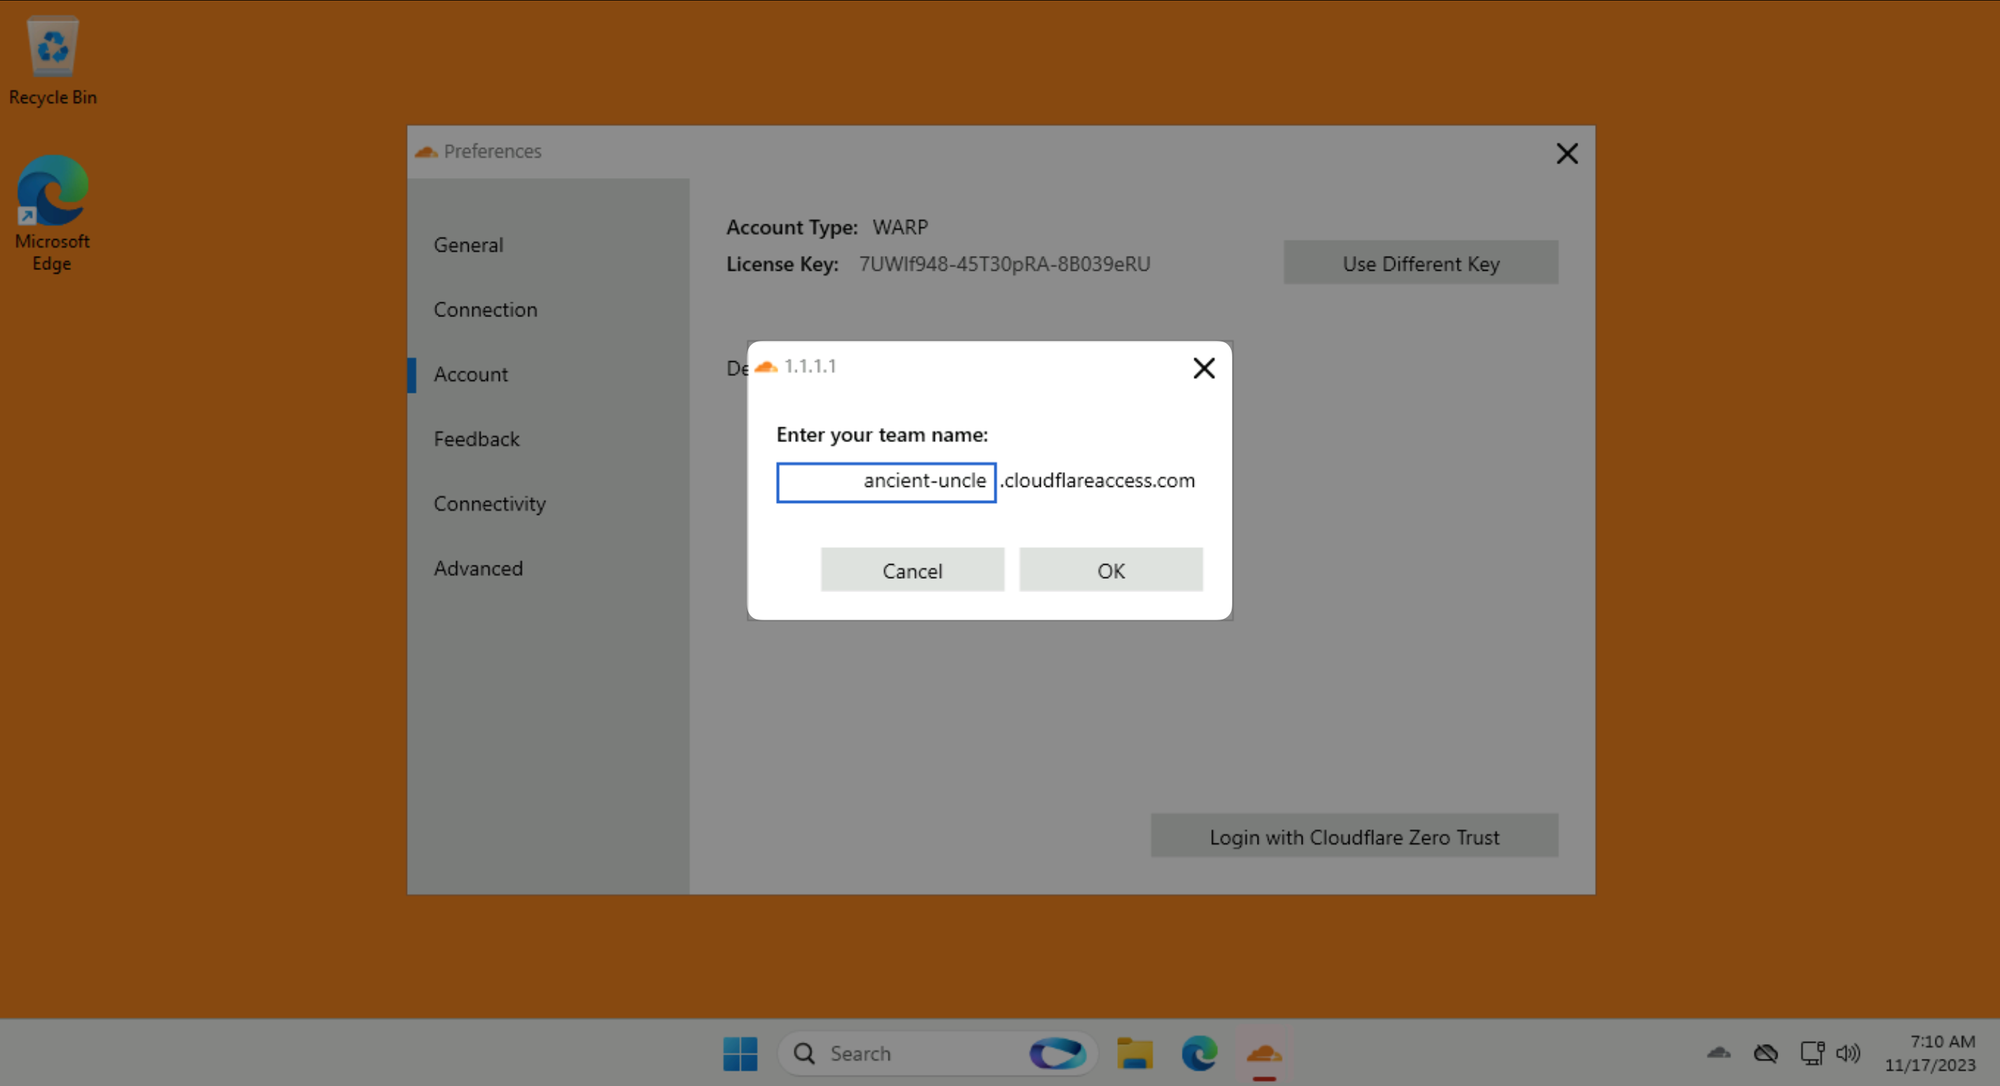
Use your LAB_SLUG when asked for a team name:
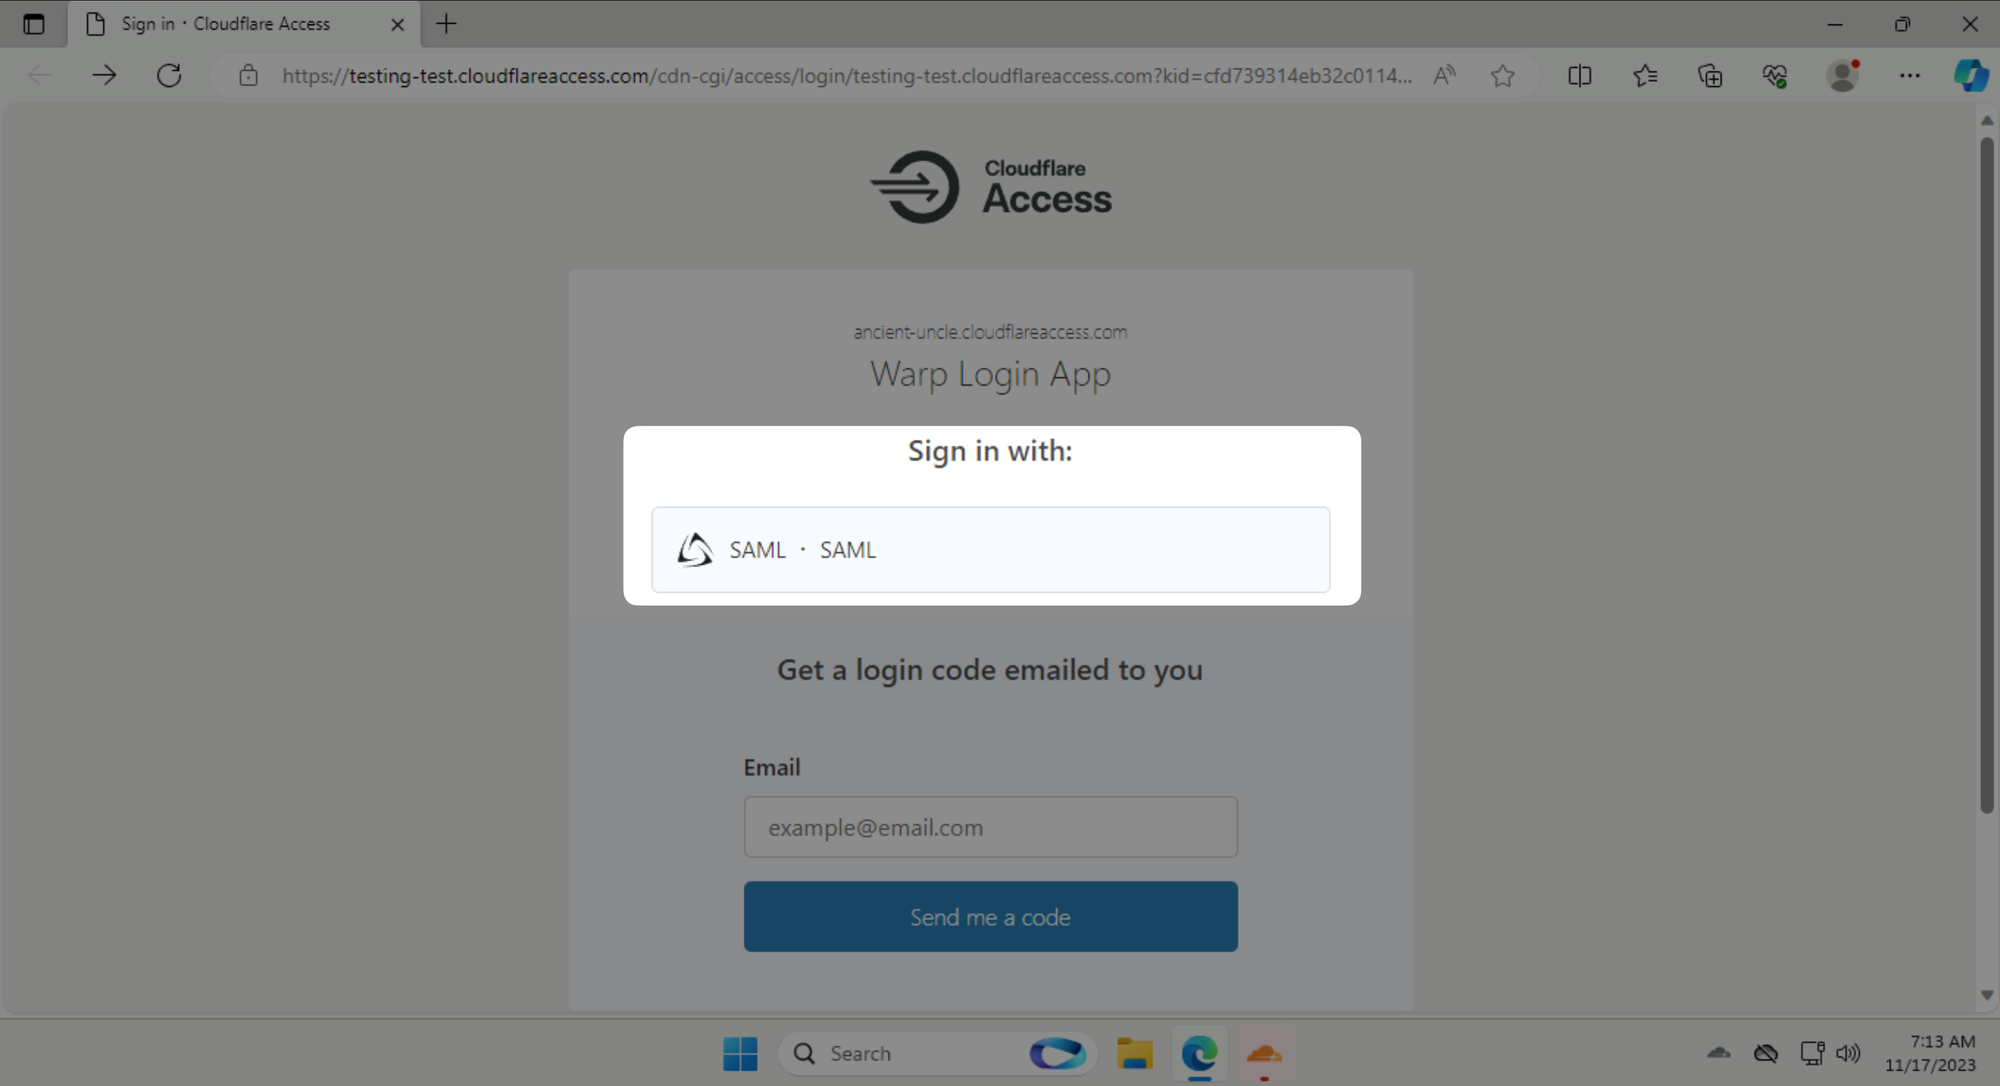
Click on Sign in with: SAML and log in as [email protected] with password #Savetheinternet.
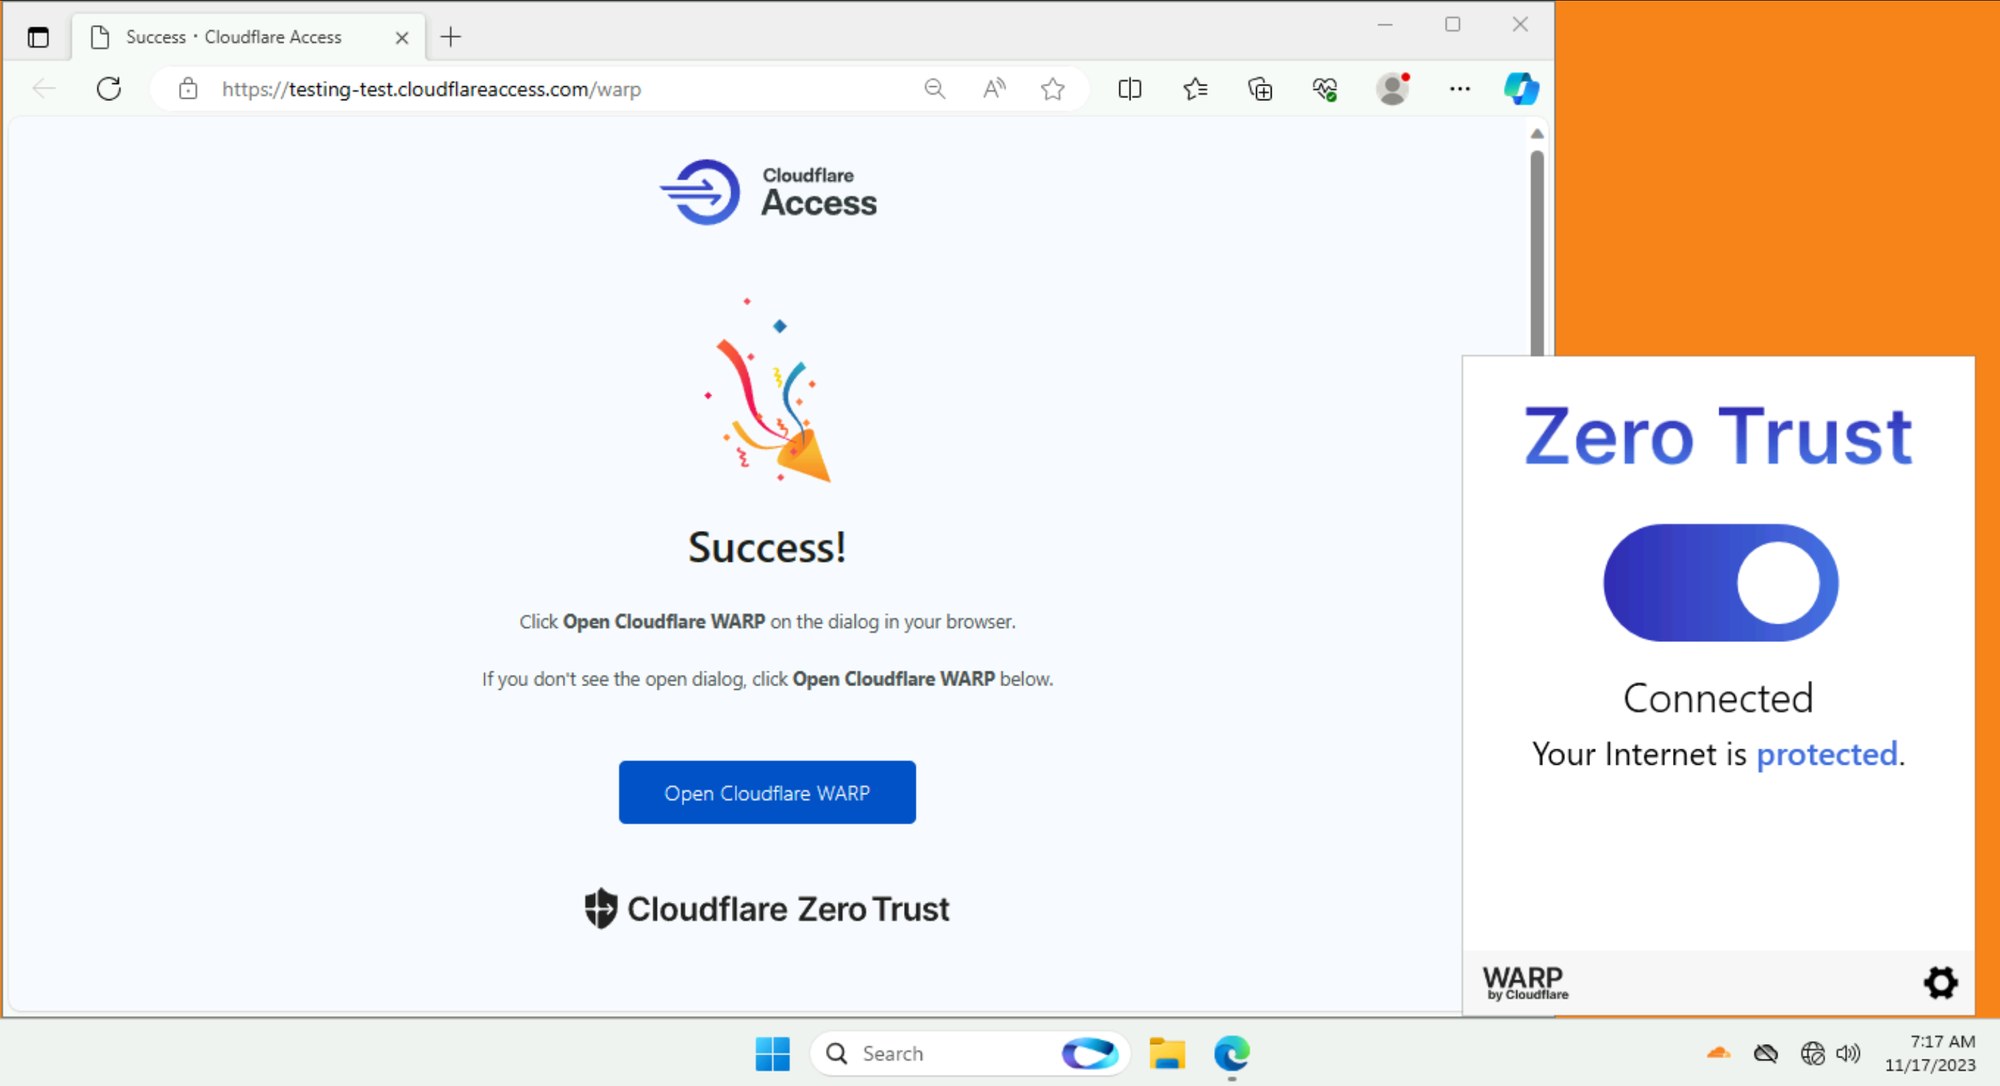
Once you are authenticated, click on the big grey button in the WARP Client to connect to Cloudflare's network.
Once connected, your Zero Trust WARP client should turn blue:
Test access to private IP
As a last step, test that your client can now access the services from this private subnet. Specifically, there is an SMB server running on 10.0.0.1 that the client should now be able to access.
Double-check your tunnel is still running as Origin A.
With WARP Client connected on the Win11 client, navigate to \\10.0.0.1 from the File Explorer:
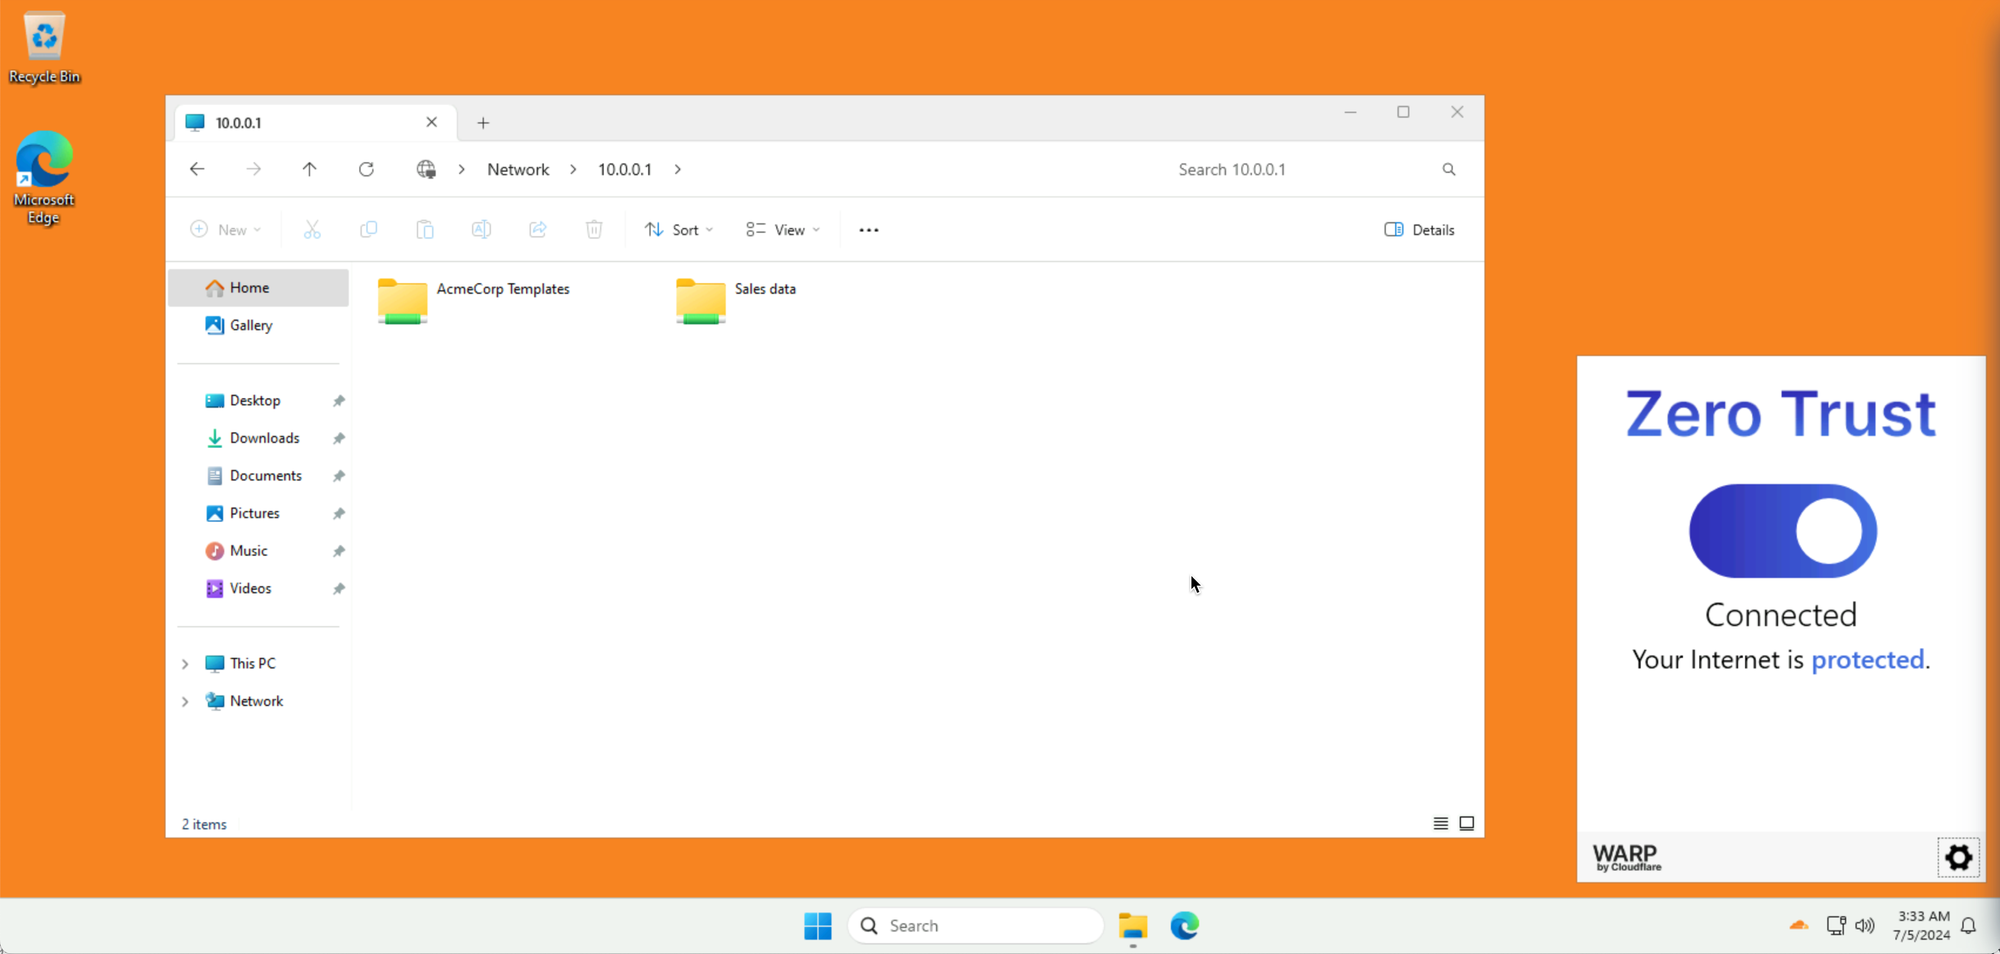
If you see two shared folders, you are done!
File not found error, double-check you are using File Explorer and not Edge or any other web browser.One last thing before we finish this section - let's talk about some best practices!
Best practices when creating a configuration file
When creating a configuration file, it is best practice to list tunnel and credentials-file as your first key/value pairs. Whether you are exposing an application or a network on the Internet, it is common to list these keys as the first ones in your configuration file.
If you’re exposing a private network, you need to add the warp-routing key and set it to enabled: true.
Once your top-level configuration is complete, you can begin addressing origin-specific configurations. By writing ingress rules in the configuration file, you can specify which local services a request should be proxied to.
Ingress rules & tunneling uncommon protocols
A number of connection parameters can be set in cloudflared configuration files. The full reference is available here.
In addition, you can set ingress rules to define how connections bound for different services are handled within the same instance of cloudflared. For example:
⚙️ nocopy ⚙️
tunnel: The tunnel UUID
credentials-file: ~/.cloudflared/<UUID>.json
warp-routing:
    enabled: true

ingress:
  - hostname: ssh.company.com
    service: ssh://localhost:22
    # Run `cloudflared` as a bastion host
  - hostname: b.company.com
    service: bastion
  - hostname: telnet.company.com
    service: tcp://localhost:23
  - service: http_status:404
Example (for illustration only, no need to copy)
Here’s how Ingress rules work:
cloudflaredevaluates Ingress rules from top to bottom- If a rule does not specify a hostname, all hostnames will be matched. If a rule does not specify a path, all paths will be matched.
- Rules can match either the hostname or path of an incoming request, or both
- You can use wildcards to match traffic to multiple subdomains or paths.
- The last rule you list in the configuration file must be a catch-all rule that matches all traffic. In this example, the catch-all rule is:
⚙️ nocopy ⚙️
ingress:
  # ...
  - service: http_status:404
Note that cloudflared can proxy almost all TCP and UDP protocols – including SSH, RDP, SMB and services running on Unix sockets. See a list of officially supported protocols. Your mileage may vary with protocols that communicate out-of-band, like passive FTP.