Configure your browser to forward traffic to a Gateway proxy endpoint using a .pac Proxy Auto Configuration file.
Why?
Sometimes, you may not be able to use WARP client, but you still may want to enforce Gateway policies.
You can instruct the user’s browser to send web traffic through Gateway by using Proxy Auto Configuration (PAC) files; they are a common ICT tool for automatically configuring users’ proxy settings and all major web browsers support them
However, since proxy users don’t use the WARP client, their identity is unknown and as a consequence, identity-based policies are not supported.
Steps
Gateway policies can be applied through an HTTP Proxy server. This can be auto-configured through a PAC file.
We will use the Cloudflare Zero Trust GUI to create the file.
1. Get the public source IP of your workstation
Turn off WARP
Get your local IP by running the following command in PowerShell:
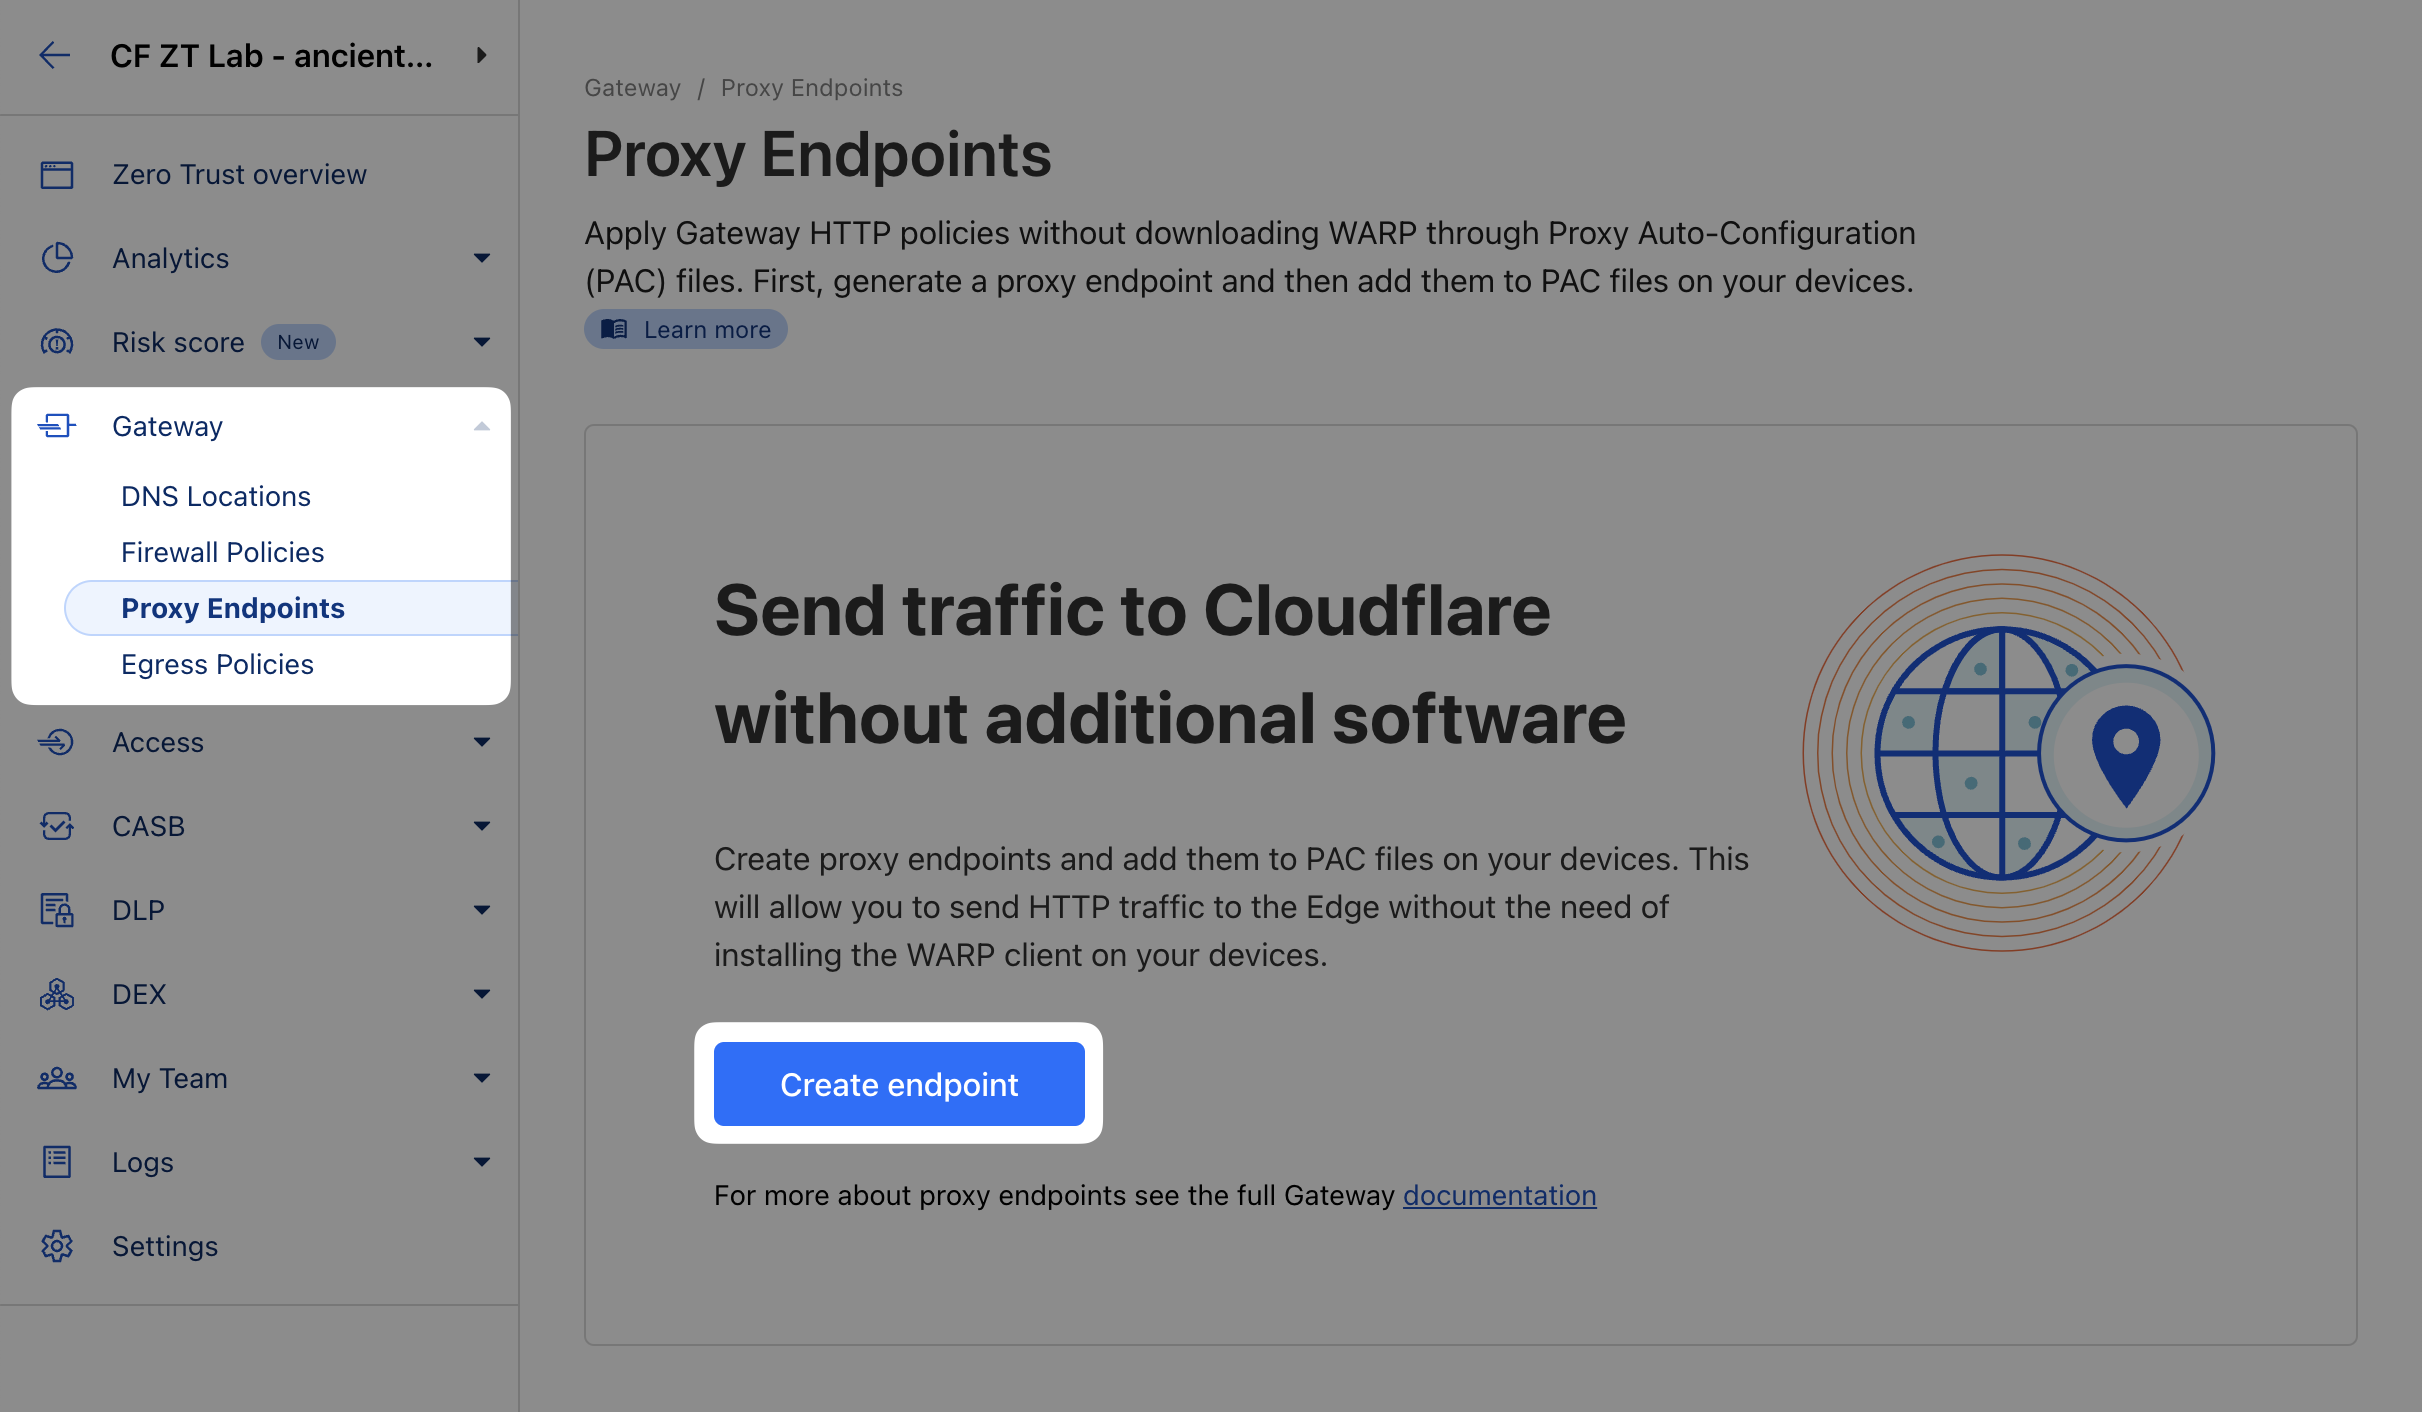
In your Zero Trust dashboard navigate to Gateway ‣ Proxy Endpoints
Select Create endpoint
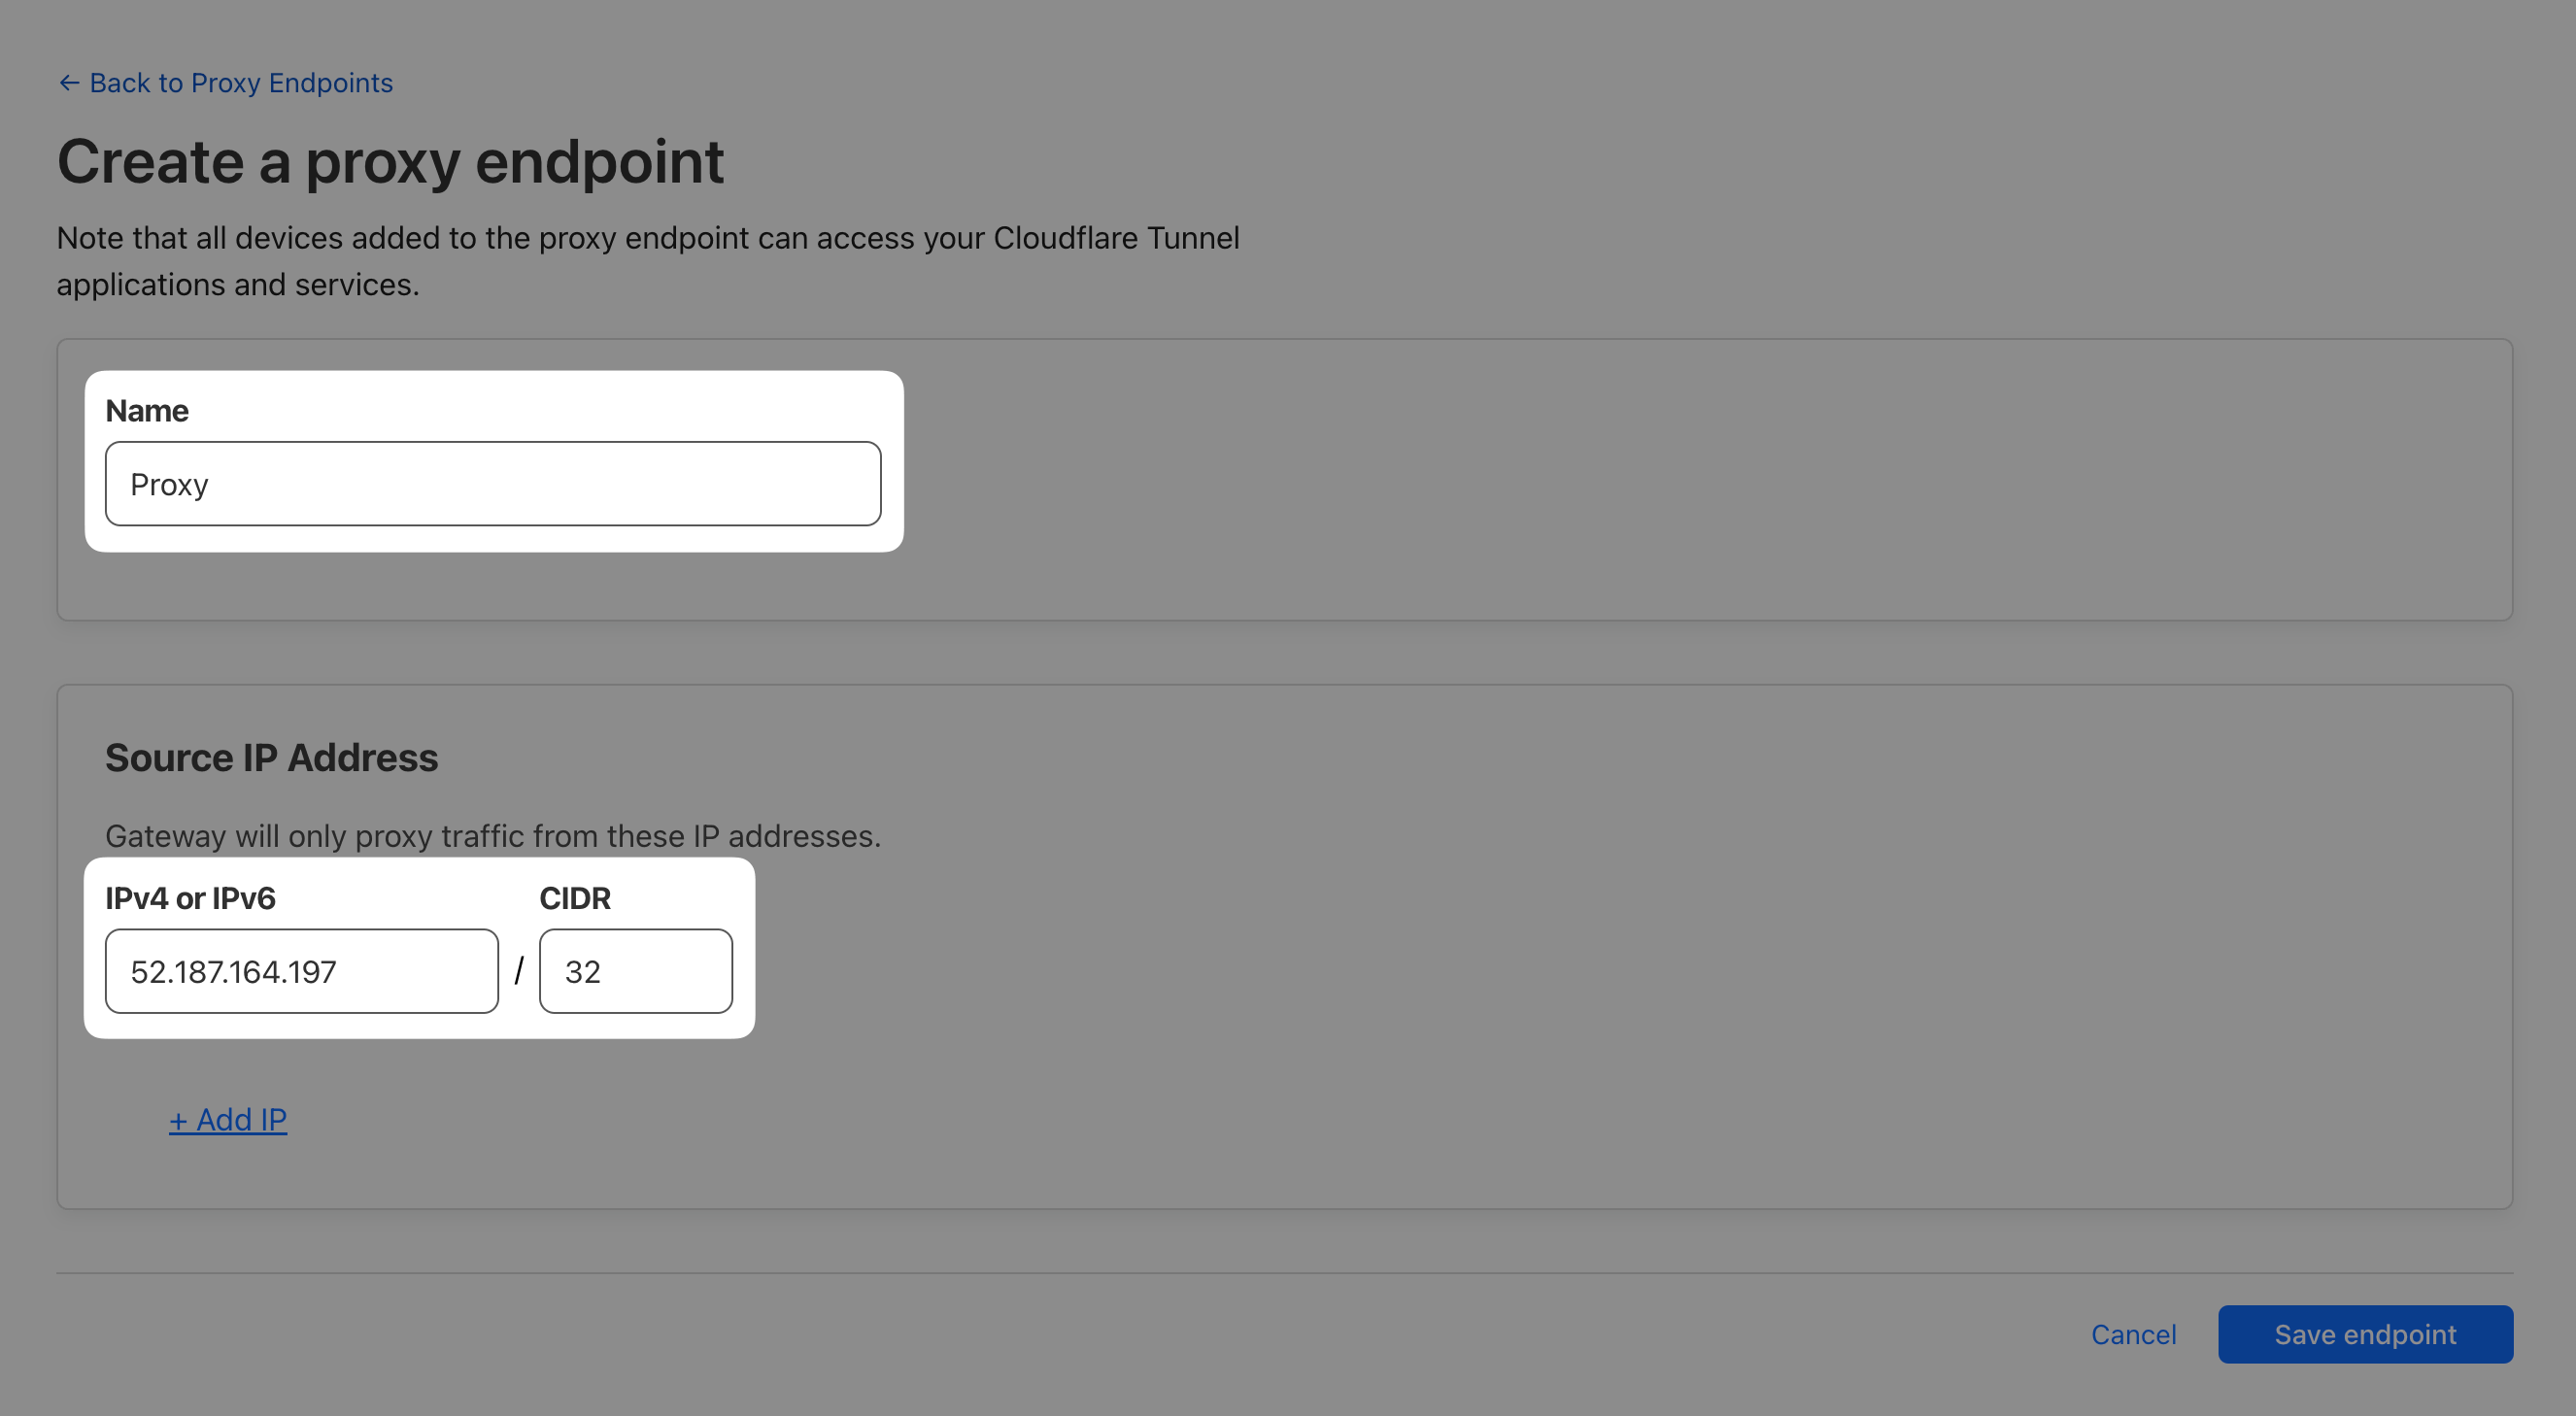
Input the IP address of your Windows VM you retrieved earlier, with CIDR network mask /32 for IPv4 or /128 for IPv6. For example, 52.187.164.197/32 or 2a09:bac5:55fb:15f::23:3f2/128.
Save your changes
When you select your new proxy, you should see a Proxy endpoint formatted as such: <PAC_PREFIX>.proxy.cloudflare-gateway.com
Copy the <PAC_PREFIX> to your clipboard
3. Generate PAC file
To start sending traffic from your workstation through this proxy, you can auto-generate a generic PAC file URI to use here: https://proxy-pac.cflr.workers.dev/<PAC_PREFIX>.pac
4. Apply PAC file to your Windows network settings
All operating systems and most major browsers support PAC files. The following example demonstrates the setup procedure for Windows 11.
Turn off the WARP
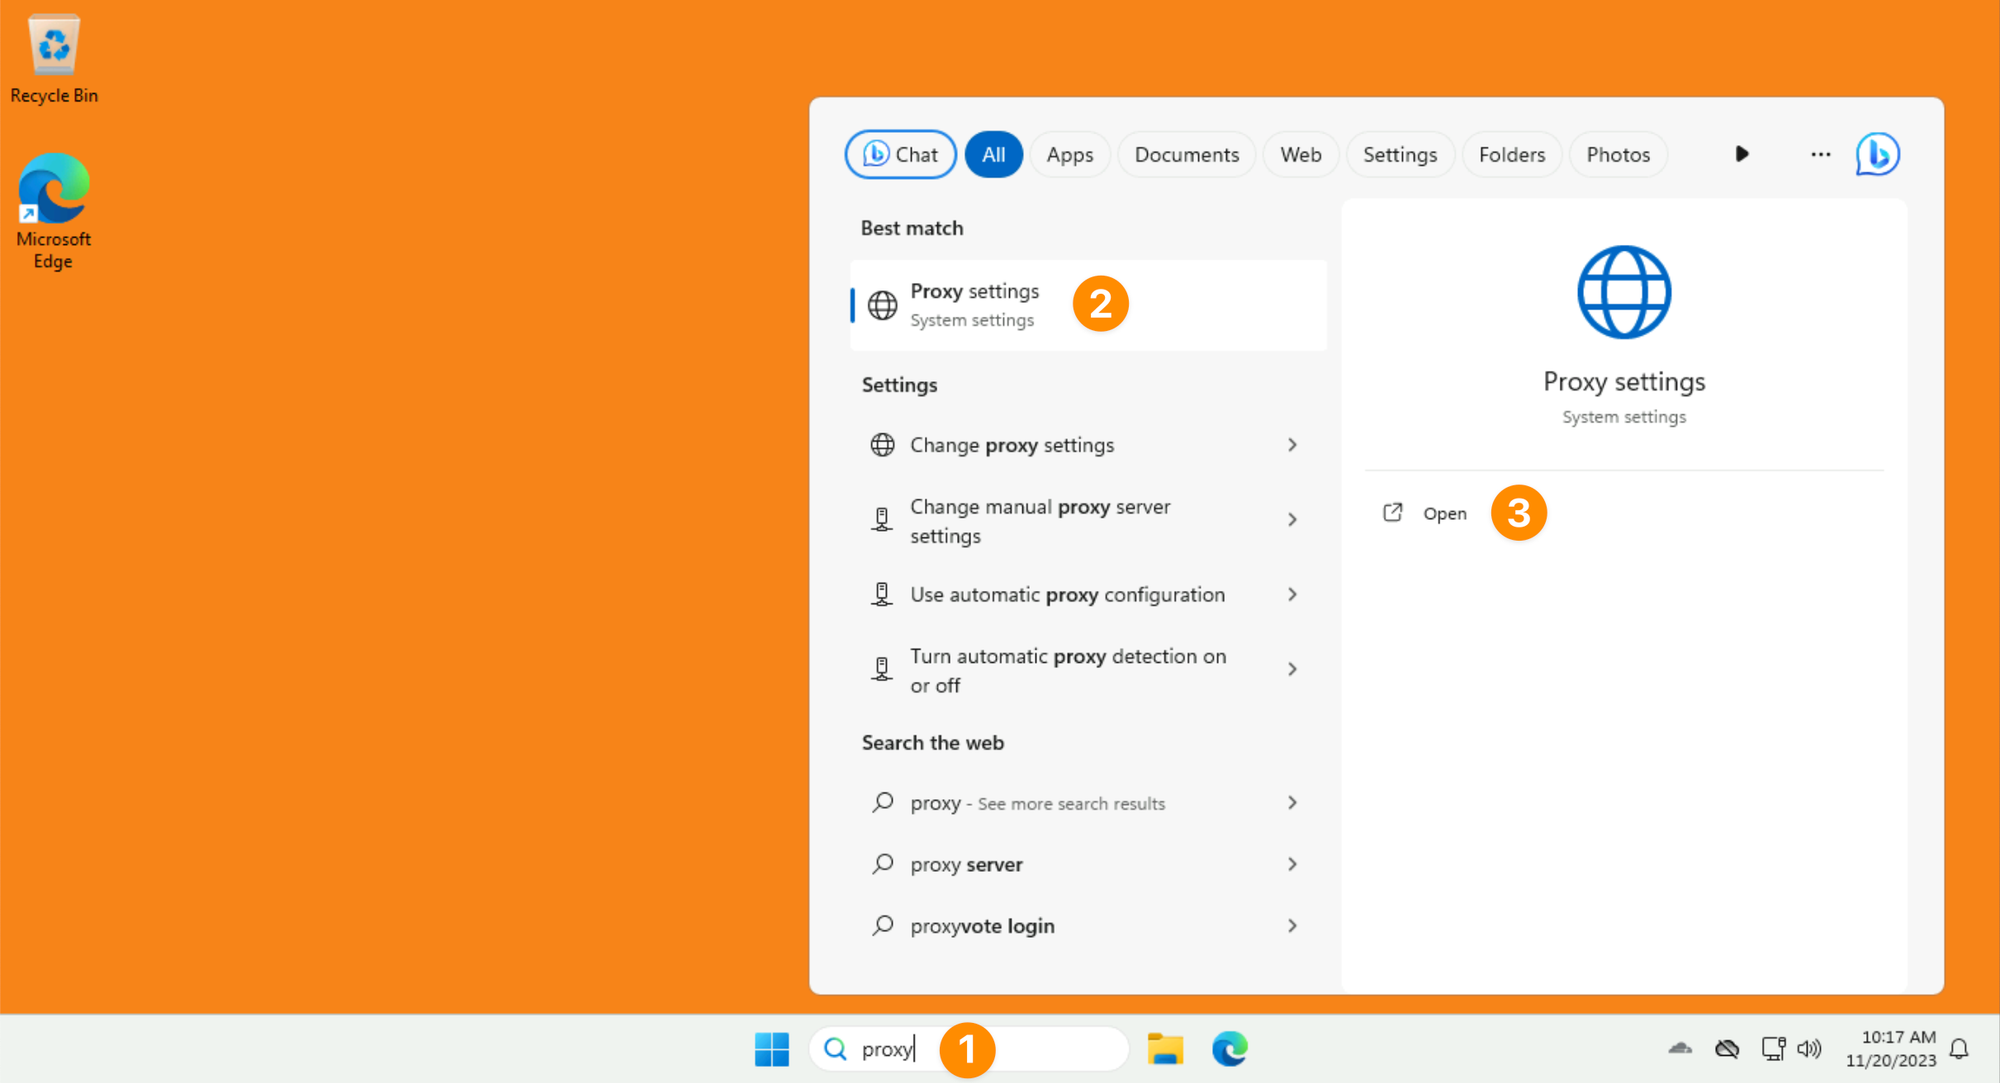
Open the Windows menu and search for proxy settings and select Open
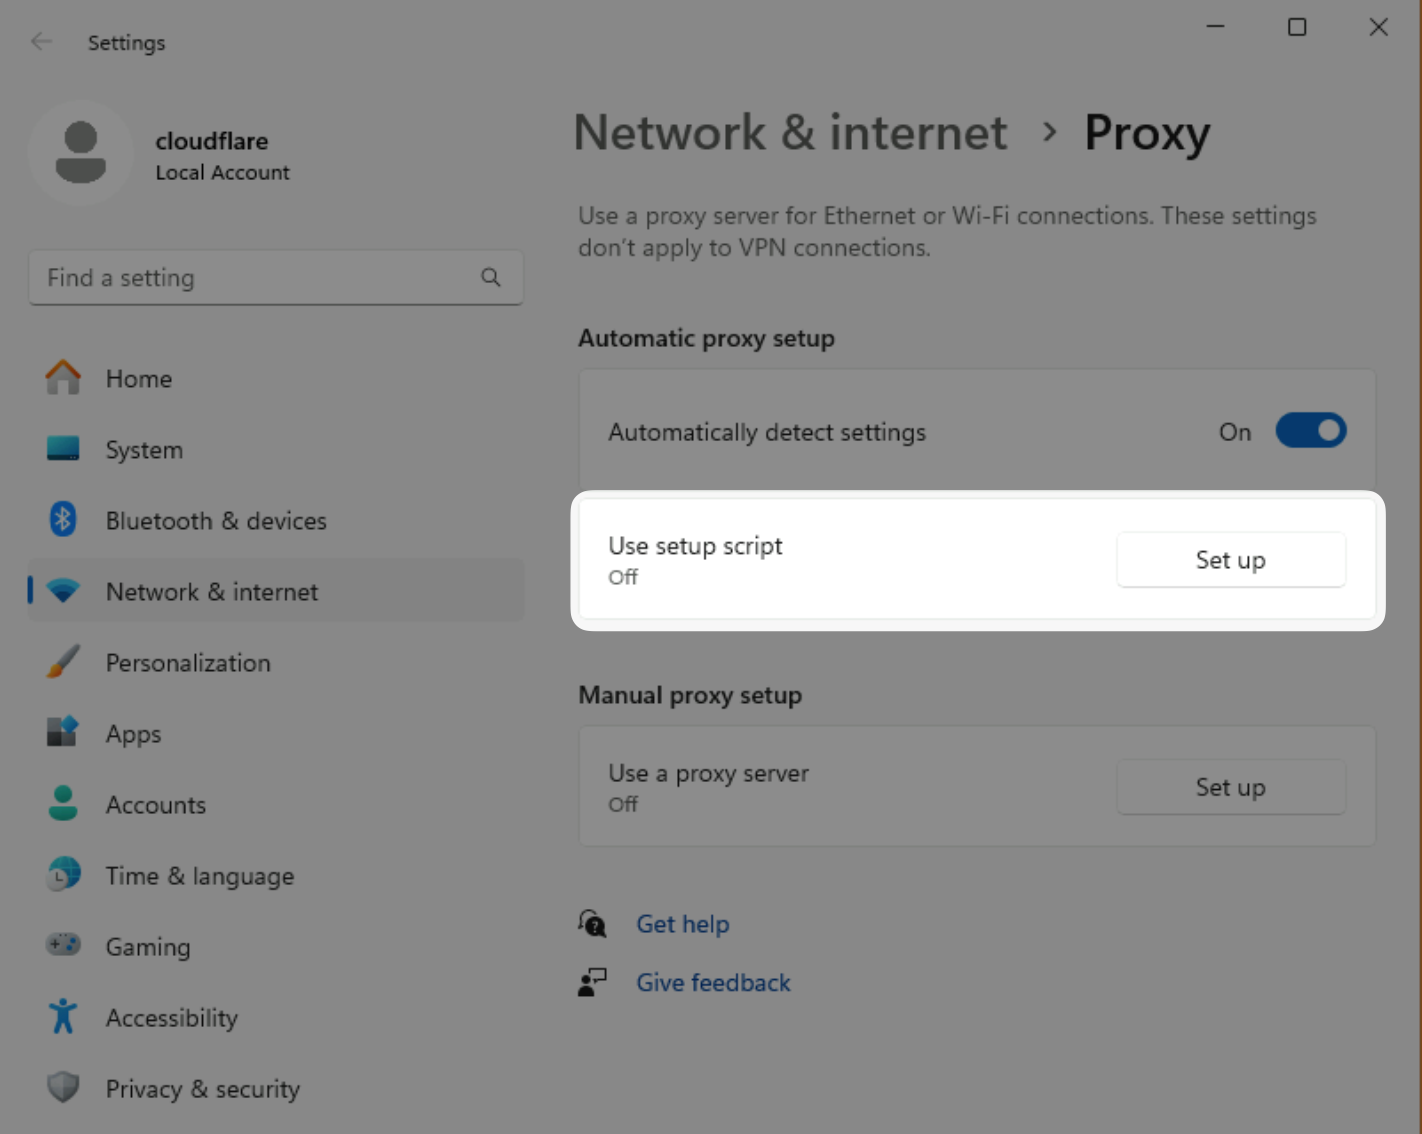
In the Proxy settings window, click Set up next to Use setup script
Turn the setup script on, enter the URL from above https://proxy-pac.cflr.workers.dev/<PAC_PREFIX>.pac and save the configuration
HTTP traffic from your machine will now be filtered by any matching Gateway policies you’ve set up.
Let’s block a specific site, for example cnn.com, and let’s create a custom block page that will explain to our users what happened.
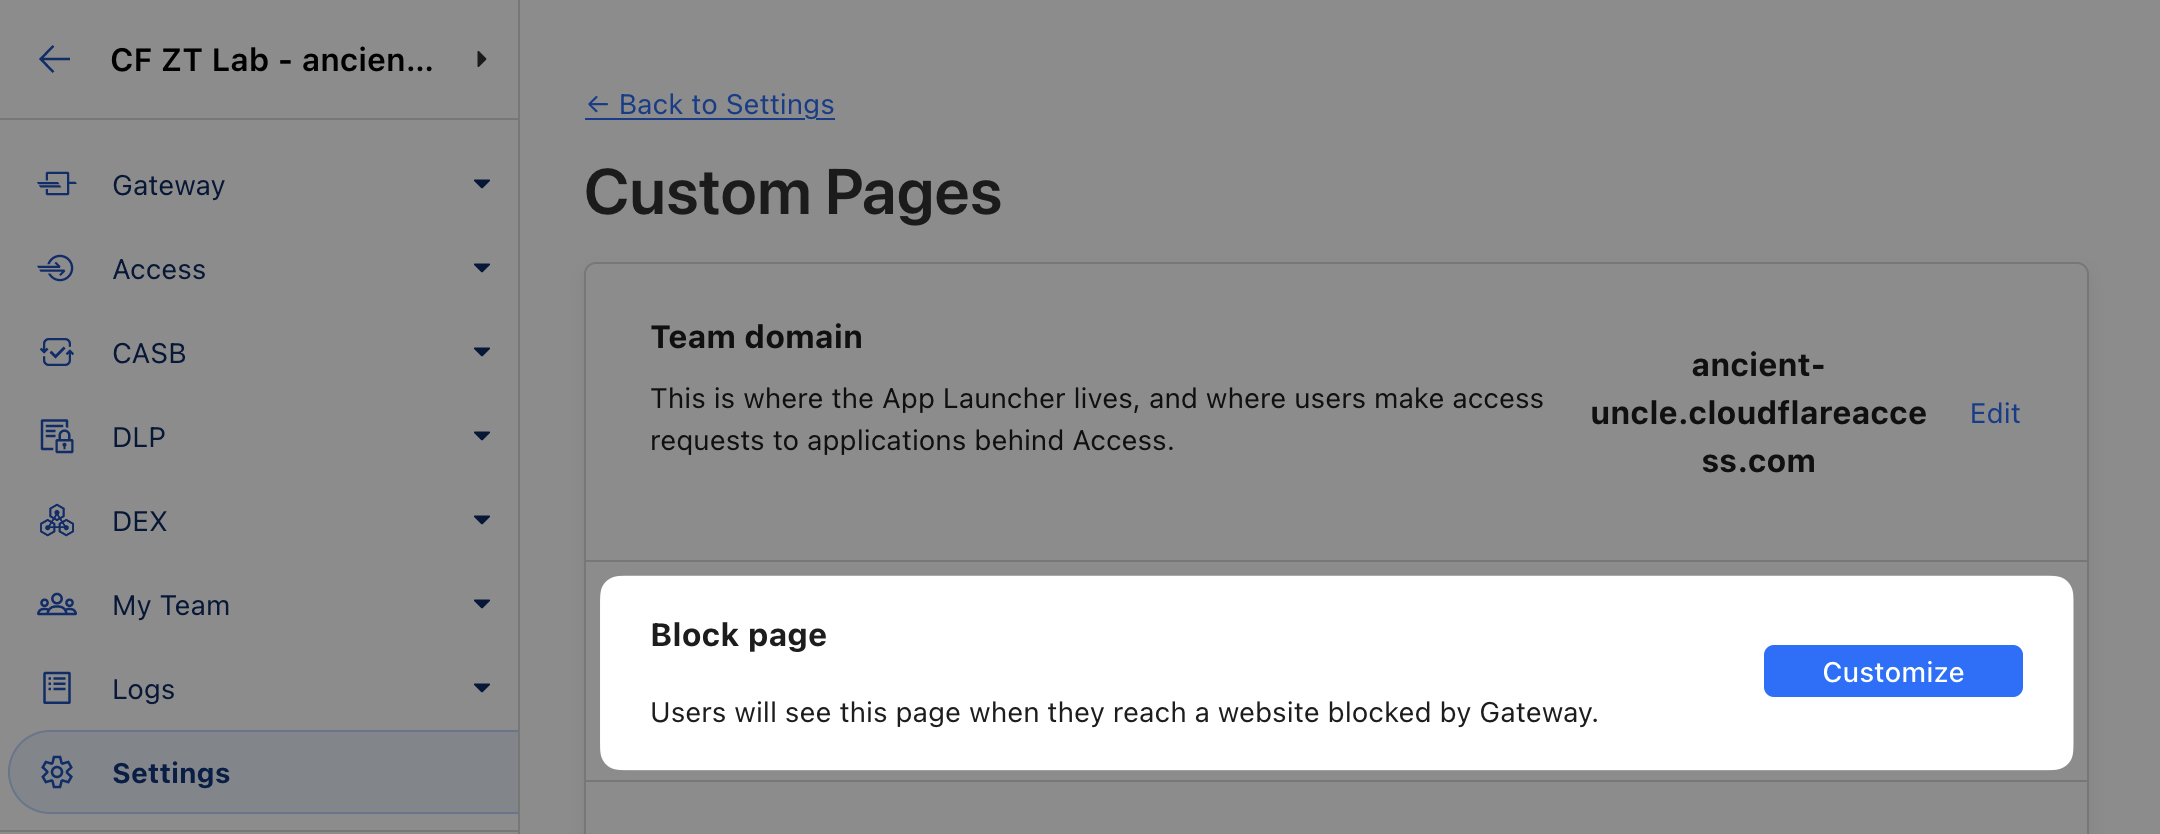
Navigate to Settings ‣ Custom Pages
Customize your block page
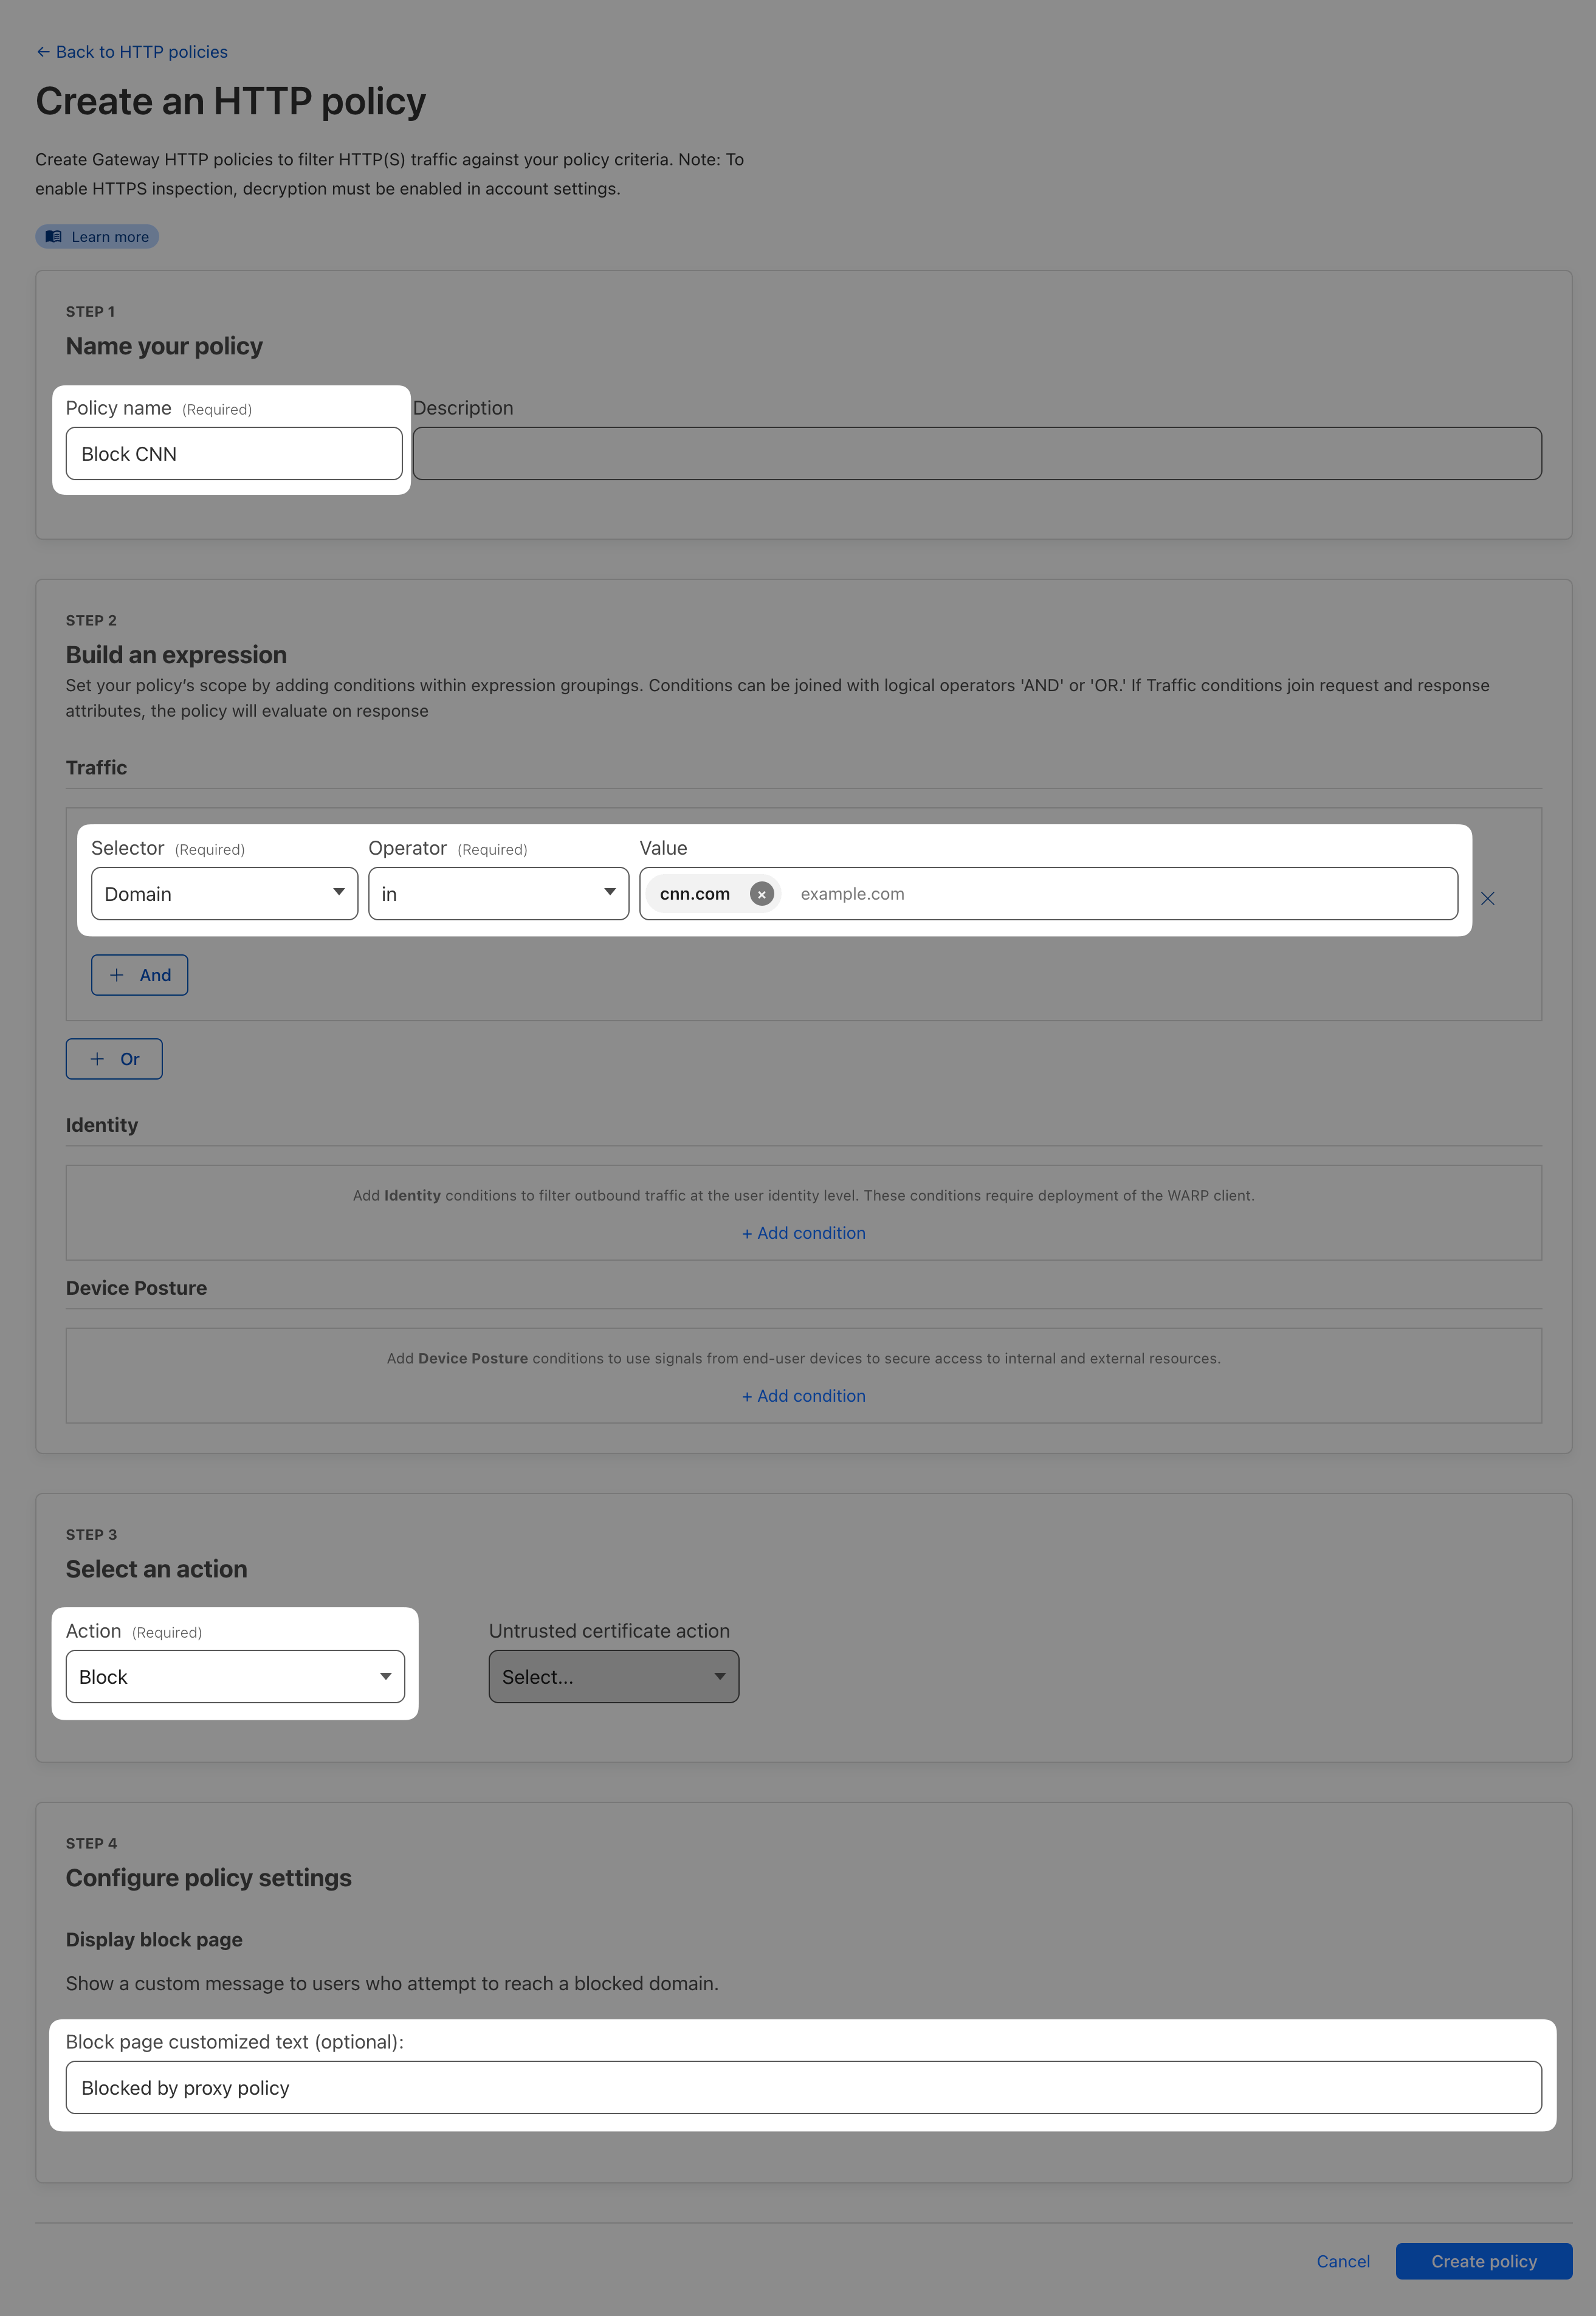
Then head to Gateway ‣ Firewall Policies ‣ HTTP
Create an HTTP Firewall policy that blocks domain cnn.com
At the bottom of the page, add block page text that will explain that the domain is getting blocked by this HTTP policy
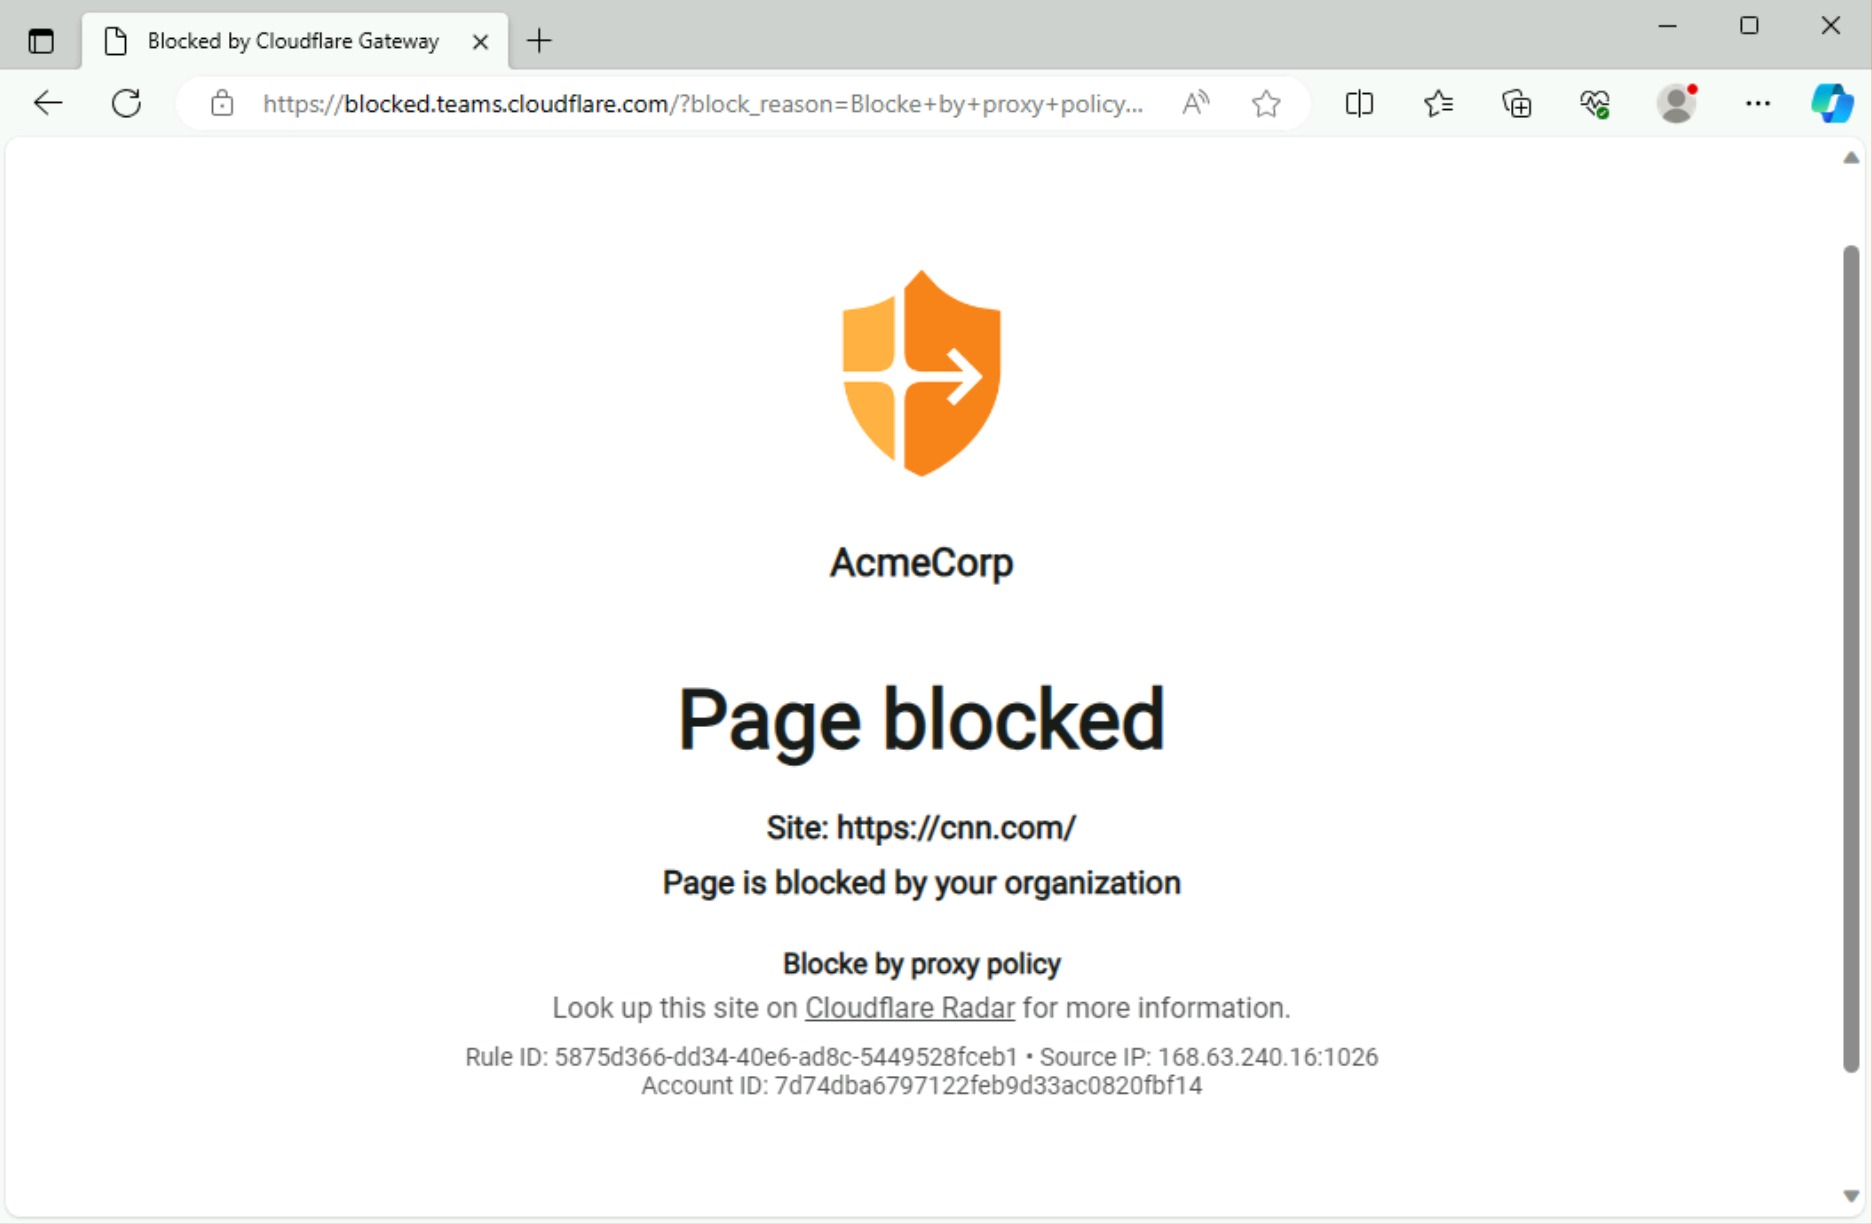
5. Test the policy
With WARP still off, open the blocked domain in a browser, confirm it was blocked and the specified block text was shown
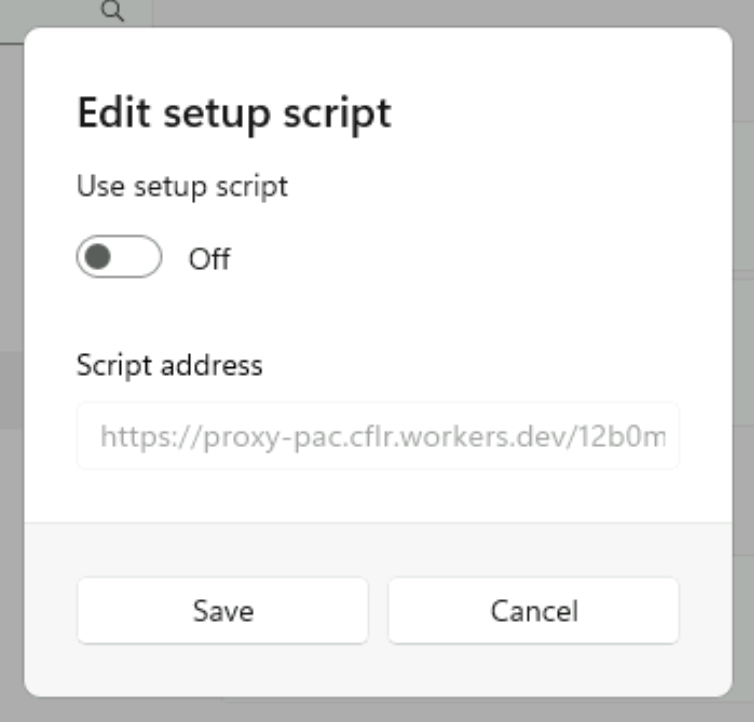
6. Disable Proxy
Before proceeding further, make sure to disable Proxy to avoid it interfering with next labs.
In the Proxy settings on your Windows VM, click Edit next to Use setup script and switch setup script to Off