Workshop
- Identity provider
- WARP and device posture
- Cloudflare Tunnel
- Access and Private Network
- Browser isolation and App launcher
- Digital experience monitoring
Next, let’s add the intranet application. Here we’ll want to set up access control so that only AcmeCorp's authorised 3rd party contractors and employees can access it.
Head again to Access ‣ Tunnels, click on your tunnel and select Configure:

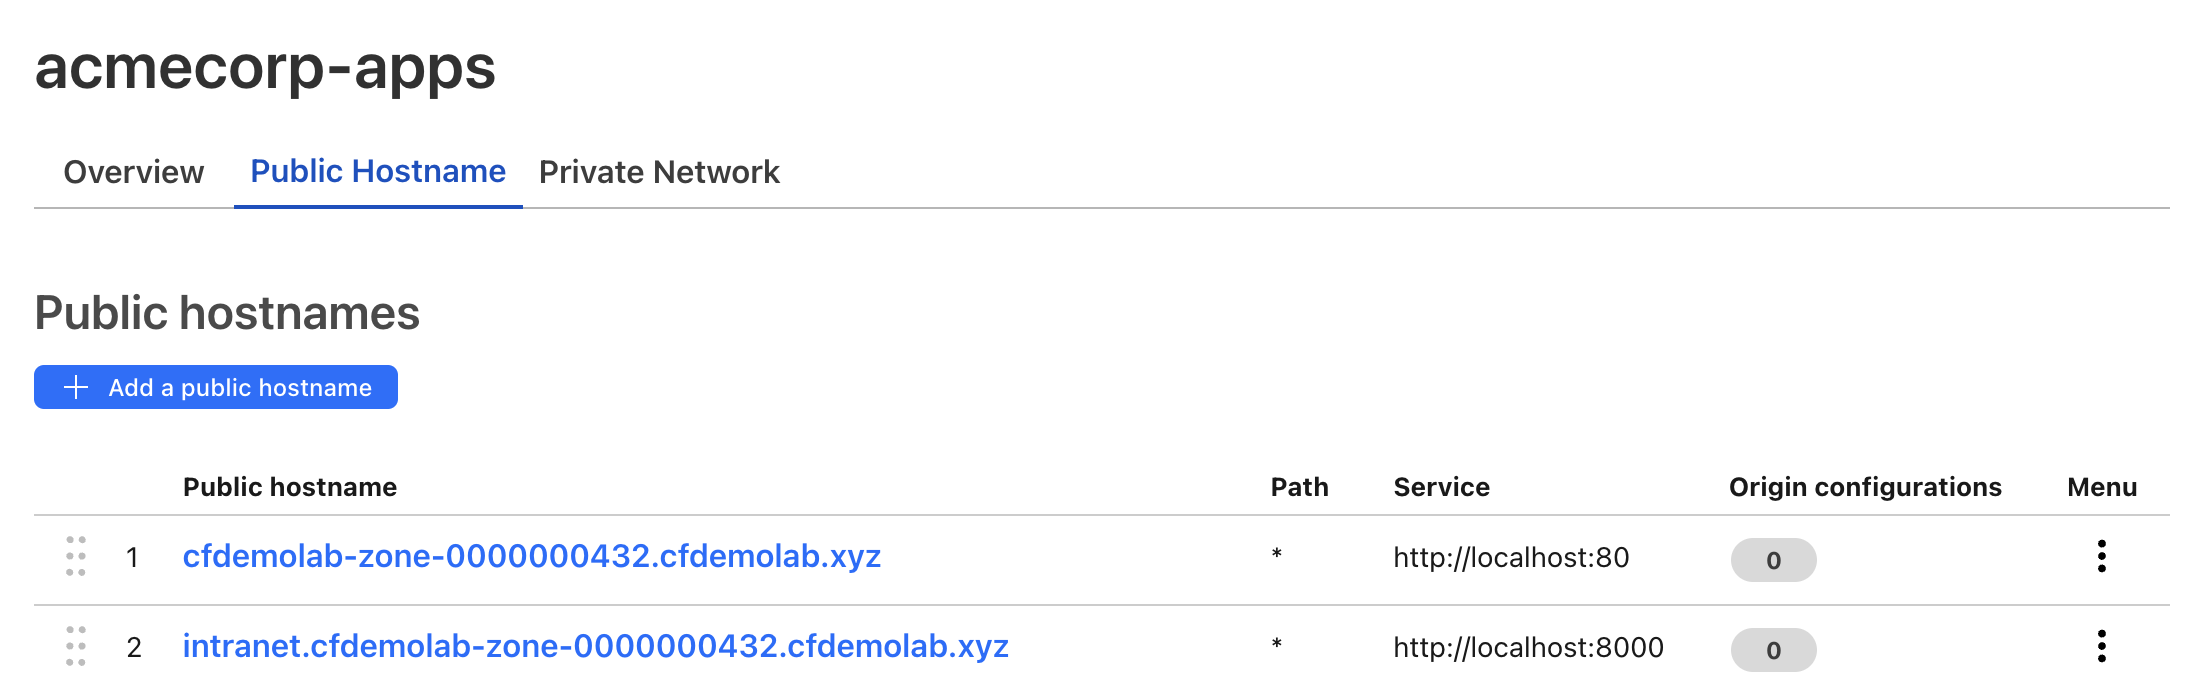
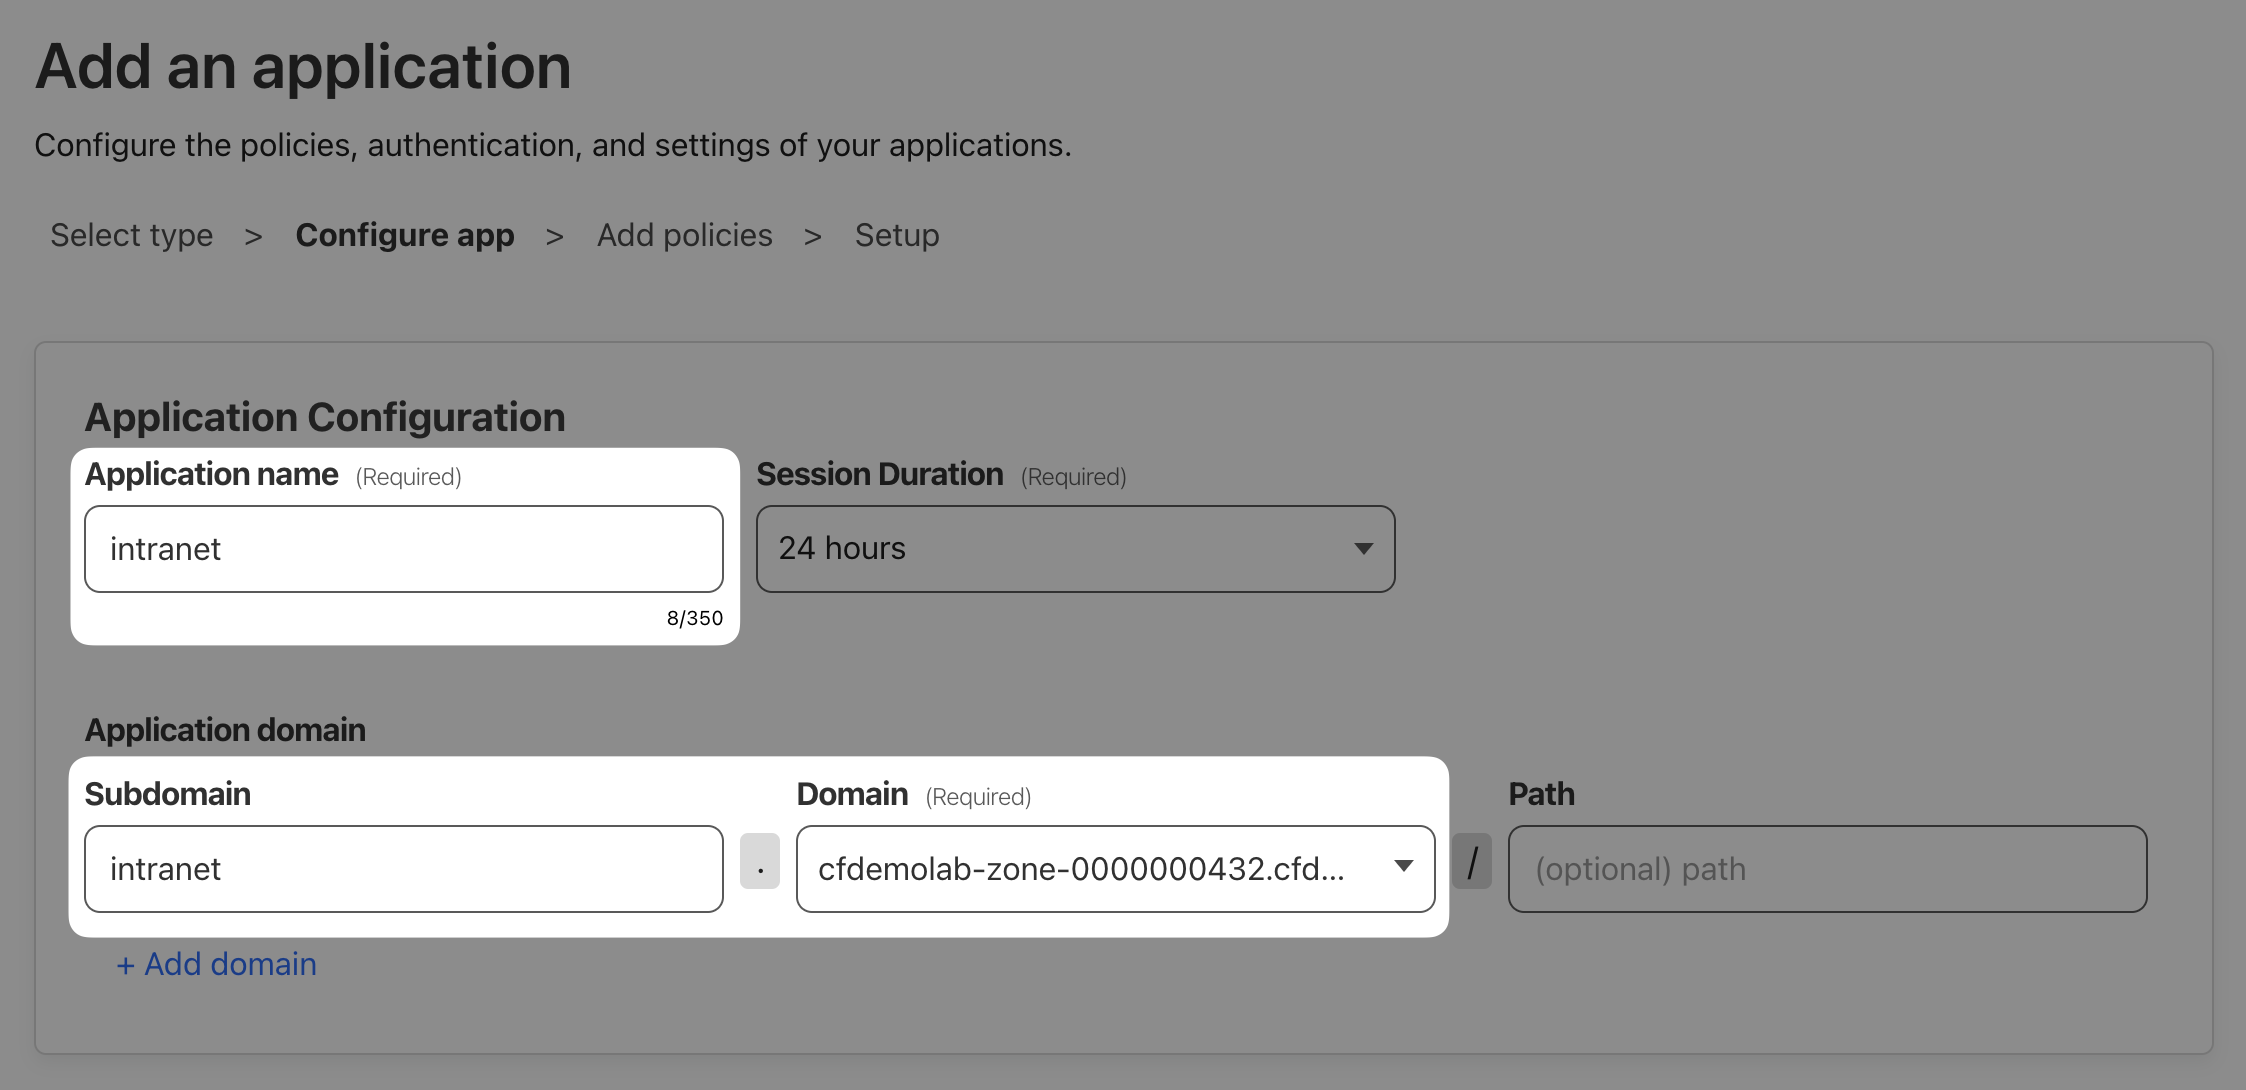
We’ll onboard the intranet application via public hostname again, so that it can be accessed from anywhere on the internet. To do that, switch to the Public Hostname tab and click + Add a public hostname.
Set Subdomain to "intranet" and select the domain we provided you with.
The Service Type is be HTTP again but URL will be localhost:8000 this time, as the intranet web app runs on port 8000 on the origin server.
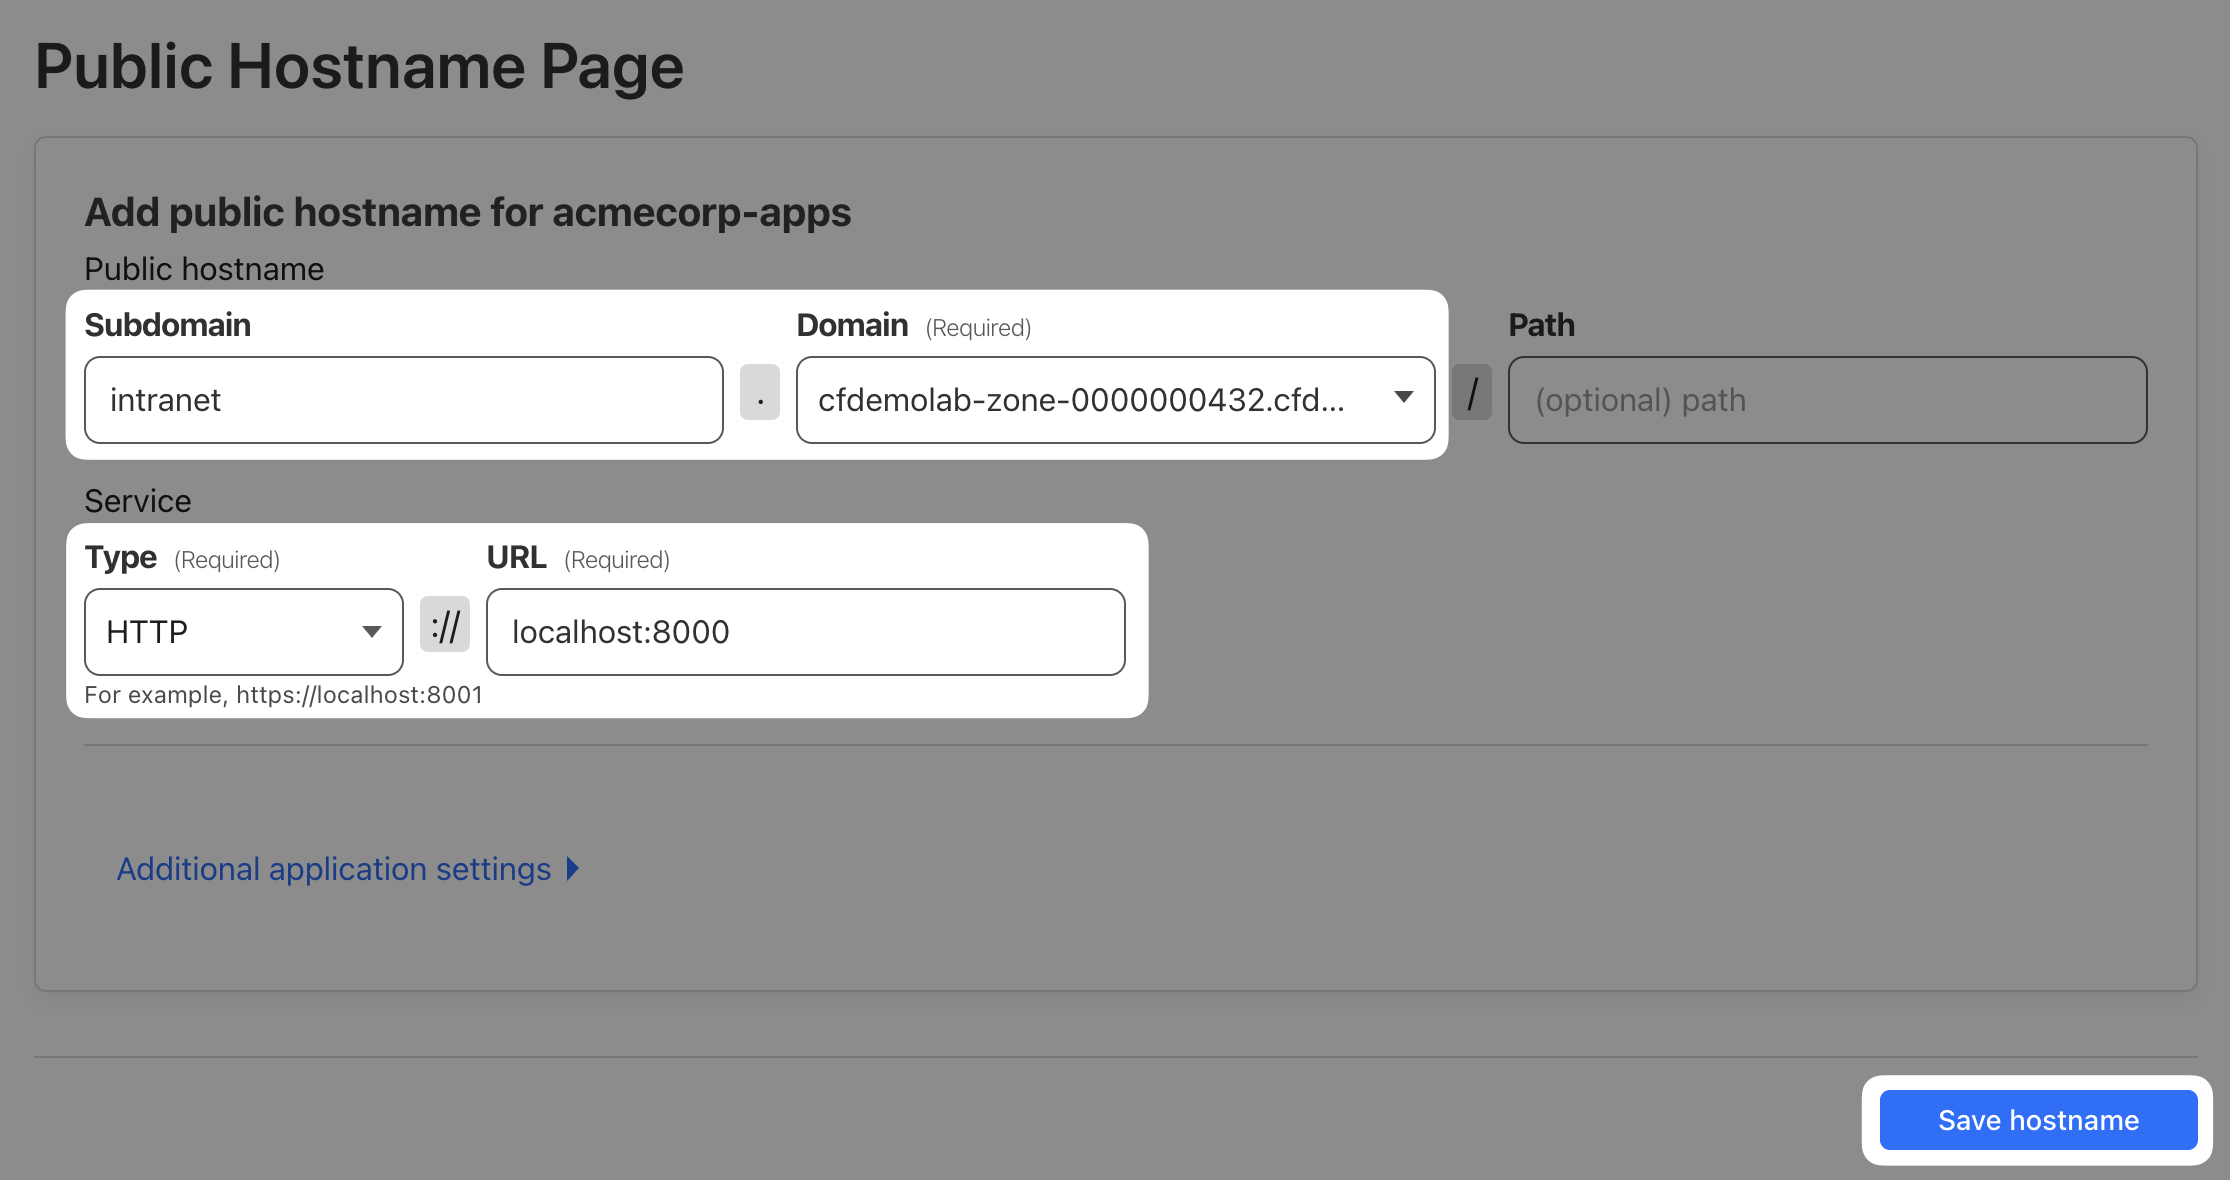
Your final configuration should look like this:
Next, because this is the company’s intranet, we want to limit access to this application only to company’s employees. To do that, we’ll need to create an Access policy.
@acmecorp.com) to access the application
<LAB_SLUG>.cloudflareacccess.com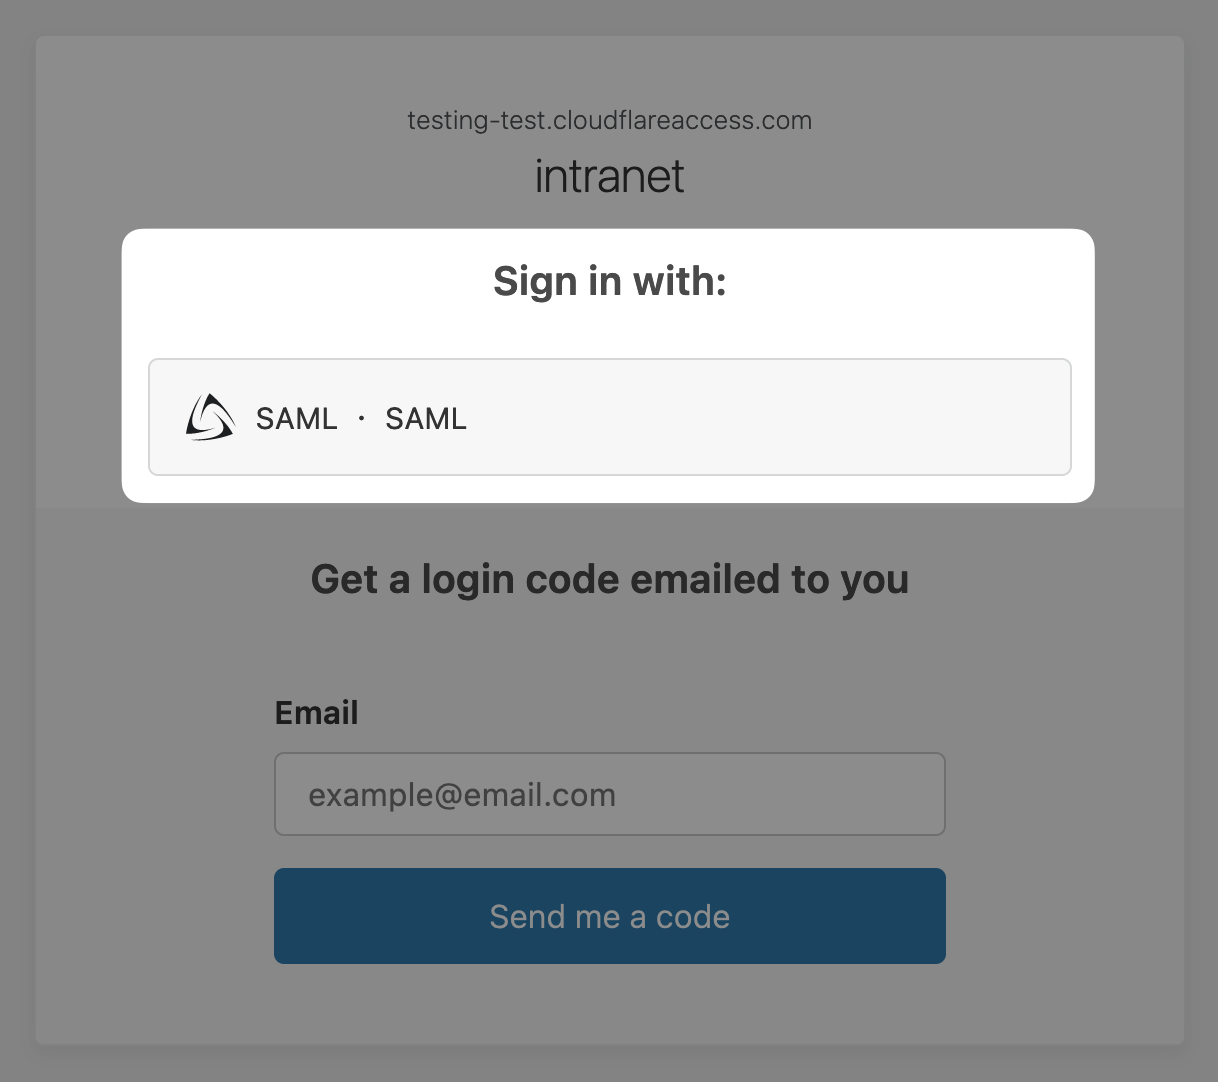
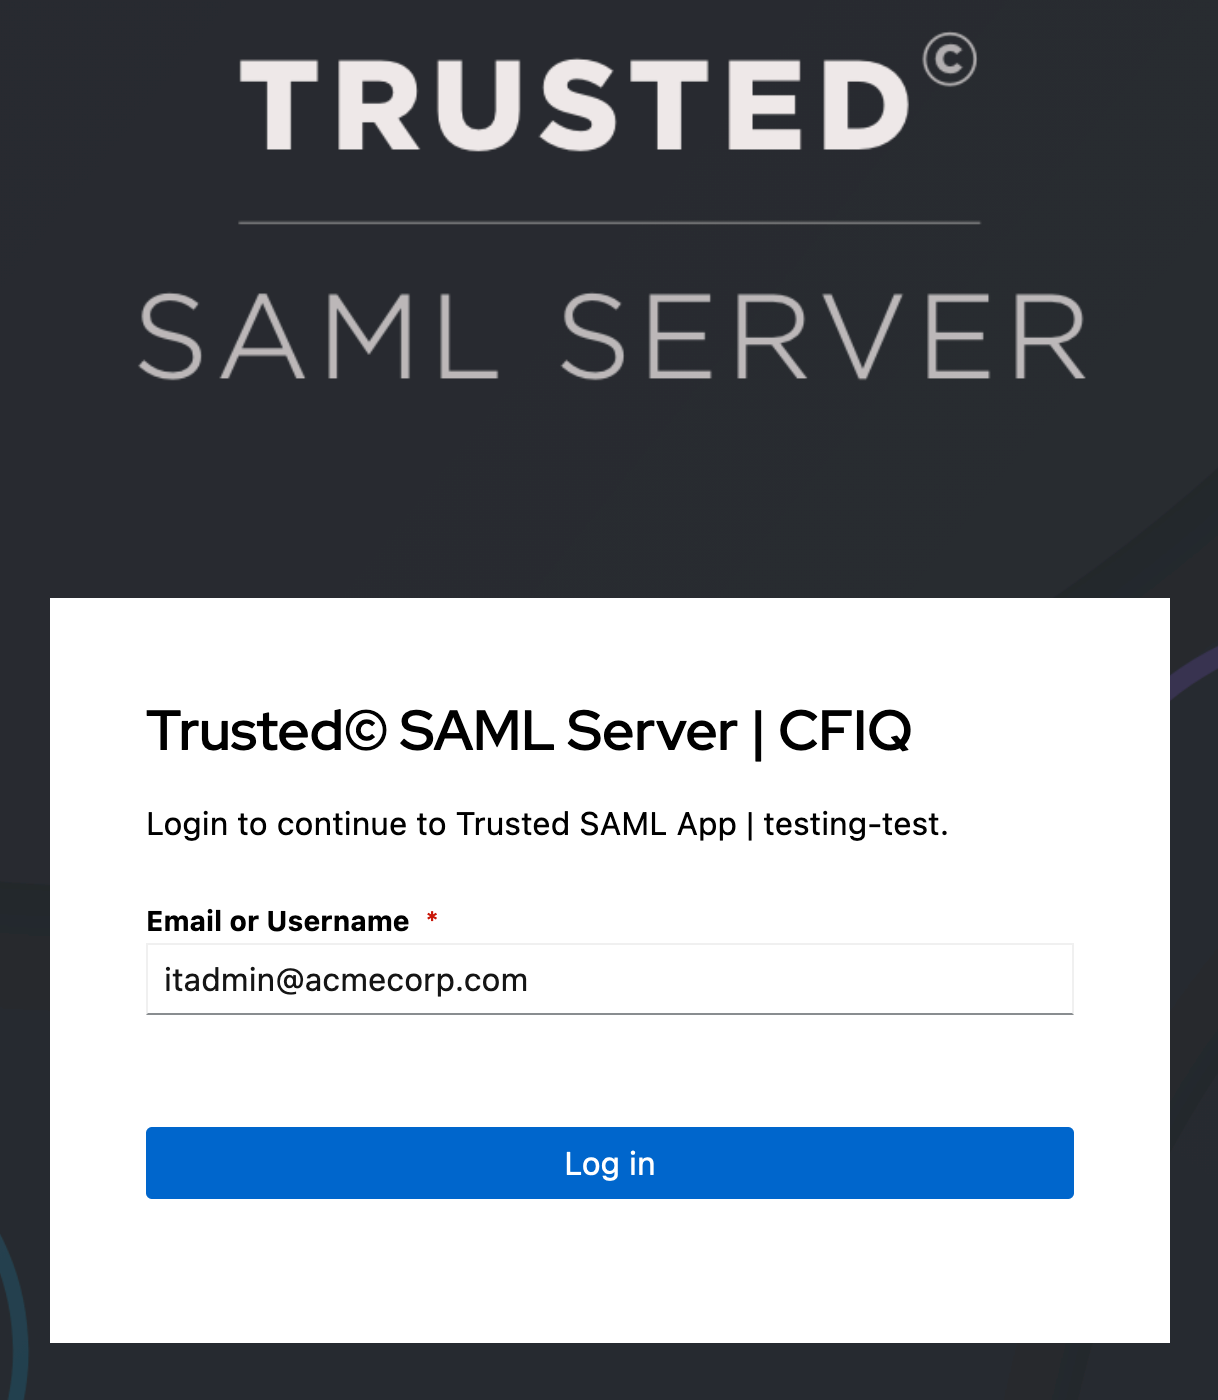
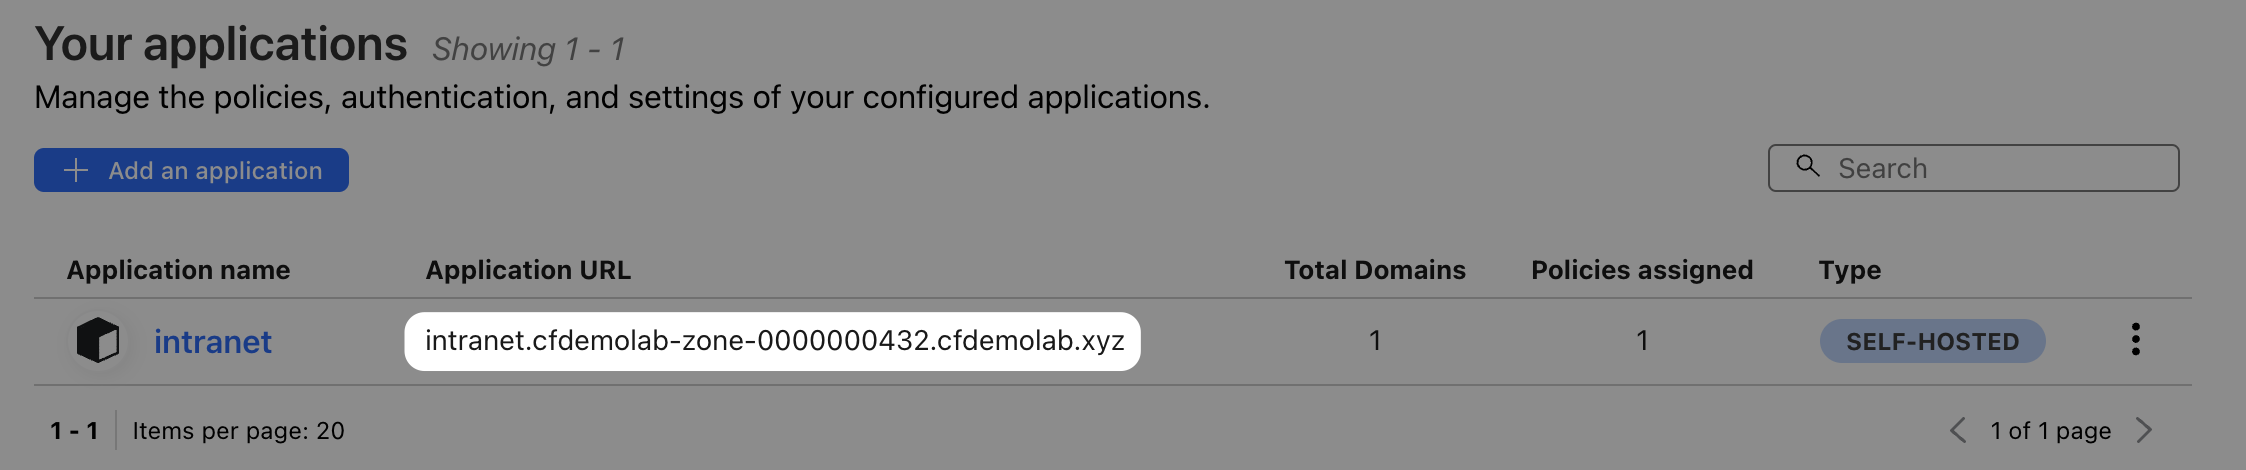
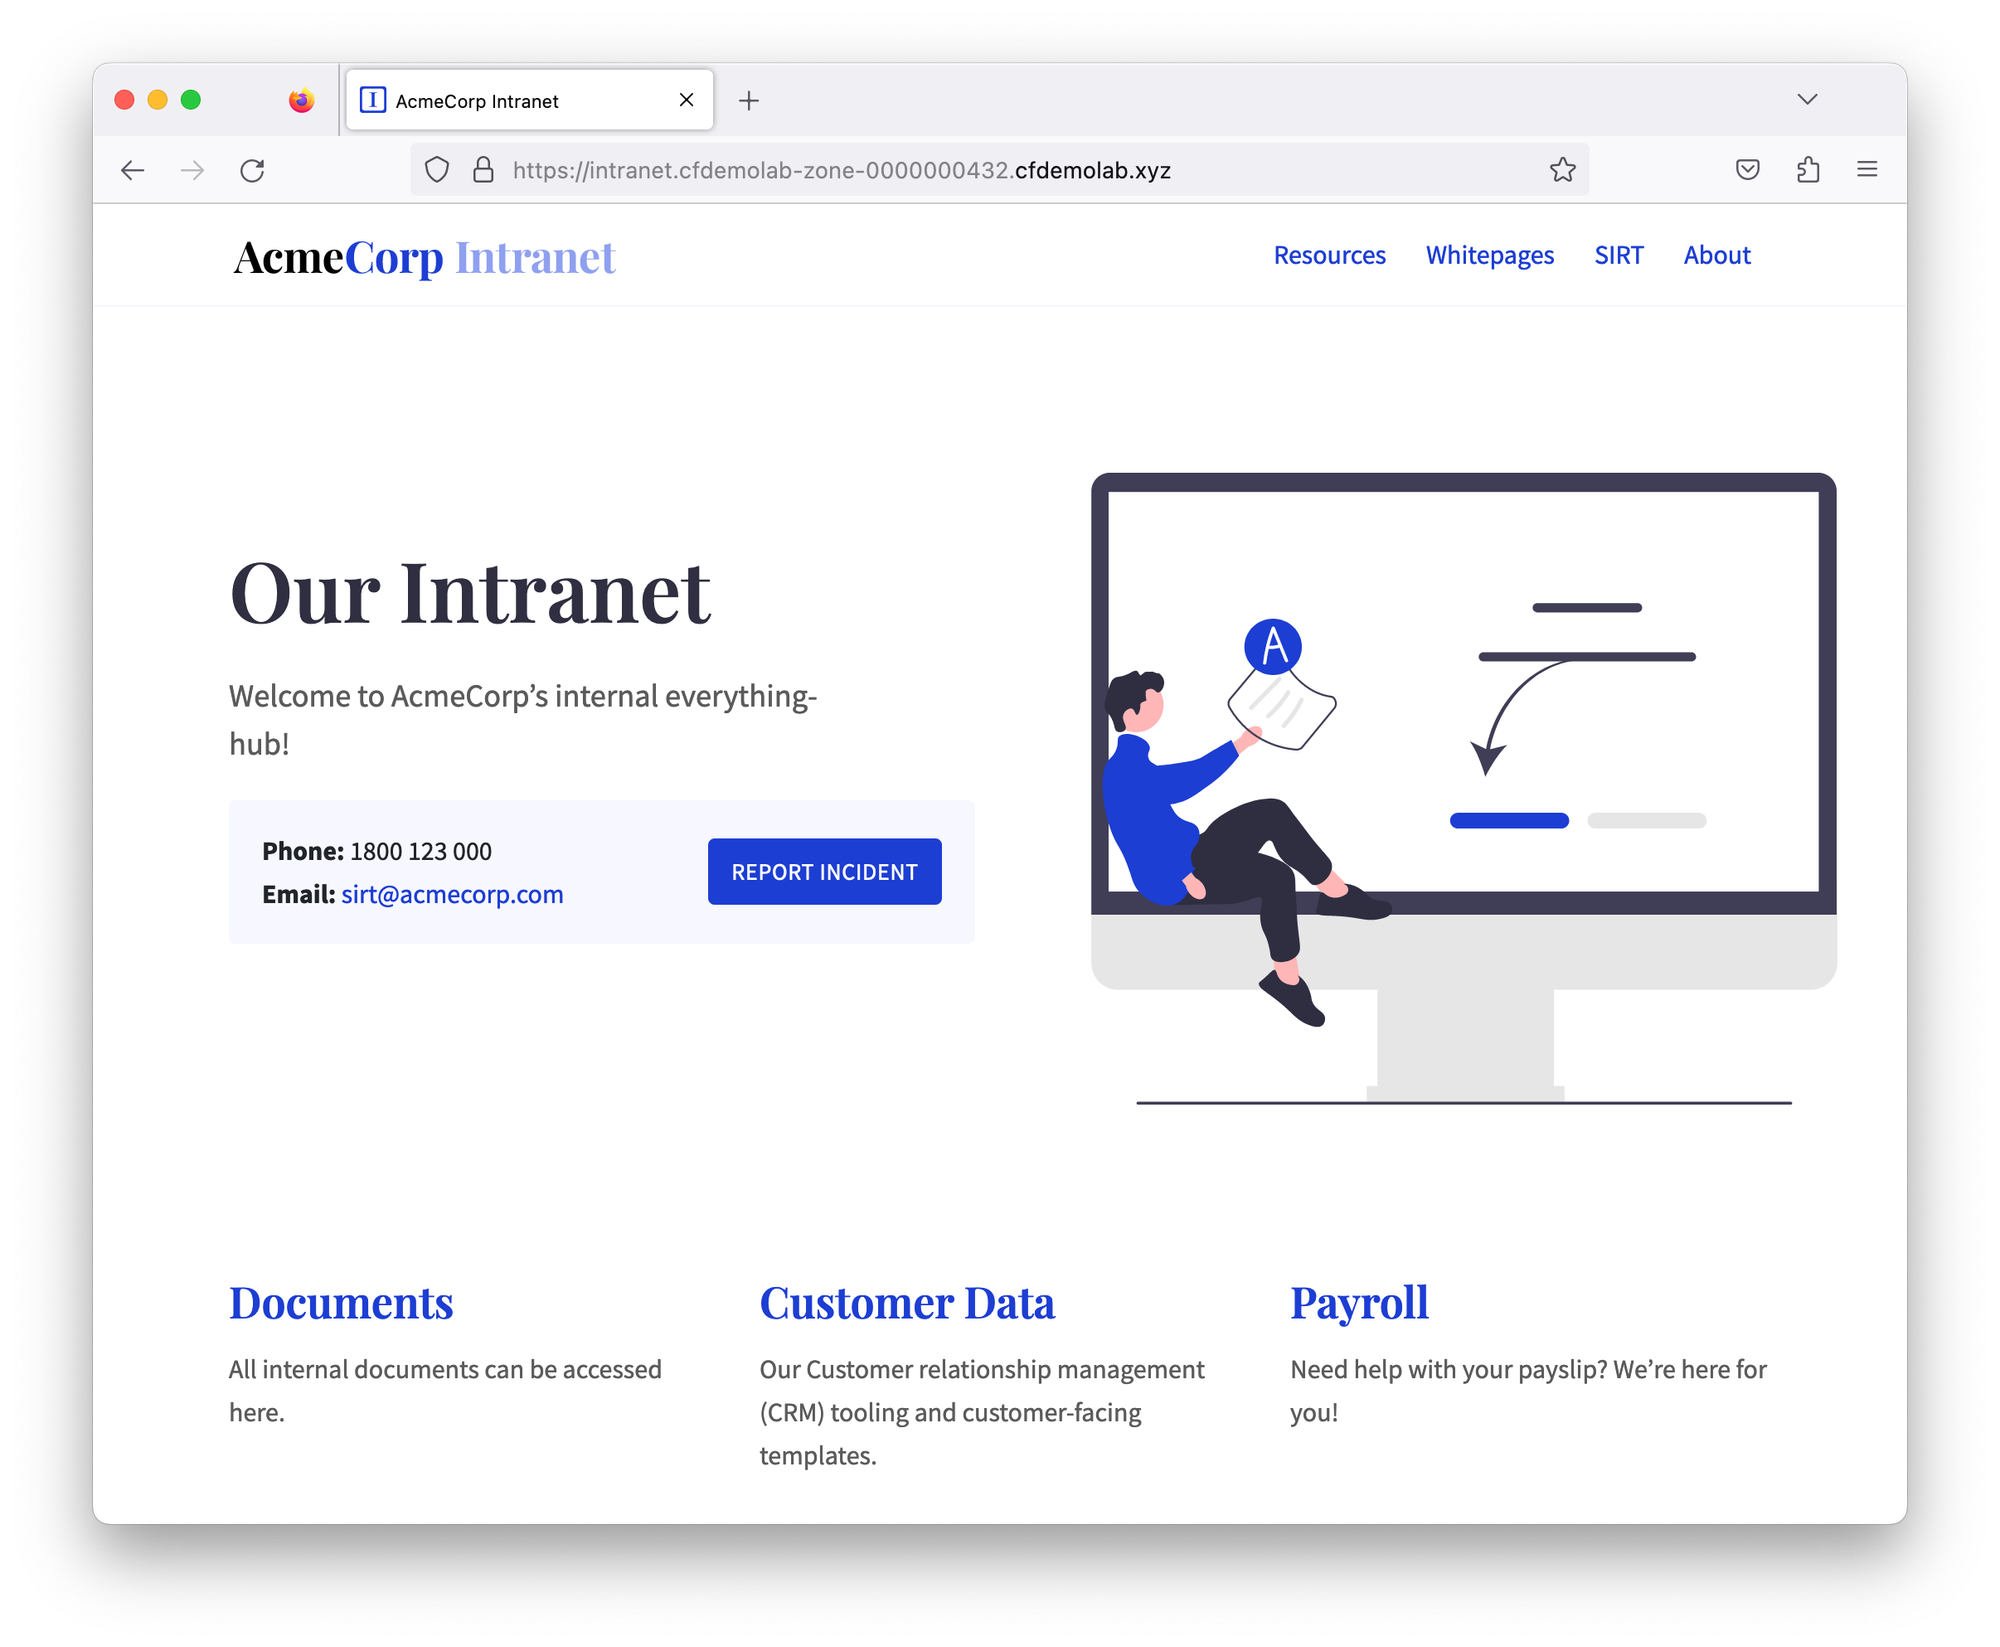
Once you do, you should be able to access AcmeCorp’s intranet.
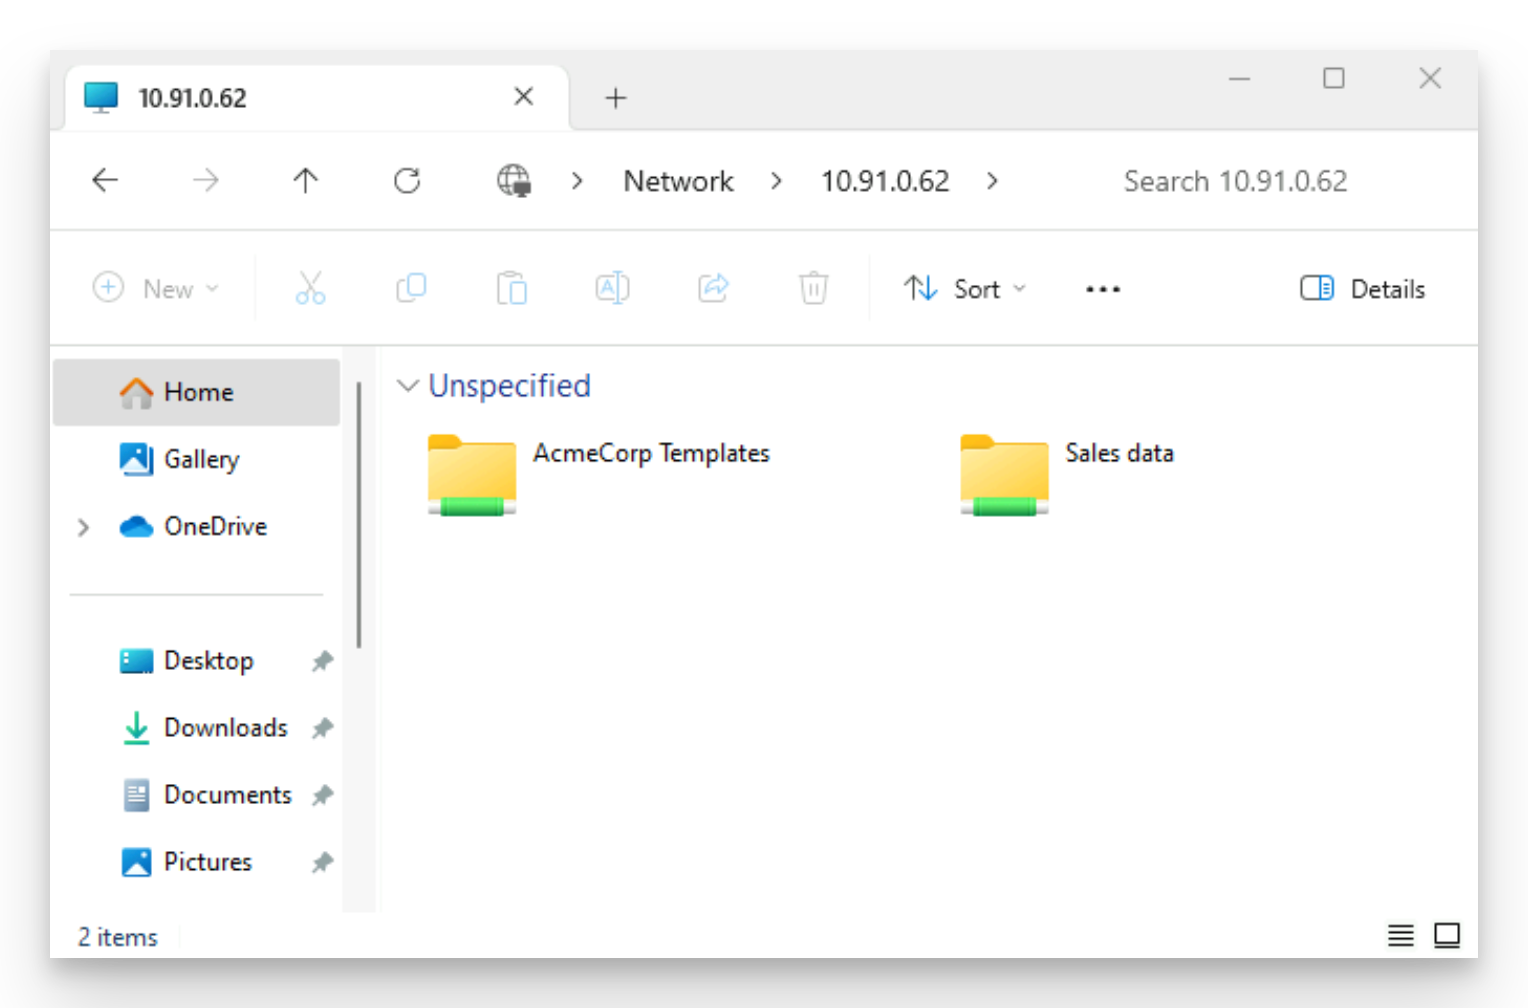
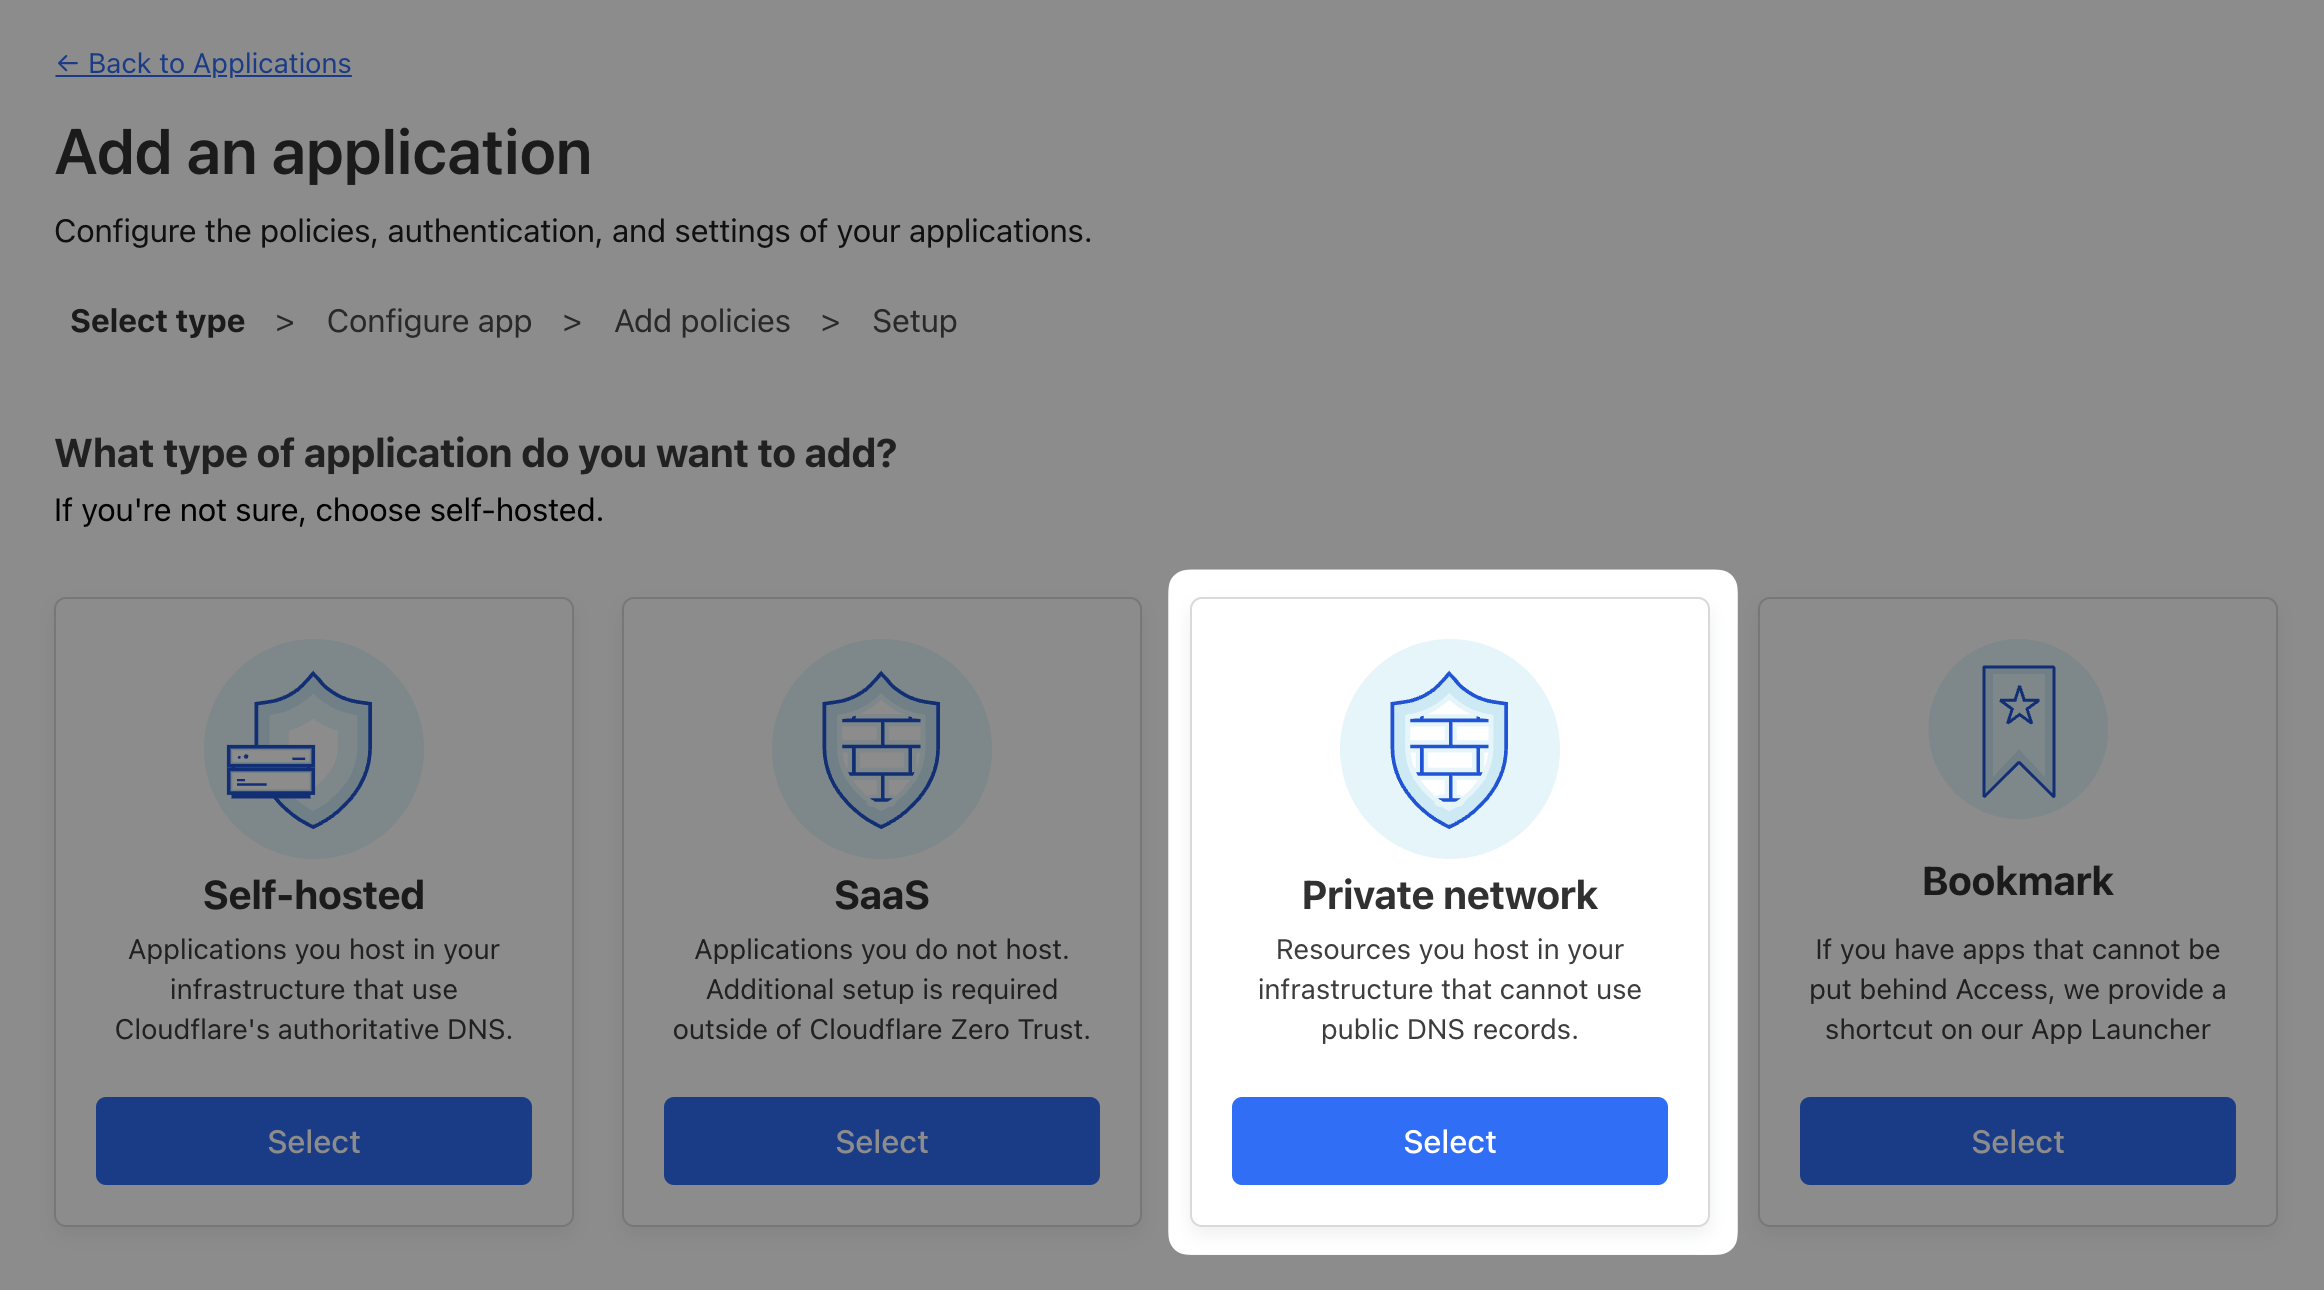
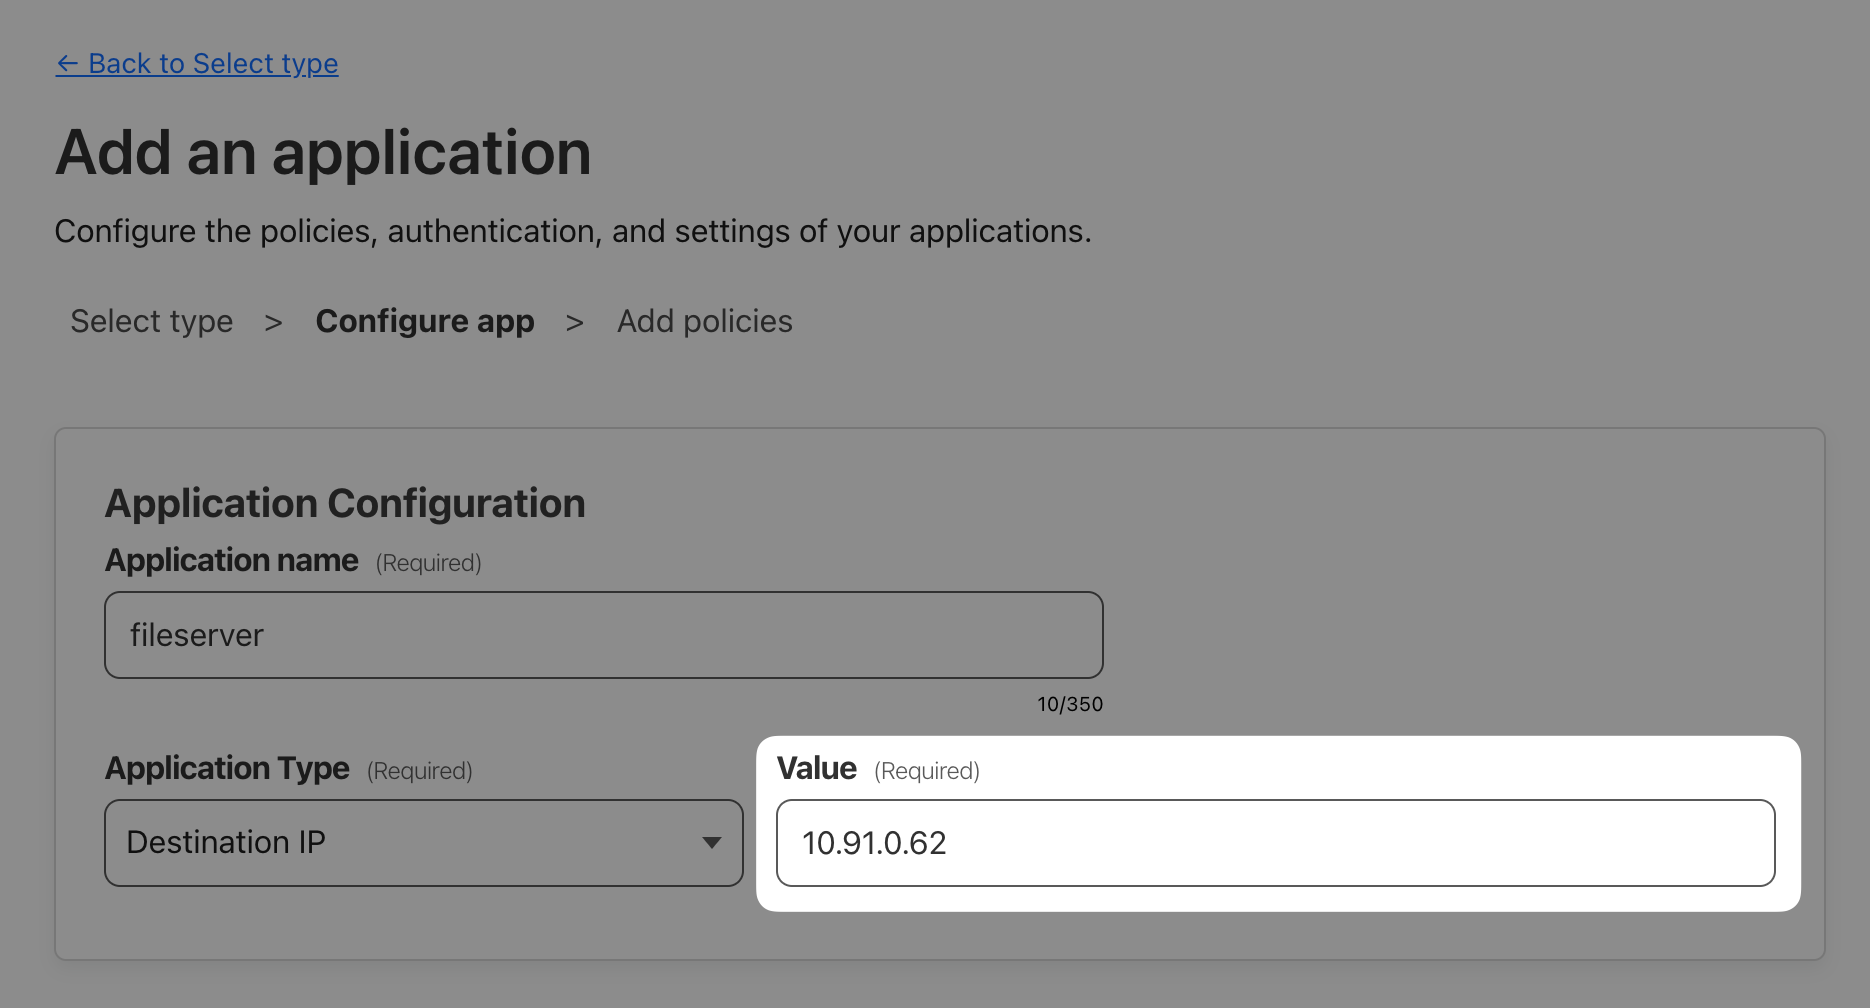
Last application we need to onboard is AcmeCorp’s SMB fileserver. Since this is not an HTTP-based application, we’ll onboard the private IP of the Linux server so any port on that IP can be reached. This will allow your clients to access that private IP through WARP, as if it existed in their local network.
ip address show eth0/32 CIDR subnet to only select this one host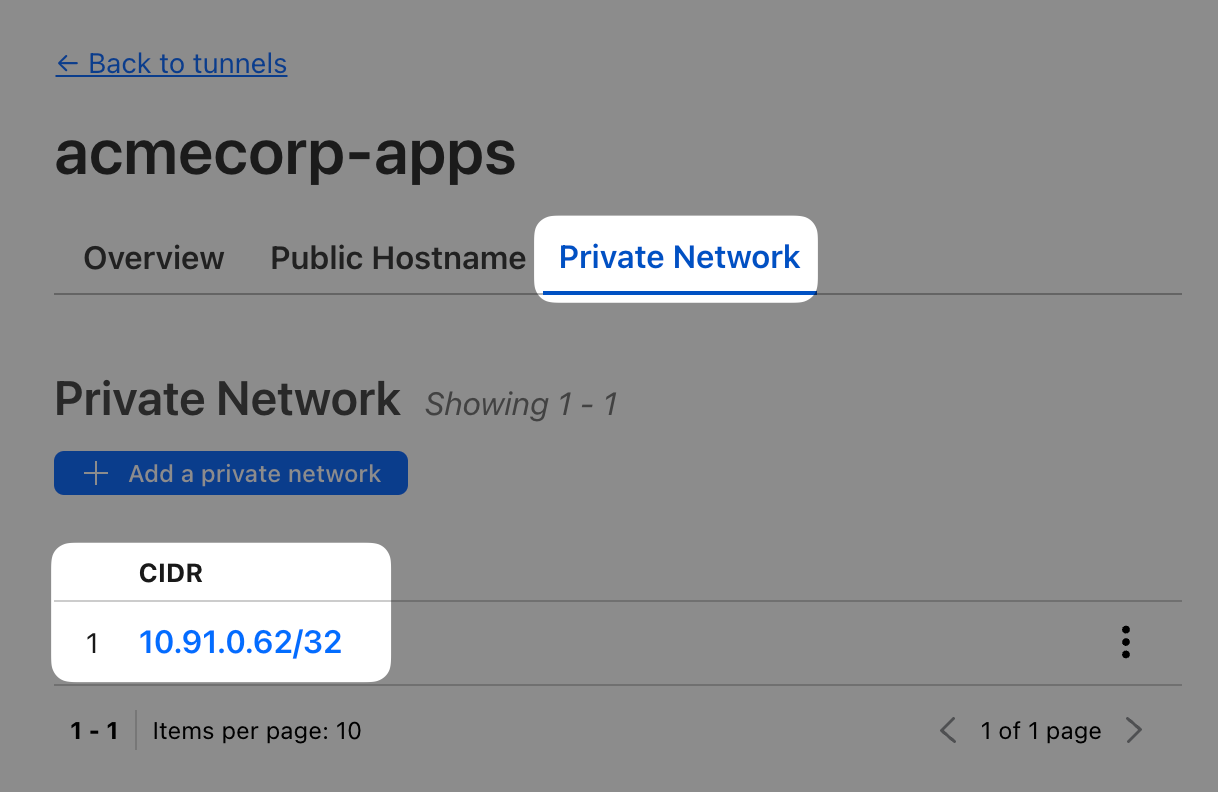
Private network connectivity requires a client, so while the previous two tests could have been done from anywhere, this test needs to be run from a workstation with a connected WARP client, i.e. your Windows VM.
With a WARP client on, open File Explorer and open your Linux server’s IP address: \\10.x.x.x (note the two leading backslashes, those are important).
You should see two shares served from AcmeCorp’s fileserver.